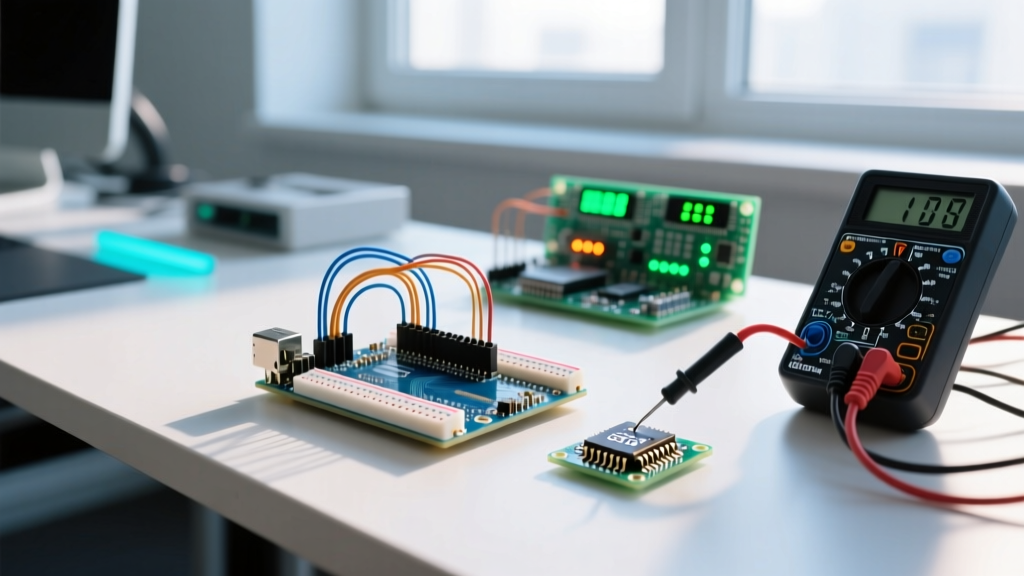

Why is Your Arduino digitalWrite Failing?
The digitalWrite() function is the most fundamental building block in the Arduino ecosystem. Whether you are toggling an LED, triggering a relay, or sending a logic signal to a secondary microcontroller, this function is supposed to be bulletproof. Yet, thousands of makers and engineers encounter situations where digitalWrite(pin, HIGH) simply refuses to work, resulting in floating voltages, erratic behavior, or worse—a fried microcontroller.
As of 2026, with the widespread adoption of the Arduino Uno R4 Minima (priced around $27.50) and the continued dominance of legacy AVR boards, understanding the hardware and software boundaries of digital I/O is critical. This guide bypasses generic advice and dives deep into the exact failure modes, electrical limits, and register-level conflicts that cause digitalWrite errors.
Error 1: The Missing pinMode Declaration
The most frequent software error occurs when the pin's direction is never explicitly defined. By default, all microcontroller pins (including the ATmega328P and the Renesas RA4M1 on the R4 series) boot up as INPUT to prevent short circuits during initialization.
The Fix
You must declare the pin as an OUTPUT inside the setup() loop. If you omit this, digitalWrite(pin, HIGH) will merely enable the internal 20kΩ-50kΩ pull-up resistor, resulting in a weak HIGH state that cannot drive external loads.
void setup() {
  pinMode(13, OUTPUT); // Mandatory declaration
}
void loop() {
  digitalWrite(13, HIGH);
}
Error 2: Exceeding Microcontroller Current Limits
A common hardware failure mode is attempting to drive high-current loads directly from a digital pin. If your multimeter reads a voltage drop or the microcontroller resets unexpectedly, you are likely triggering the internal thermal shutdown or brown-out detection.
ATmega328P Current Specifications
According to the official Microchip ATmega328P datasheet, the absolute maximum ratings are strictly enforced by silicon physics. Exceeding these will permanently degrade the I/O buffer.
| Parameter | Recommended Limit | Absolute Maximum |
|---|---|---|
| DC Current per I/O Pin | 20 mA | 40 mA |
| Total VCC/GND Current (DIP Package) | 150 mA | 200 mA |
| Total Current for Ports C0-C5, ADC7-6 | 100 mA | 150 mA |
The Fix
Never drive motors, high-power LED strips, or raw relay coils directly. Use a logic-level N-channel MOSFET like the IRLZ44N (approx. $1.20) or a standard NPN transistor like the 2N2222 with a 1kΩ base resistor to isolate the microcontroller from the load.
Error 3: Inductive Kickback from Relays and Motors
If your digitalWrite works the first time but the pin dies immediately after turning the load LOW, you have experienced inductive kickback. When current flowing through an inductive load (like a 5V Songle SRD-05VDC-SL-C relay coil) is suddenly interrupted by the digitalWrite(pin, LOW) command, the collapsing magnetic field generates a massive reverse voltage spike—often exceeding 50V. This spike travels back into the microcontroller pin, instantly destroying the silicon junction.
The Fix
Always place a flyback diode (such as a 1N4007) in parallel with the inductive load, with the cathode (stripe) facing the positive supply voltage. This provides a safe recirculation path for the voltage spike.
Error 4: Analog Pin Addressing Confusion
Many developers attempt to use analog pins (A0-A5) as digital outputs but map them incorrectly in the code. On the standard Arduino Uno, analog pins are mapped to digital pins 14 through 19. However, hardcoding these numbers is a portability nightmare, especially when migrating to the Arduino Mega or Nano Every.
The Fix
Always use the Ax nomenclature. The Arduino core automatically resolves A0 to the correct hardware register regardless of the board architecture.
// BAD: Breaks on different boards
pinMode(14, OUTPUT);
digitalWrite(14, HIGH);

// GOOD: Universally compatible
pinMode(A0, OUTPUT);
digitalWrite(A0, HIGH);
For deeper insights into pin mapping architectures, refer to the Arduino Digital Pins Documentation.
Error 5: The analogWrite PWM Hangover
If a pin was previously used for Pulse Width Modulation (PWM) via analogWrite(), the hardware timer associated with that pin remains active in the background. If you later call digitalWrite(pin, LOW), the pin may continue to output a PWM signal or fail to pull fully to ground because the timer register is overriding the standard PORT register.
The Fix
Before switching a pin from PWM output back to standard digital output, explicitly reset the pin mode. This forces the Arduino core to disable the hardware timer and clear the PWM registers.
// Clear PWM timer before digital use
pinMode(9, OUTPUT);
digitalWrite(9, LOW);
Error 6: Execution Speed Bottlenecks
While not a 'failure' in the traditional sense, digitalWrite() is notoriously slow. On a 16MHz ATmega328P, the function takes approximately 3.5 microseconds to execute. This is because the function must look up the pin number, translate it to a hardware port and bitmask, disable interrupts, update the register, and re-enable interrupts. If you are attempting to bit-bang a high-speed protocol or generate RF signals, digitalWrite will bottleneck your system.
The Fix: Direct Port Manipulation
For high-frequency toggling, bypass the Arduino abstraction layer and write directly to the AVR PORT registers. This reduces execution time to 2 clock cycles (125 nanoseconds).
// Standard (Slow): ~3.5 µs
digitalWrite(13, HIGH);

// Direct Port (Fast): ~0.125 µs
// Pin 13 is PB5 on the ATmega328P
PORTB |= (1 << PB5);  // Set HIGH
PORTB &= ~(1 << PB5); // Set LOW
Pro Tip: Direct port manipulation sacrifices code portability. If you plan to migrate your project to an ESP32 or ARM-based board later, stick to digitalWrite() or use hardware-specific GPIO libraries.
Error 7: 3.3V vs 5V Logic Level Mismatches
With the rise of 3.3V microcontrollers like the ESP32-WROOM-32E and the Arduino Nano 33 IoT, applying 5V logic to a digital pin configured as an input, or expecting a 3.3V digitalWrite HIGH to trigger a 5V logic threshold module, results in silent failures.
The Fix
- Driving 5V modules from 3.3V MCUs: Use a logic level shifter (like the BSS138 MOSFET-based bi-directional shifter, approx. $2.50) or a dedicated buffer IC like the 74LVC245.
- Protecting 3.3V MCUs from 5V signals: Use a simple voltage divider (e.g., 2kΩ and 3.3kΩ resistors) or an optocoupler to step down the voltage before it reaches the
digitalReadpin.
Diagnostic Checklist for Stubborn Pins
If you have verified your code and your digitalWrite is still failing, run through this hardware diagnostic sequence:
- Measure the Pin Voltage: Use a digital multimeter. A reading of ~1.8V to 2.5V on a 5V board indicates a short circuit or a damaged internal pull-up.
- Check for Physical Shorts: Inspect solder joints and breadboard contacts. A bridged trace to ground will prevent the pin from pulling HIGH.
- Swap the Pin: If Pin 8 fails but Pin 9 works perfectly, the specific I/O buffer for Port B0 has likely been destroyed by a previous overvoltage event.
- Verify Power Supply Adequacy: A dipping VCC rail (below 4.5V) caused by a heavy load will force the microcontroller into a brown-out reset, halting all
digitalWriteexecutions.
Summary
Mastering the Arduino digitalWrite function requires looking beyond the IDE. By respecting silicon current limits, managing inductive loads with flyback diodes, understanding register conflicts, and matching logic levels, you can eliminate 99% of digital I/O errors. Always design your hardware to protect the microcontroller, and write your software to respect the underlying architecture.