0x76 (or 0x77 if the SDO pin is pulled high), but the most frequent cause of bus failure is confusing this 7-bit value with the 8-bit shifted address (0xEC) expected by some raw register libraries. Before you write a single line of code, you must verify the physical layer, calculate your pull-up resistors based on bus capacitance, and confirm whether your library expects 7-bit or 8-bit addressing.
The Physical Layer: Wiring, Pull-Ups, and Bus Mechanics
I2C (Inter-Integrated Circuit) is a synchronous, multi-master, multi-slave protocol. Unlike UART, it requires a shared ground and two open-drain bidirectional lines: SDA (data) and SCL (clock). Because the lines are open-drain, they can only pull the signal low; they rely on external pull-up resistors to return to the logic high state.
| Parameter | Standard Mode | Fast Mode | Fast Mode Plus |
|---|---|---|---|
| Wires Required | 2 (SDA, SCL) + Ground + VCC | ||
| Max Speed | 100 kHz | 400 kHz | 1 MHz |
| Addressing | 7-bit (128 addresses) or 10-bit (1024 addresses) | ||
| Max Bus Capacitance | 400 pF (limits cable length to ~1 meter) | ||
| Typical Pull-Up | 4.7 kΩ | 2.2 kΩ | 1.0 kΩ |
The Pull-Up Resistor Trap: A 4.7kΩ pull-up on a 400kHz bus with 300pF of cable capacitance will result in sluggish rise times and corrupted ACK bits. The resistor and the parasitic capacitance of your wires form an RC low-pass filter. If the rise time exceeds the I2C spec (300ns for Fast Mode), the master will clock in garbage. For 3.3V logic on an ESP32 running at 400kHz, use 2.2kΩ resistors. If your bus is heavily loaded or uses long jumper wires, drop to 1kΩ, ensuring you do not exceed the 3mA sink limit of your microcontroller's GPIO pins.
Demystifying the I2C Address: 7-Bit vs 8-Bit Hex Confusion
The NXP I2C Bus Specification defines standard addresses as 7 bits. However, the physical byte sent over the wire is 8 bits. The 8th bit is the Read/Write (R/W) flag. This discrepancy causes 90% of 'device not found' errors on the bench.
- 7-Bit Address (Standard):
0x76(Binary:1110110). This is what the ArduinoWirelibrary and most high-level ESP32 libraries expect. - 8-Bit Address (Shifted): If you shift the 7-bit address left by one and append a 0 for a Write command, you get
11101100, which is0xECin hex. Some datasheets and low-level HAL libraries (like STM32 HAL or raw ESP-IDF register maps) demand this 8-bit format.
Most breakout boards include an address selection pin (often labeled SDO, SA0, or A0). On the BME280, tying SDO to GND sets the 7-bit address to
0x76. Tying SDO to VCC (3.3V) sets it to 0x77. This allows you to put exactly two of the same sensor on one bus. If you need more, you must use an I2C multiplexer like the TCA9548A.
Sniffing, Debugging, and Fixing Classic Bus Failures
When your I2C scanner returns nothing, or returns phantom addresses, you are likely facing one of three classic failures.
1. Address Clash
If you wire two MPU6050 IMUs to the same bus, both default to 0x68. When the master requests data, both slaves drive SDA low simultaneously, corrupting the payload. Fix: Check the datasheet for an AD0 pin to shift one device to 0x69, or use a multiplexer.
2. Missing or Undersized Pull-Ups
Symptom: The bus works at 100kHz but fails at 400kHz, or works with one sensor but crashes when you add a second.
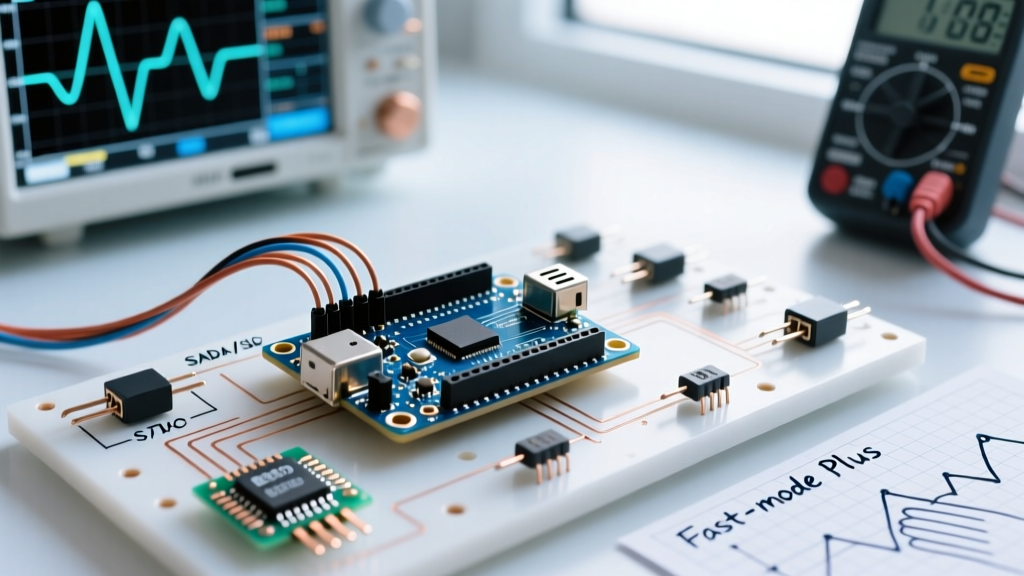
Fix: Hook up an oscilloscope to SDA. If the rising edge looks like a slow, rounded curve instead of a sharp square wave, your RC time constant is too high. Decrease your pull-up resistor value.
3. Baud Mismatch and Clock Stretching
I2C allows slaves to hold the SCL line low to stall the master while they process data (clock stretching). If your master uses a bit-banged software I2C implementation that doesn't check the SCL state before proceeding, the bus will lock up. Fix: Always use hardware I2C peripherals (like the ESP32's native I2C controllers) rather than software bit-banging.
How to Sniff the Bus: Don't guess; look at the silicon. Connect a $15 USB logic analyzer (like a generic 24MHz 8-channel clone) to SDA, SCL, and GND. Use PulseView / Sigrok with the I2C decoder. It will visually highlight the exact hex bytes, ACK/NACK bits, and show you if a slave is failing to acknowledge its address.
Minimal Working Exchange: Wiring and Code
Let's wire an ESP32 DevKit V1 to a BME280 sensor and explicitly request the chip ID register to verify the I2C address is responding.
| ESP32 Pin | BME280 Pin | Notes |
|---|---|---|
| 3V3 | VIN / VCC | Do not use 5V on a 3.3V sensor breakout without a regulator. |
| GND | GND | Must be shared common ground. |
| GPIO 21 | SDA | Default I2C Data pin on ESP32. Add 2.2kΩ pull-up to 3V3. |
| GPIO 22 | SCL | Default I2C Clock pin on ESP32. Add 2.2kΩ pull-up to 3V3. |
The following Arduino IDE code uses the native Wire library. It bypasses high-level sensor libraries to prove the physical I2C address 0x76 is active by reading the hardcoded Chip ID register (0xD0), which should return 0x60 for a genuine Bosch BME280.
#include <Wire.h>

// 7-bit I2C address for BME280 (SDO to GND)
const uint8_t BME_ADDRESS = 0x76;
const uint8_t REG_CHIP_ID = 0xD0;

void setup() {
  Serial.begin(115200);

  // Initialize I2C with explicit ESP32 pins and 400kHz Fast Mode
  Wire.begin(21, 22, 400000);

  Serial.println("Scanning for BME280...");

  // Begin transmission to the 7-bit address
  Wire.beginTransmission(BME_ADDRESS);
  Wire.write(REG_CHIP_ID); // Point to the Chip ID register
  uint8_t error = Wire.endTransmission(false); // Repeated start condition

  if (error == 0) {
    Serial.println("Address ACK received. Requesting data...");
    Wire.requestFrom(BME_ADDRESS, (uint8_t)1);
    if (Wire.available()) {
      uint8_t chipID = Wire.read();
      Serial.print("Chip ID: 0x");
      Serial.println(chipID, HEX);
      if (chipID == 0x60) {
        Serial.println("Success: Genuine BME280 confirmed.");
      } else {
        Serial.println("Warning: Device responded, but Chip ID does not match BME280.");
      }
    }
  } else {
    Serial.print("NACK or Bus Error. Error code: ");
    Serial.println(error);
    Serial.println("Check wiring, pull-ups, and 7-bit vs 8-bit address formatting.");
  }
}

void loop() {
  // Single-shot verification for this primer
  delay(10000);
}
Protocol Decision Tree: When to Use I2C vs SPI vs UART
I2C is convenient, but its physical limitations (capacitance, speed, and address space) make it the wrong choice for many jobs. Use the SparkFun I2C guidelines and the decision matrix below to select your protocol.
| Criteria | I2C | SPI | UART / RS-485 |
|---|---|---|---|
| Max Distance | < 1 meter (on PCB or short jumpers) | < 1 meter (signal integrity degrades fast) | > 10 meters (with differential transceivers) |
| Speed | 100 kHz to 1 MHz | 10 MHz to 50+ MHz | 9600 bps to 10+ Mbps |
| Device Count | Up to 128 (7-bit), limited by capacitance | 1 per Chip Select (CS) pin | Multi-drop via RS-485 (up to 32/256 nodes) |
| Wiring Complexity | 2 shared wires + pull-ups | 3 shared + 1 CS per device | 2 wires (TX/RX) or 4 for RS-485 |
- IF your sensors are on the same PCB or within a 30cm enclosure, drawing minimal data (temperature, humidity) → Use I2C.
- IF you need to move large payloads (TFT displays, SD cards, audio DACs) at high speeds over short distances → Use SPI.
- IF your I2C bus fails due to cable capacitance exceeding 400pF on a multi-meter run, or you need to daisy-chain sensors across a vehicle or large room → Terminate your I2C design and switch to an MAX3485 (RS-485 transceiver module) using UART for robust, long-distance differential signaling.