
The Serial Monitor Clutter Problem
When debugging high-speed sensor data over UART at 115200 baud, the Arduino IDE Serial Monitor can quickly become an unreadable wall of text. For years, developers relied on a simple trash can icon to wipe the slate clean. However, the transition from the legacy Java-based IDE 1.8.x to the modern Eclipse Theia-based Arduino IDE 2.x fundamentally changed the user interface, leaving many engineers confused about how to clear serial monitor Arduino outputs effectively.
This error fix guide covers the four most reliable methods to clear your serial output, ranging from native GUI interactions to programmatic ANSI escape sequences and hardware-level DTR reset behaviors. Whether you are using an official Uno R4 Minima with an RP2040 bridge or a clone board with a CH340G USB-to-UART chip, these techniques will streamline your debugging workflow in 2026.
Method 1: The Native GUI Clear Button (IDE 2.x vs 1.x)
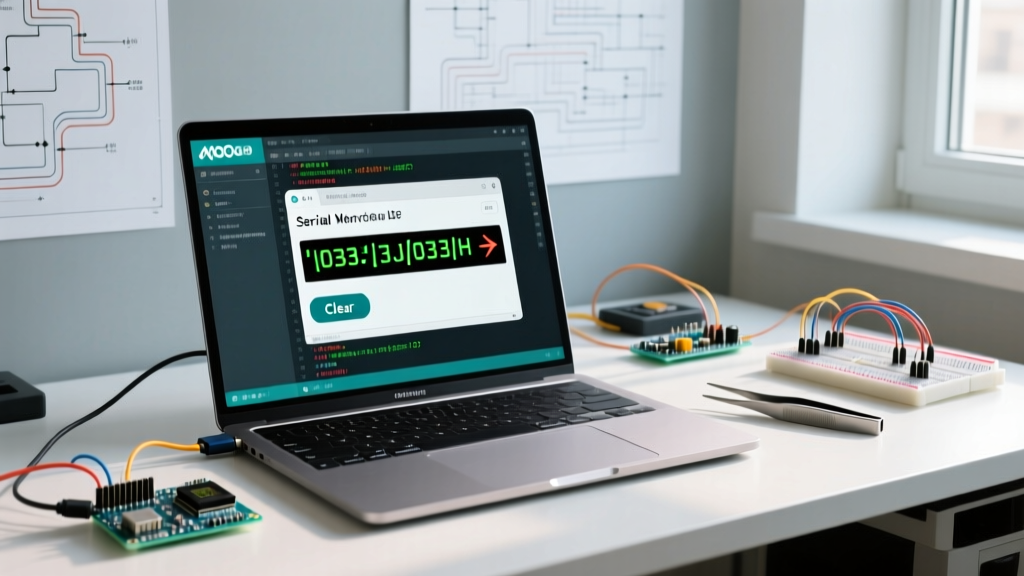
In the legacy Arduino IDE 1.8.19, clearing the monitor was as simple as clicking the trash bin icon located in the top right corner of the serial window. In Arduino IDE 2.3.x, the Serial Monitor is integrated into the bottom panel alongside the Output and Debug consoles.
Locating the Clear Function
- Step 1: Ensure you are actually on the "Serial Monitor" tab, not the "Output" tab. The Output tab displays compiler logs and cannot be cleared via the same UI button.
- Step 2: Look at the top-right header of the Serial Monitor pane. You will see a small icon resembling a document with an 'X' or a trash bin (depending on your specific 2.x sub-version and OS theme).
- Step 3: Click this icon to instantly flush the visual buffer.
Pro Tip: If the clear icon is grayed out or unresponsive, click directly inside the text output area to force UI focus on the Serial Monitor pane, then try clicking the icon again. This is a known focus-stealing bug in early 2.x releases that still occasionally surfaces when using third-party board manager cores.
Method 2: Programmatic Clearing via ANSI Escape Codes
Relying on the GUI is inefficient if you are running automated test sequences or headless debugging. The most robust way to clear the screen is by sending ANSI escape codes directly through the Serial.print() function. The Arduino IDE 2.x Serial Monitor natively supports basic ANSI terminal emulation.
The Magic Sequence
To clear the screen and return the cursor to the top-left home position, send the following hex sequence:
Serial.print("\x1B[2J\x1B[H");Breaking Down the Code
\x1B: The hexadecimal representation of the ESC (Escape) character.[2J: The command to clear the entire screen buffer.[H: The command to move the cursor to row 1, column 1.
Implementation Example: Clearing on a Button Press
void loop() {
  if (digitalRead(2) == LOW) {
    Serial.print("\x1B[2J\x1B[H");
    Serial.println("Screen Cleared! System Reset.");
    delay(500); // Debounce
  }
  Serial.println(millis());
  delay(100);
}
Edge Case Warning: If you are using the legacy IDE 1.8.x or a third-party terminal like the basic Arduino Serial Plotter, ANSI codes will render as gibberish characters (e.g., [2J[H). For ANSI support, you must use IDE 2.x or a dedicated terminal emulator like PuTTY or TeraTerm configured for VT100 emulation.
Method 3: The DTR Auto-Clear on Reset Technique
Sometimes you do not need a manual clear button; you need the monitor to present a clean slate every time the microcontroller reboots. This relies on the DTR (Data Terminal Ready) hardware flow control line.
On standard AVR boards (like the Uno R3), the DTR line from the USB-to-UART bridge is routed through a 100nF capacitor to the ATmega328P's RESET pin. When you open the Serial Monitor, the DTR line drops low, triggering a hardware reset. To ensure your code waits for the serial connection to establish before flooding the monitor with boot logs, use the following blocking while-loop:
void setup() {
  Serial.begin(115200);
  while (!Serial) {
    ; // Wait for serial port to connect. Needed for native USB (e.g., Leonardo, RP2040)
  }
  // Clear screen immediately upon connection
  Serial.print("\x1B[2J\x1B[H");
  Serial.println("--- System Boot Sequence ---");
}
Hardware Nuance (ESP32 vs AVR): On ESP32-S3 boards with native USB-CDC, the while(!Serial) loop is mandatory because the USB stack is handled in software. On ESP32 boards using a CP2102 bridge, opening the monitor toggles the EN/RST pins via the DTR/RTS lines, automatically wiping the previous session's visual context if you pair it with the ANSI clear code on the first line of setup().
Troubleshooting Common Serial Monitor Errors
When attempting to clear or manage the serial buffer, you may encounter specific errors related to USB bridge chips and OS-level port locking. Use this matrix to diagnose your issue.
| Error / Symptom | Root Cause | Verified Fix |
|---|---|---|
| Clear button is missing or grayed out | UI focus is locked on the Output/Compiler tab, or the serial port is actively disconnected. | Click inside the serial text area. Verify the baud rate dropdown is active and the port is selected. |
ANSI codes print as raw text (e.g., [2J) |
Using Arduino IDE 1.8.x or an unsupported terminal emulator that lacks VT100 parsing. | Upgrade to Arduino IDE 2.3.x or switch to TeraTerm/PuTTY for serial monitoring. |
| "Port busy" or "Board at COMX is not available" | The previous serial monitor session failed to release the COM port lock, common with CH340G drivers on Windows 11. | Close the IDE, unplug the USB cable for 5 seconds, and restart. If persistent, kill the serial-monitor background process via Task Manager. |
| Text clears but immediately jumps down the screen | High-speed baud rates (e.g., 2000000) flooding the UART buffer faster than the GUI can render the clear command. | Insert a delay(50); immediately after the ANSI clear sequence to allow the GUI renderer to catch up. |
Advanced UART Buffer Management
Clearing the visual monitor does not flush the hardware UART buffer on the microcontroller. If your code is transmitting data while the serial monitor is closed, the TX buffer (typically 64 bytes on AVR, 128 bytes on ESP32) will fill up. Once full, functions like Serial.print() will block execution until the buffer drains, causing timing-critical loops to fail silently.
To prevent this, always check Serial.availableForWrite() before sending massive payloads, or use Serial.flush() strategically. While Serial.flush() waits for outgoing data to transmit, it does not clear the incoming RX buffer. If you need to clear the RX buffer before reading new commands, use a simple while-loop:
while (Serial.available() > 0) {
  Serial.read(); // Flushes the RX buffer
}
By combining visual ANSI clearing with proper hardware buffer management, you eliminate the most common serial debugging bottlenecks, ensuring your embedded systems development remains efficient and error-free.