
The Trap of Copy-Pasting Arduino Sample Code
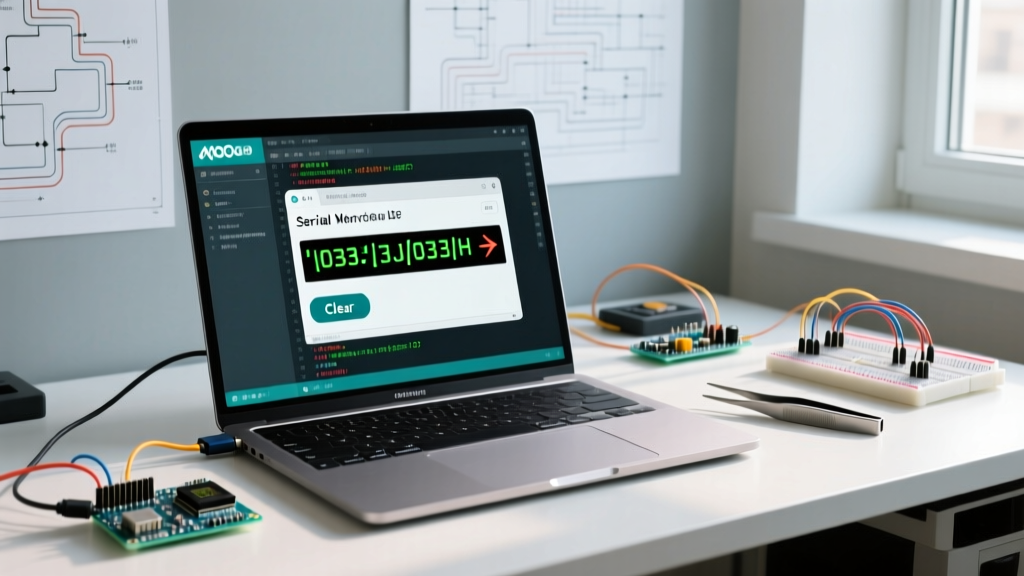
Every embedded engineer and DIY hobbyist has been there: you wire up a new communication module, open the IDE, load the arduino sample code from the library examples, hit upload, and get nothing but silence or garbage data on the Serial Monitor. While stock example scripts are excellent for proving a library compiles, they are rarely optimized for real-world hardware integration. They assume perfect wiring, ignore logic-level mismatches, and often rely on blocking delays that cripple multi-threaded communication setups.
In this 2026 communication setup guide, we dissect how to properly adapt, debug, and optimize Arduino sample code for the four major communication protocols: I2C, SPI, UART, and LoRa. We will move beyond basic syntax and address the electrical edge cases that cause 90% of sample code failures in the field.
The Hardware-Software Disconnect: Logic Levels and Pinouts
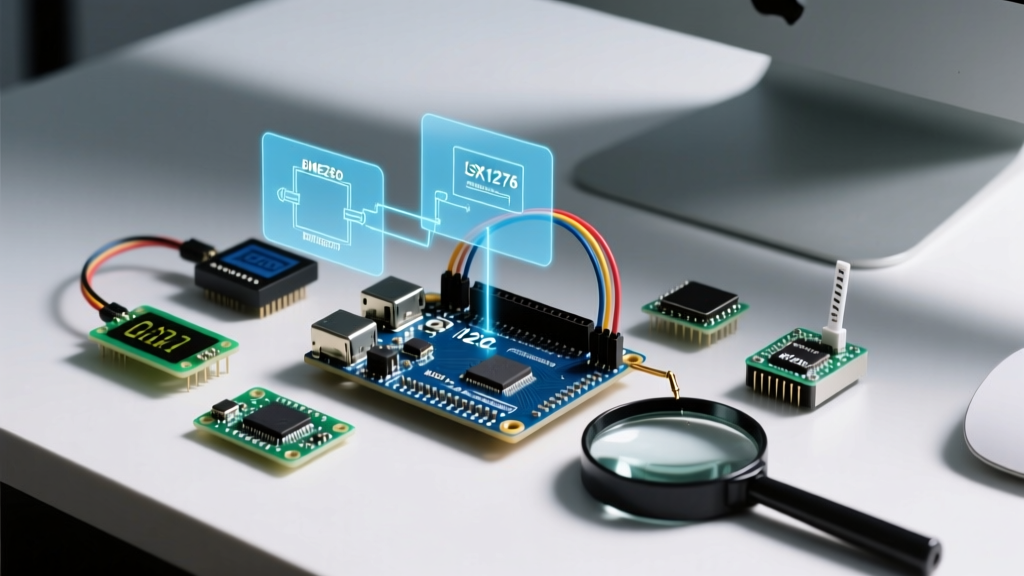
The most common reason Arduino sample code fails is not a software bug, but a hardware mismatch that the code cannot protect you from. Most legacy Arduino sample code was written for 5V logic boards like the Uno R3. Today, high-speed communication modules (like the ESP32-S3 DevKitC-1 at $12 or the SX1276 LoRa transceiver at $8) operate strictly at 3.3V.
Expert Warning: Feeding 5V from an Arduino Uno R4 Minima ($27.50) directly into the MISO/MOSI or SDA/SCL pins of a 3.3V sensor will degrade the module's silicon over time, leading to intermittent I2C bus lockups that no amount of code tweaking will fix.
Before adapting your sample code, ensure your hardware layer is sound. If you are bridging a 5V microcontroller to a 3.3V communication module, you must use a bidirectional logic level shifter (such as a BSS138-based module, typically $1.50). The sample code assumes clean logic transitions; it cannot compensate for voltage-induced signal ringing.
Protocol-Specific Adaptation Matrix
Different protocols require different modifications to their baseline sample code. Use this matrix to identify the primary failure points for your specific setup.
| Protocol | Common Sample Code Library | Primary Failure Mode | Hardware / Code Fix |
|---|---|---|---|
| I2C | Wire.h | Bus lockup / NACK errors | Add 4.7kΩ pull-ups; implement Wire.setTimeout() |
| SPI | SPI.h | Garbage data / shifted bits | Verify CPOL/CPHA modes; use SPI.beginTransaction() |
| UART | Serial / HardwareSerial | Buffer overflow / dropped bytes | Replace blocking reads with ring buffers |
| LoRa | LoRa.h / RadioLib | Timeout on packet receive | Match explicit sync words; verify antenna VSWR |
Deep Dive: Adapting I2C Sample Code for Reliability
Standard I2C sample code usually looks like this: Wire.beginTransmission(address); followed by a write and an endTransmission(). However, the Arduino Wire Library Reference only scratches the surface of the I2C specification.
1. The Missing Pull-Up Resistors
Sample code assumes the breakout board has pull-up resistors. If you are wiring raw I2C sensors (like the BME280) directly to a microcontroller, the bus will float. According to the NXP UM10204 I2C-bus Specification, the I2C bus requires pull-up resistors to VDD. For standard 100kHz operation, use 4.7kΩ resistors. If your sample code configures the bus for 400kHz Fast Mode via Wire.setClock(400000);, you must drop the pull-up resistance to 2.2kΩ to ensure the signal rise time meets the 300ns maximum threshold.
2. Handling Clock Stretching and Timeouts
Many I2C sample codes lack timeout mechanisms. If a peripheral module crashes and holds the SCL line LOW (clock stretching indefinitely), the Arduino will hang forever on Wire.endTransmission(). Always adapt your sample code to include a timeout wrapper:
Wire.setWireTimeout(50000, true); // 50ms timeout, reset on timeout
int error = Wire.endTransmission();
if (error == 5) {
  // Handle timeout: reset I2C bus or power-cycle peripheral
}
Optimizing SPI Sample Code: Timing and Chip Select
SPI is significantly faster than I2C, but it is highly sensitive to timing misconfigurations. When adapting SPI sample code for high-speed modules like the W5500 Ethernet shield or an SPI FRAM chip, you must move away from legacy global settings.
Abandoning Legacy SPI Settings
Older Arduino sample code often uses SPI.setClockDivider(SPI_CLOCK_DIV4);. This is deprecated and dangerous when multiple SPI devices share the bus. Instead, adapt your code to use transaction-based SPI management:
SPISettings mySettings(14000000, MSBFIRST, SPI_MODE0);

void loop() {
  SPI.beginTransaction(mySettings);
  digitalWrite(CS_PIN, LOW);
  // Perform SPI transfers
  digitalWrite(CS_PIN, HIGH);
  SPI.endTransaction();
}
This ensures that if an interrupt triggers another SPI device (like an SD card logging data), the bus settings are safely restored. Furthermore, verify the SPI Mode (CPOL and CPHA) in your module's datasheet. While SPI_MODE0 is the most common, modules like the MAX31855 thermocouple amplifier require SPI_MODE1 or SPI_MODE3. Running the wrong mode in your sample code will result in shifted or entirely corrupted bitstreams.
UART and RS-485: Conquering Buffer Overflows
UART sample code is notorious for using blocking functions like while(Serial.available() == 0) {}. In a communication setup where the Arduino is simultaneously polling sensors and managing a UI, blocking UART code will cause system-wide latency.
Implementing Non-Blocking Ring Buffers
When adapting UART sample code for industrial protocols like Modbus RTU over RS-485 (using a MAX485 transceiver), you must process incoming bytes asynchronously. Replace blocking reads with a state-machine approach that checks the serial buffer on every loop iteration:
- Check Availability: Use
if (Serial1.available() > 0)to grab single bytes without halting the CPU. - Store in Ring Buffer: Push bytes into a predefined array until an end-of-frame marker (like a Modbus CRC or newline character) is detected.
- Process and Clear: Parse the complete packet and reset the buffer index.
Hardware Note for RS-485: When setting up long-distance UART communication, ensure you add a 120Ω termination resistor across the A and B differential lines at both ends of the cable. Sample code cannot fix signal reflections caused by missing termination resistors.
Advanced Debugging: When the Sample Code Hangs
If you have verified your logic levels, pull-ups, and baud rates, but the Arduino sample code still hangs during communication initialization, the issue is likely an interrupt conflict or a watchdog reset.
- Interrupt Pin Conflicts: Many wireless modules (like the nRF24L01 or SX1276) use an IRQ pin to signal the microcontroller that a packet has arrived. Sample code often assigns this to Pin 2 or 3. If your setup uses a software serial port or an encoder library that already claims those external interrupts, the communication module will silently fail to trigger the receive callback. Always cross-reference your pinout map.
- Watchdog Timers (WDT): In remote LoRa or cellular setups, a frozen communication stack is fatal. Adapt your sample code to include the
<avr/wdt.h>library (for AVR boards) or the ESP32 Task Watchdog. Placewdt_reset()inside your main communication loop. If the I2C bus locks up and halts the code, the watchdog will automatically reboot the microcontroller, restoring field reliability.
Final Thoughts on Code Optimization
Treating arduino sample code as a final product rather than a starting template is the most common mistake in embedded communication setups. By systematically addressing logic-level hardware mismatches, implementing protocol-specific timeouts, and replacing blocking functions with asynchronous state machines, you transform fragile example scripts into robust, industrial-grade communication firmware. Always consult the silicon manufacturer's datasheet alongside the library documentation to ensure your software configuration perfectly mirrors your physical wiring.