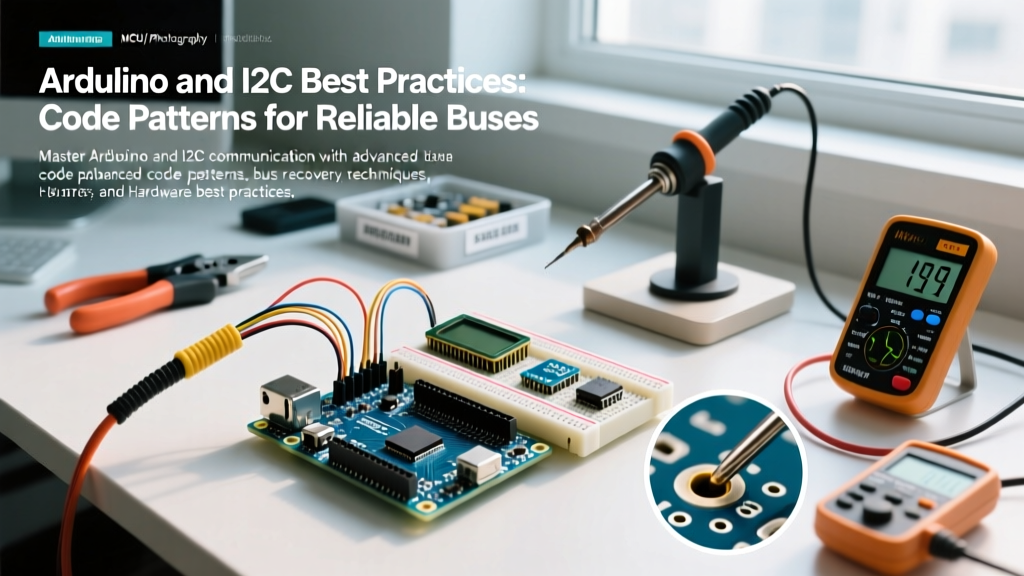

The Hidden Pitfalls of Default Arduino and I2C Implementations
When makers and engineers first explore Arduino and I2C communication, the standard tutorial approach relies heavily on the default Wire.h library. While sufficient for blinking an I2C OLED display on a breadboard, this naive implementation routinely fails in real-world, electrically noisy environments. As of 2026, with the widespread adoption of the Arduino Nano ESP32 ($21.00) and Uno R4 Minima ($27.50), modern microcontrollers offer vastly superior I2C peripherals, yet legacy code patterns continue to cause bus lockups, silent data corruption, and hard-faults in production firmware.
The core issue lies in the blocking nature of the legacy AVR Wire library and the assumption that the I2C bus is always in a known, idle state. In industrial or automotive-adjacent DIY projects, electromagnetic interference (EMI) or sudden power brownouts can leave slave devices holding the SDA line low, permanently freezing the master. To build robust sensor networks, we must move beyond basic read/write functions and implement defensive code patterns.
Core Code Patterns for Bulletproof I2C Communication
Pattern 1: Non-Blocking Timeout Wrappers
The most common cause of a frozen Arduino sketch is an I2C transaction that never completes. If a slave device fails to acknowledge (NACK) or holds the SCL line low (clock stretching) indefinitely, the master's Wire.endTransmission() will block execution forever. Modern Arduino cores (AVR 1.8.3+ and all ESP32/SAMD variants) include hardware timeout features that must be explicitly enabled.
// Initialize I2C with a 25ms hardware timeout
Wire.begin();
Wire.setWireTimeout(25000, true); // 25,000 microseconds, reset_on_timeout = true

// In your main loop or sensor read function:
Wire.beginTransmission(0x76); // BME280 default address
Wire.write(0xF7); // Pressure MSB register
uint8_t error = Wire.endTransmission();

if (Wire.getWireTimeoutFlag()) {
    Serial.println("FATAL: I2C Bus Timeout - Bus Reset Triggered");
    Wire.clearWireTimeoutFlag();
    // Implement fallback or retry logic here
} else if (error != 0) {
    Serial.print("I2C NACK Error Code: ");
    Serial.println(error);
}
By setting reset_on_timeout to true, the underlying TWI/I2C peripheral automatically flushes its state machine, preventing the need for a full MCU reboot to recover the bus.
Pattern 2: Software Bus Recovery (The 9-Clock Pulse Fix)
Hardware timeouts protect the master from freezing, but they do not fix the physical state of the bus. If a slave device (like an AT24C256 EEPROM or an MPU6050 IMU) is reset mid-read, it may continue outputting a '0' bit, holding the SDA line low. The master must manually toggle the SCL line to allow the slave to finish its byte and release the bus.
According to the NXP I2C-bus specification (UM10204), a master can clear a stuck SDA line by generating up to 9 clock pulses. Here is the defensive recovery pattern:
void recoverI2CBus(uint8_t scl_pin, uint8_t sda_pin) {
    pinMode(sda_pin, INPUT_PULLUP);
    pinMode(scl_pin, OUTPUT);

    // Generate 9 clock pulses
    for (uint8_t i = 0; i < 9; i++) {
        digitalWrite(scl_pin, LOW);
        delayMicroseconds(5); // 100kHz recovery clock
        digitalWrite(scl_pin, HIGH);
        delayMicroseconds(5);
    }

    // Generate STOP condition (SDA goes HIGH while SCL is HIGH)
    pinMode(sda_pin, OUTPUT);
    digitalWrite(sda_pin, LOW);
    delayMicroseconds(5);
    digitalWrite(scl_pin, HIGH);
    delayMicroseconds(5);
    digitalWrite(sda_pin, HIGH);

    // Return pins to Wire library control
    Wire.begin();
}
Hardware Synergy: Pull-Up Resistor Matrix
Code patterns cannot overcome poor hardware design. The I2C bus uses open-drain outputs, meaning it requires pull-up resistors to achieve a logical HIGH. The default 4.7kΩ resistor found in most starter kits is only mathematically valid for Standard-mode (100kHz) with very low bus capacitance. As you add sensors, wiring length, and logic level shifters, bus capacitance ($C_b$) increases, rounding off the rising edges of your SCL/SDA signals and causing bit errors.
The official Arduino Wire reference abstracts these physical layer details, but professional implementations must calculate pull-up values based on the NXP specification limit of 400pF maximum bus capacitance.
| I2C Speed Mode | Frequency | Max Capacitance ($C_b$) | Recommended Pull-Up ($V_{cc}=3.3V$) | Recommended Pull-Up ($V_{cc}=5V$) |
|---|---|---|---|---|
| Standard-mode | 100 kHz | 400 pF | 4.7 kΩ | 4.7 kΩ |
| Fast-mode | 400 kHz | 400 pF | 2.2 kΩ | 3.3 kΩ |
| Fast-mode Plus (Fm+) | 1 MHz | 550 pF | 1.0 kΩ | 1.5 kΩ |
Expert Tip: If you are using a bidirectional logic level shifter (like the Texas Instruments TXB0108 or standard MOSFET-based shifters) to interface a 5V Arduino Uno R4 with a 3.3V ESP32 coprocessor, the shifter introduces its own parasitic capacitance. Drop your pull-up resistors by one standard E12 value (e.g., from 4.7kΩ to 3.3kΩ) to compensate for the slower rise times.
Scaling with the Adafruit TCA9548A Multiplexer
A frequent edge case in Arduino and I2C projects is address collision. If your design requires four BME280 environmental sensors, but they only support I2C addresses 0x76 and 0x77, you must use an I2C multiplexer. The Adafruit TCA9548A ($7.95) is the industry standard for this, sitting at base address 0x70.
The best practice pattern for multiplexing involves wrapping the channel selection in a dedicated function that verifies the multiplexer's presence before attempting to route the bus, preventing ghost-reads from previously selected channels.
#define TCAADDR 0x70

void tcaselect(uint8_t channel) {
  if (channel > 7) return;

  Wire.beginTransmission(TCAADDR);
  Wire.write(1 << channel); // Bitmask for the specific channel
  uint8_t error = Wire.endTransmission();

  if (error != 0) {
    Serial.println("TCA9548A Multiplexer Offline!");
    // Trigger hardware bus recovery here
  }
}
Bypassing the 32-Byte AVR Buffer Limitation
Engineers migrating from 8-bit AVRs (like the ATmega328P) to 32-bit ARM or Xtensa architectures (ESP32, RP2040) often forget that the legacy Wire.h buffer on AVR is strictly limited to 32 bytes. If you attempt to read a 64-byte block from an I2C FRAM chip in a single Wire.requestFrom() call on an Uno, the library will silently truncate the data, leading to insidious memory corruption in your application logic.
The Chunking Pattern: Always break large I2C reads into 16-byte or 32-byte chunks, managing the memory pointer manually. While ESP32 and RP2040 boards feature 128-byte or 256-byte hardware FIFO buffers, writing chunked code ensures your library remains cross-platform compatible across the entire Arduino ecosystem.
Real-World Debugging: Logic Analyzer Traces
When software patterns fail, you must inspect the physical layer. Serial monitor outputs are useless for diagnosing I2C arbitration loss or clock stretching anomalies. For professional debugging, connect a logic analyzer like the DSLogic U3Pro16 ($149) or a Saleae Logic 8 to the SDA and SCL lines.
- Verify Rise Times: Measure the time it takes for SDA to transition from 0.3*$V_{cc}$ to 0.7*$V_{cc}$. If it exceeds 300ns in Fast-mode, your pull-up resistors are too weak (high resistance) or your bus capacitance is too high.
- Check for START/STOP Violations: Ensure that SDA only transitions while SCL is HIGH during START and STOP conditions. Any other transition indicates data corruption or severe ground bounce.
- Address Acknowledge (ACK) Bits: On the 9th clock pulse, the master releases SDA. If the line stays HIGH (NACK), verify your I2C address mappings and ensure the slave device has stable 3.3V/5V power and isn't in an undervoltage lockout (UVLO) state.
Summary of Best Practices
Mastering Arduino and I2C requires treating the bus as a fragile, shared physical resource rather than a guaranteed software abstraction. By implementing hardware timeouts, software bus recovery routines, calculating exact pull-up resistor values, and respecting architecture-specific buffer limits, you transform brittle prototype code into resilient, production-grade firmware capable of operating flawlessly in demanding environments.