
The landscape of embedded development has shifted dramatically. In 2026, relying solely on manual C++ typing for every prototype is no longer the most efficient path to deployment. Whether you are building a quick IoT sensor node on an ESP32-S3 or engineering a low-power ATmega328P data logger, utilizing a modern Arduino code generator can shave hours off your development cycle. However, generated code is rarely production-ready out of the box. It requires an expert eye to strip away bloat, manage memory constraints, and prevent hardware lockups.
This walkthrough explores the two dominant paradigms of automated sketch creation: visual node-based generators and LLM-driven prompt engineering. We will generate functional code, dissect the output, and apply critical C++ optimizations to ensure your firmware runs flawlessly on constrained microcontrollers.
The Anatomy of an Arduino Code Generator
Not all code generators are created equal. The term 'Arduino code generator' generally encompasses two distinct toolsets, each serving a different phase of the prototyping lifecycle. Visual generators excel at complex signal routing and state machines, while AI-driven LLMs excel at boilerplate library integration and algorithmic logic.
| Generator Type | Leading Tools (2026) | Best Use Case | Output Architecture | Memory Overhead |
|---|---|---|---|---|
| Visual Node-Based | Visuino, XOD | Complex sensor fusion, DSP, state machines | Event-driven, component wrappers | Moderate to High |
| LLM Prompt-Based | GitHub Copilot (IDE 2.x), Cursor | API integration, protocol parsing, logic | Procedural, loop-blocking (usually) | Variable (Often Bloated) |
| TinyML Generators | Edge Impulse | Machine learning inference, anomaly detection | Optimized C++ / TFLite Micro | High (Requires PSRAM) |
Walkthrough 1: Visual Signal Routing via Visuino
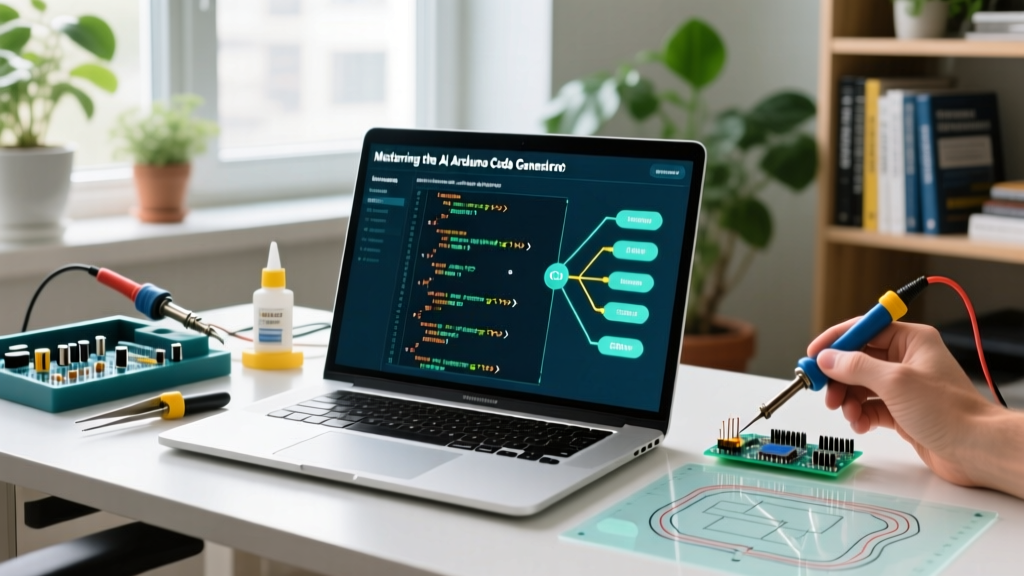
When dealing with multiple asynchronous sensors, writing non-blocking millis() logic manually is tedious. Visual tools like Visuino act as a powerful Arduino code generator by translating graphical node connections into highly optimized, event-driven C++.
Step-by-Step: BNO055 IMU to ESP32 I2C
- Hardware Setup: Connect the BNO055 SDA to ESP32 GPIO 21, and SCL to GPIO 22. Ensure you have 4.7kΩ pull-up resistors on both lines if your breakout board lacks them.
- Node Configuration: In Visuino, drag the
Adafruit BNO055component onto the canvas. Set the I2C address to0x28(the default for most Adafruit breakouts). - Data Routing: Connect the Quaternion output pins to a
Displaycomponent mapped to the hardware serial port. - Generation: Click 'Compile'. The generator outputs a complete sketch utilizing hardware interrupts and non-blocking I2C polling.
Expert Insight: Visual generators often abstract away the I2C bus initialization. Always verify the generated Wire.begin() call. For ESP32, you should explicitly define the pins and bus speed in the generated code: Wire.begin(21, 22, 400000); to enforce a 400kHz Fast Mode clock, preventing silent data corruption on longer wires.
Walkthrough 2: Prompt Engineering for LLM Code Generators
Using an AI assistant inside the Arduino IDE 2.x as an Arduino code generator is incredibly powerful, but LLMs are notorious for writing 'desktop-style' C++ that crashes microcontrollers. They love the String class and blocking delay() functions, both of which are fatal on boards with limited SRAM.
The 'Hardware-Constrained' Prompt Template
To force the AI to generate embedded-optimized C++, you must constrain its parameters. Use this exact prompt structure when asking your AI generator to write a sketch:
System Prompt: Act as an expert embedded C++ engineer. Write an Arduino sketch for the [Board Model] to read the [Sensor] via [Protocol] and send it via MQTT.
Strict Constraints:
1. Do NOT use theStringclass; use fixed-sizechararrays andsnprintf.
2. Do NOT usedelay(); implementmillis()based non-blocking timers.
3. Store all static serial debug text inPROGMEMusing theF()macro.
4. Handle I2C timeouts to prevent bus lockups.
By explicitly banning the String class, you prevent heap fragmentation. On an ATmega328P (Arduino Uno) with only 2KB of SRAM, dynamic memory allocation from concatenating Strings will inevitably lead to a memory leak and a hard crash within hours of operation.
Post-Generation Optimization: Stripping the Bloat
Even with perfect prompting, an AI Arduino code generator will often include unnecessary libraries or inefficient data structures. Here is how to manually optimize the generated output.
1. Flash Memory vs. SRAM (PROGMEM)
AI generators frequently output verbose serial logging. On AVR boards, string literals are copied from Flash to SRAM at runtime. You must audit the generated code and wrap static strings. According to the official Arduino PROGMEM reference, keeping strings in flash is critical for memory preservation.
Bad (Generated): Serial.println("Sensor initialization complete, awaiting data...");
Optimized: Serial.println(F("Sensor init complete, awaiting data..."));
2. Handling millis() Rollover
LLMs frequently write incorrect non-blocking timers that fail after 49.7 days (the unsigned long rollover point). If your generator outputs if (currentMillis > previousMillis + interval), it will break during rollover. Always correct the generated logic to use subtraction:
if (currentMillis - previousMillis >= interval) { ... }
This bitwise arithmetic naturally handles the 32-bit integer overflow without throwing errors.
Edge Cases: I2C Lockups and Watchdog Timers
A major blind spot for any automated Arduino code generator is hardware-level fault tolerance. I2C buses are highly susceptible to noise. If a sensor resets mid-transaction, the SDA line can get pulled low, permanently locking up the Wire library. The Espressif I2C documentation highlights the necessity of bus recovery routines in production firmware.
Implementing a Software I2C Recovery
Add this snippet to your generated setup() function to toggle the SCL line and free a locked bus before initializing the Wire library:
pinMode(SCL, OUTPUT);
for (int i = 0; i < 9; i++) {
  digitalWrite(SCL, LOW);
  delayMicroseconds(5);
  digitalWrite(SCL, HIGH);
  delayMicroseconds(5);
}
pinMode(SCL, INPUT_PULLUP);
Wire.begin();
The Watchdog Timer (WDT)
For remote deployments, generated code must include a Watchdog Timer. If the generated logic enters an infinite loop or hangs on a network timeout, the WDT will hardware-reset the MCU. On AVR boards, enable it via #include <avr/wdt.h> and call wdt_enable(WDTO_2S); in setup, ensuring you sprinkle wdt_reset(); inside your main non-blocking loop.
Summary: The Human-in-the-Loop Workflow
An Arduino code generator is a force multiplier, not a replacement for embedded engineering fundamentals. Use visual tools like Visuino for complex, multi-sensor state machines, and leverage LLMs for rapid protocol parsing and API integration. However, the responsibility of memory management, non-blocking architecture, and hardware fault tolerance ultimately rests on your shoulders. By applying strict prompt constraints and rigorously auditing the generated C++ for heap fragmentation and bus lockups, you can transform raw generated code into robust, production-grade firmware.