
The Magic of WLED: Why ESP32 is the Ultimate LED Controller
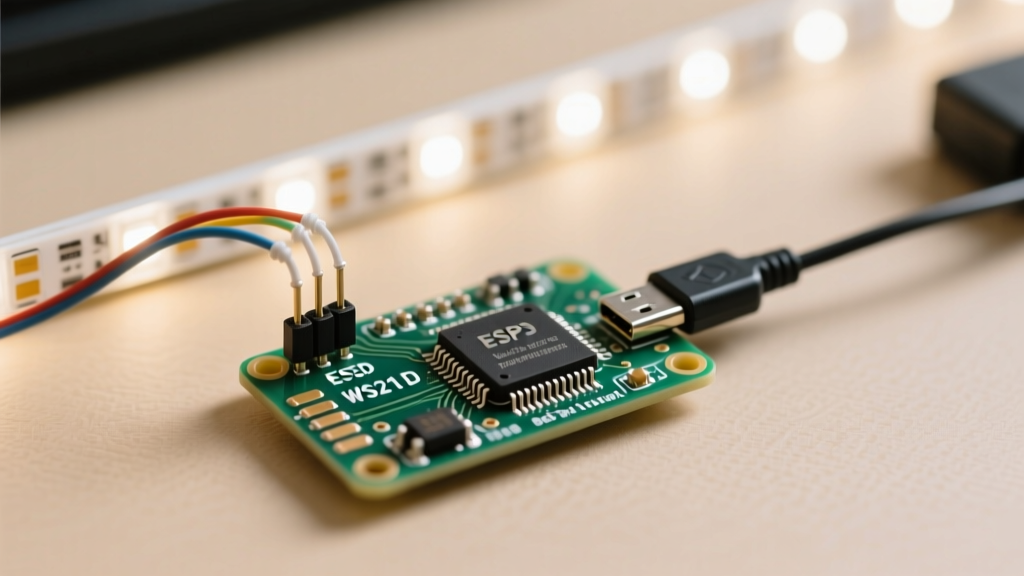
If you have ever wanted to build custom addressable LED projects without drowning in C++ code or Arduino IDE library conflicts, WLED is your salvation. WLED is a free, open-source firmware that transforms a cheap microcontroller into a powerhouse lighting controller, complete with a mobile-friendly web interface, MQTT support, and E1.31/sACN synchronization. While the older ESP8266 was the original community favorite, the ESP32 is now the undisputed king for modern installs due to its dual-core processor, Bluetooth capabilities, and superior memory handling for high-LED-count strips.
This beginner tutorial will walk you through the entire process: from sourcing the exact hardware you need, to using the install.wled web flasher to bypass complex coding environments, all the way to calculating power injection so you do not melt your workbench.
Hardware BOM (Bill of Materials) & Real Costs
Before we touch any software, you need the right silicon. Avoid generic starter kits that include underpowered USB cables and clone chips with missing CP2102 drivers. Here is a tested, reliable Bill of Materials for a standard 1-meter desk setup:
| Component | Recommended Model | Est. Price | Notes & Failure Modes |
|---|---|---|---|
| Microcontroller | ESP32-WROOM-32 DevKit V1 (30-pin) | $5.00 | Avoid 38-pin variants if using standard breadboards; they bridge the power rails. |
| LED Strip | BTF-Lighting WS2812B (60 LEDs/m, IP30) | $12.00 | IP65 silicone coatings trap heat. Use IP30 for indoor aluminum channels. |
| Power Supply | 5V 10A Switching Brick (ALITOVE or similar) | $18.00 | Must have OCP (Over Current Protection). Never use unbranded supplies. |
| Level Shifter | SN74AHCT125N IC | $1.50 | Critical for converting 3.3V ESP32 logic to 5V LED logic. |
| Capacitor | 1000µF 16V Electrolytic | $0.50 | Prevents inrush current from destroying the first LED pixel. |
Step 1: Flashing Firmware via install.wled
Historically, flashing WLED required downloading the Arduino IDE, installing board manager URLs, and resolving dependency errors. Today, the Espressif Web Serial API allows you to flash firmware directly from your browser. The official web flasher, located at install.wled.io (and widely searched by the community simply as install.wled), makes this process foolproof.
- Browser Selection: Open Google Chrome or Microsoft Edge on a desktop computer. Safari and Firefox do not fully support the Web Serial API required for direct USB flashing.
- Physical Connection: Plug your ESP32 into your PC using a data-capable micro-USB cable. (If your PC chimes but no COM port appears, you are using a charge-only cable or need to install the CP210x/SiLabs drivers).
- Select the Release: Navigate to the install.wled web portal. Select the latest stable release (e.g., v0.14.0 or newer). Choose the
esp32binary. Do not select the ESP8266 or ESP32-S3 variants unless you are using those specific boards. - Flash and Verify: Click 'Install'. The browser will request permission to access your serial port. Select the COM port associated with your ESP32. The flashing process takes roughly 45 seconds. Once complete, the ESP32 will reboot and broadcast its own WiFi access point.
Pro-Tip: If the web flasher hangs at 10%, physically disconnect the USB cable, hold down the 'BOOT' button on the ESP32, plug it back in, and release the button to force the chip into UART download mode.
Step 2: Wiring the WS2812B Strip (Avoiding the Magic Smoke)
The most common reason beginners destroy their LED strips is ignoring the voltage mismatch between the ESP32 and the WS2812B chips. The ESP32 operates at 3.3V logic, but the WS2812B data sheet specifies a logic HIGH of 0.7 × VDD (which is 3.5V when powered at 5V). Sending a 3.3V signal into a 5V strip results in flickering, random color flashes, or complete data rejection.
The 3.3V vs 5V Data Signal Problem
You have two options to solve this logic level mismatch:
- The Proper Engineering Way: Use an SN74AHCT125 level shifter IC. Power the IC with 5V, feed the 3.3V ESP32 data pin into the input, and the output will safely push a rock-solid 5V signal to the LED strip.
- The 'Sacrificial Pixel' Hack: If you do not have a level shifter, cut off the first LED from your strip. Wire this single LED's VCC to the ESP32's 3.3V pin. Because its VDD is now 3.3V, the ESP32's 3.3V data signal is recognized as a valid HIGH. The data out (DOUT) of this first LED will then be properly timed and can be wired to the DIN of the main 5V strip. (Note: This first LED will not light up, acting purely as a signal repeater).
For a comprehensive look at WS2812B electrical characteristics, refer to the Adafruit NeoPixel Uberguide, which remains the gold standard for addressable LED theory.
Wiring Matrix & Safety Components
| Component | Connection Point | Purpose |
|---|---|---|
| 1000µF Capacitor | Across 5V and GND at the strip start | Absorbs initial power spikes; prevents dead first pixels. |
| 330Ω Resistor | In-line on the Data wire (DIN) | Prevents signal ringing and reflective wave damage to the LED IC. |
| Fuse (5A-10A) | On the positive 5V wire from PSU | Prevents wire fires if the LED strip suffers a dead short. |
Step 3: Power Injection & Current Calculations
Addressable LEDs are incredibly power-hungry. A single WS2812B pixel drawing full white (RGB all on) consumes roughly 60mA. If you are running a 1-meter strip with 60 LEDs/m, that is 3.6 Amps of current just for one meter. If you scale up to a 5-meter strip (300 LEDs), you are pulling 18 Amps.
The Danger of Voltage Drop
The copper Flexible Printed Circuit Board (FPCB) on standard LED strips is thin. It cannot safely carry more than 3 to 4 Amps before severe voltage drop occurs. If you power a 5-meter strip from only one end, the LEDs at the far end will turn orange, then red, and eventually flicker off because they are only receiving 3.5V instead of 5V.
The Solution: Power Injection. You must inject 5V and GND directly from your power supply to the strip every 150 to 200 pixels. Never inject power from the ESP32's 5V pin; the microcontroller's PCB traces will vaporize. Run thick (18 AWG or 16 AWG) silicone wire directly from your Mean Well or switching power supply to multiple points along the LED strip.
Step 4: First Boot and Network Configuration
Once your hardware is wired and double-checked, power on the 5V supply first, then plug in the ESP32. The ESP32 will boot and create a WiFi network named WLED-AP with the default password wled1234.
- Connect your phone or PC to the WLED-AP network.
- Open a browser and navigate to
4.3.2.1. This is the hardcoded local IP of the WLED access point. - Tap WiFi Settings and enter your home 2.4GHz network credentials. (WLED does not support 5GHz networks).
- Once connected, the ESP32 will reboot and join your router. Check your router's DHCP client list to find the new IP address, or simply type
http://wled.localinto your browser if your network supports mDNS.
Fixing Color Order and GPIO Assignment
Navigate to LED Preferences in the WLED web UI. By default, WLED assumes the data pin is GPIO 2. If you wired your strip to GPIO 16 (highly recommended to avoid conflicts with the onboard ESP32 boot LED), change the pin assignment here.
Next, check the Color Order. Cheap Amazon strips often use a GRB (Green, Red, Blue) color order instead of the standard RGB. If you select Red in the UI but the strip lights up Green, change the color order dropdown to GRB and hit Save. For deeper configuration details, always consult the WLED Official Documentation.
Troubleshooting Common Beginner Failures
- The 'White Flash of Death': If the strip flashes blinding white on boot and then dies, your power supply is sagging, or you are missing the 1000µF capacitor. The inrush current is resetting the ESP32 or overwhelming the LED data line.
- Random Flickering: This is almost always a logic level issue. Ensure your SN74AHCT125 is wired correctly, or verify your solder joints on the data line. A loose ground wire will also cause the data signal reference to float, resulting in noise.
- ESP32 Brownout Resets: If you are powering the ESP32 via the
VINpin from the same 5V PSU as the LEDs, a drop in LED voltage will reset the microcontroller. Power the ESP32 via its USB port or use a dedicated buck converter for the board's logic power.
By following this exact workflow—leveraging the install.wled web flasher, respecting the 3.3V logic limits, and mathematically calculating your power injection—you will build a rock-solid LED installation that rivals commercial DMX setups, all for under $40 in raw components.