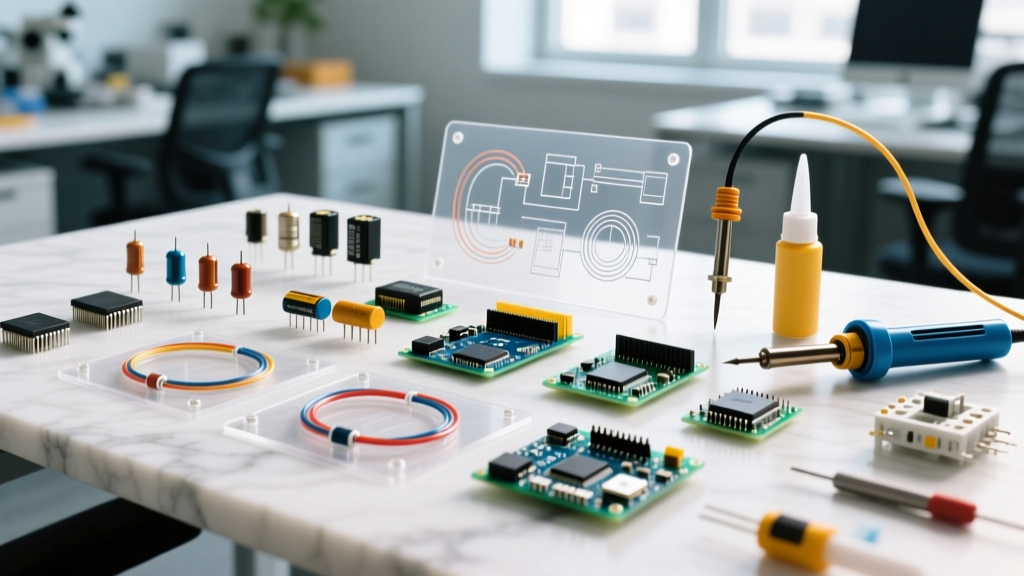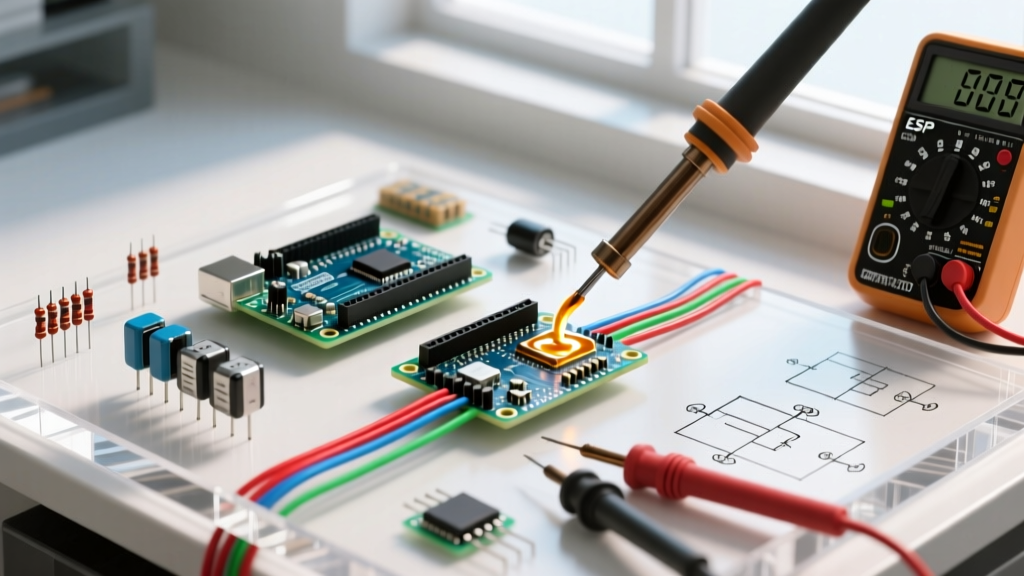

Defining the Building Blocks of DIY Electronics
When beginners ask what electronic components are, they are often looking for a simple definition. Fundamentally, electronic components are discrete or integrated physical entities that manipulate voltage, current, and electromagnetic fields to perform logical, computational, or physical work. Unlike electrical components (like simple wires or switches) that merely conduct electricity, electronic components actively control electron flow using semiconductors, vacuum tubes, or complex passive networks.
For the DIY builder, understanding these components goes far beyond textbook theory. It means knowing the difference between a ceramic and an electrolytic capacitor when filtering a noisy power supply, or recognizing why a specific MOSFET will overheat when driven by a 5V microcontroller. According to the foundational texts at All About Circuits, mastering component behavior is the dividing line between blindly copying a schematic and engineering a robust, reliable custom PCB.
The DIY Component Matrix: Active vs. Passive
To build functional circuits, you must categorize parts based on how they interact with energy. Passive components cannot introduce net energy into a circuit or amplify signals, while active components can control current flow using another electrical signal and can provide power gain.
| Category | Component Type | Common DIY Models / Values | Typical Cost (2026) | Primary Failure Mode |
|---|---|---|---|---|
| Passive | Resistor (1/4W Metal Film) | MFR-25 Series (10Ω - 1MΩ) | $0.01 - $0.05 | Thermal runaway, exceeding power rating causing open circuit |
| Passive | Capacitor (Ceramic MLCC) | 100nF (0.1µF) X7R, 50V | $0.02 - $0.10 | Mechanical cracking from PCB flex, piezoelectric noise |
| Active | Logic-Level MOSFET | IRLZ44N (N-Channel) | $0.80 - $1.50 | Gate oxide puncture from ESD, thermal destruction from high Rds(on) |
| Active | Microcontroller (MCU) | ATmega328P-PU, ESP32-S3 | $2.50 - $4.50 | Flash corruption, brownout resets, GPIO latch-up |
| Electromech. | Mechanical Relay | Songle SRD-05VDC-SL-C | $1.20 - $2.00 | Contact pitting/arcing, coil burnout from missing flyback diode |
Deep Dive: Passive Components in Practice
Passive components are the unsung heroes of circuit stability. While they do not amplify signals, they set the bias points, filter noise, and protect sensitive silicon.
Resistors: Beyond the Color Code
In DIY projects, the standard 1/4W resistor is ubiquitous. However, material matters. Carbon film resistors (like the CFR-25 series) are cheap but generate significant thermal noise and typically carry a 5% tolerance. For precision analog circuits, such as the feedback loop of an op-amp or a digital-to-analog converter (DAC) network, you must use Metal Film resistors (MFR-25) with a 1% tolerance and low temperature coefficient (typically 50ppm/°C).
Pro-Tip: Never rely solely on color codes. Manufacturing dyes can fade or be misprinted. Always verify critical resistor values with a digital multimeter before soldering them into a dense PCB.
Capacitors: Decoupling and Dielectrics
Capacitors store and release electrical energy. In digital DIY projects (like Arduino or Raspberry Pi builds), the most critical application is decoupling. Every time a microcontroller switches a GPIO pin or executes an instruction, it draws a sudden spike of current. If the power trace has inductance, this causes a voltage drop that can reset the chip.
- Ceramic (MLCC): Use 100nF (0.1µF) X7R or C0G/NP0 ceramic capacitors placed as physically close to the VCC and GND pins of your ICs as possible. They react in nanoseconds to supply high-frequency current.
- Electrolytic (Aluminum): Used for bulk energy storage (e.g., 100µF to 1000µF) on power rails to smooth out low-frequency ripple from switching regulators. Warning: These are polarized. Reversing the voltage will cause the internal electrolyte to boil, leading to a violent venting or explosion.
Active Components: The Brains and Muscles
Active components are where the logic and power switching happen. Understanding their datasheet parameters is critical to avoiding the most common DIY pitfalls.
The MOSFET Trap: Vgs(th) vs. Logic Levels
A frequent question in maker forums is why a motor isn't spinning at full speed when driven by an Arduino through a MOSFET. The answer lies in the Gate-Source Threshold Voltage (Vgs(th)).
- The Mistake: Using an IRF520. While it is a popular, cheap N-channel MOSFET, its datasheet specifies a Vgs(th) of up to 4V just to begin conducting, and it requires 10V at the gate to fully turn on (achieve its rated low Rds(on)). An Arduino outputs only 5V. The IRF520 operates in its linear (partially on) region, acting as a massive resistor, overheating, and starving the motor of current.
- The Solution: Use a Logic-Level MOSFET like the IRLZ44N or STP16NF06L. These are specifically engineered to achieve near-zero resistance (fully saturated) with a 4.5V to 5V gate drive, making them perfectly compatible with 5V and 3.3V microcontrollers.
For a deeper understanding of semiconductor physics and transistor biasing, the MIT OpenCourseWare Circuits and Electronics curriculum provides unparalleled theoretical backing for these practical realities.
Microcontrollers and ICs
Integrated Circuits (ICs) pack thousands to billions of transistors into a single package. For DIYers, the choice of MCU defines the project's ceiling. The ATmega328P-PU (the brain of the Arduino Uno) remains a staple for simple, low-power 5V logic tasks. However, for IoT projects requiring Wi-Fi and Bluetooth, the ESP32-S3-WROOM-1 is the 2026 standard, offering dual-core processing, native USB, and AI vector instructions, typically costing around $3.50 on breakout boards.
Electromechanical Components and Interconnects
A circuit is useless if it cannot interface with the physical world or maintain reliable connections.
Relays and Flyback Diodes
When switching high-voltage AC loads (like a 120V water pump) using a 5V DC microcontroller, mechanical relays like the Songle SRD-05VDC are common. However, the relay coil is an inductor. When the transistor turns off, the collapsing magnetic field generates a massive reverse voltage spike (inductive kickback) that will instantly destroy your driving transistor.
The Fix: Always place a flyback diode (like a 1N4007) in reverse bias across the relay coil. This provides a safe path for the inductive spike to dissipate.
Connectors: Moving Beyond Dupont
Breadboards and cheap Dupont jumper wires are fine for prototyping, but they suffer from high contact resistance and vibration-induced disconnects. For permanent DIY builds, upgrade your interconnects:
- JST-PH (2.0mm pitch): The standard for battery connections and compact sensor modules. Requires a dedicated ratcheting crimper (like the IWISS SN-28B or PA-09) for reliable gas-tight crimps.
- Screw Terminal Blocks (5.08mm pitch): Ideal for high-current DC or AC mains wiring, allowing for easy field maintenance without specialized tools.
Sourcing Components: Avoiding the Counterfeit Trap
As global supply chains have evolved, the maker market has been flooded with counterfeit components. Fake voltage regulators (like the LM2596) and remarked microcontrollers can cause catastrophic project failures. According to hardware engineering guidelines highlighted by SparkFun Electronics, verifying your source is as important as verifying your schematic.
Where to Buy in 2026
- Tier 1 (Authorized Distributors): DigiKey, Mouser, and Newark. These guarantee genuine parts directly from manufacturers like Texas Instruments, Analog Devices, and Microchip. Best for critical ICs and precision passives.
- Tier 2 (Reputable Maker Stores): SparkFun, Adafruit, and Pololu. Excellent for pre-assembled breakout boards, sensors, and curated kits with guaranteed support and open-source libraries.
- Tier 3 (Direct from Asia): LCSC is highly recommended for genuine Asian-brand components (like UNI-T, HXJ, and various passives) at bulk prices. Avoid unverified third-party sellers on general marketplaces for complex silicon.
Essential Tools for Component Verification
You cannot effectively use electronic components if you cannot test them. Beyond a standard digital multimeter (DMM) for checking continuity and resistance, serious DIYers should invest in:
- Component Tester (e.g., LCR-T4 or TC1): A relatively inexpensive tool that automatically identifies transistor pinouts (Base, Collector, Emitter), measures capacitor ESR (Equivalent Series Resistance), and checks diode forward voltage.
- Digital Oscilloscope (e.g., Rigol DS1054Z or Hantek DSO5072P): Essential for visualizing what components are actually doing in real-time. A multimeter might show a steady 5V, but an oscilloscope will reveal the 50mV high-frequency ringing caused by poor capacitor placement.
Final Thoughts on Component Selection
Understanding what electronic components are is an ongoing journey of balancing theoretical physics with practical engineering constraints. Every resistor, capacitor, and semiconductor has limits defined by its material science and packaging. By respecting datasheet parameters, prioritizing logic-level compatibility, and sourcing from authorized distributors, you elevate your DIY projects from fragile prototypes to professional-grade hardware.