
The Physics and Promise of Bipolar Steppers
When building precision CNC plotters, automated camera sliders, or robotics, unipolar stepper motors often fall short on torque and efficiency. Bipolar stepper motors, characterized by their four-wire configuration and lack of center taps, require the current through their coils to be actively reversed. This demands a more robust hardware architecture—specifically, full H-bridges or chopper drivers. Learning to control bipolar stepper motors with CircuitPython is incredibly rewarding, as the adafruit_motor library abstracts the complex step-sequencing logic. However, the software is only half the battle; selecting the right microcontroller and driver kit is where most DIY electronics projects succeed or fail.
In this 2026 equipment roundup, we evaluate the most reliable, cost-effective, and technically capable hardware kits for driving bipolar steppers via CircuitPython. We will bypass the outdated L298N dual H-bridges—which suffer from massive voltage drops and thermal inefficiencies—and focus on modern chopper drivers and I2C-offloaded motor shields.
Top CircuitPython Bipolar Stepper Kits Compared
Choosing the right kit depends on your torque requirements, voltage supply, and available GPIO pins. Below are the top three configurations for modern makers.
1. The High-Torque Workhorse: Raspberry Pi Pico + DRV8825 + NEMA 17
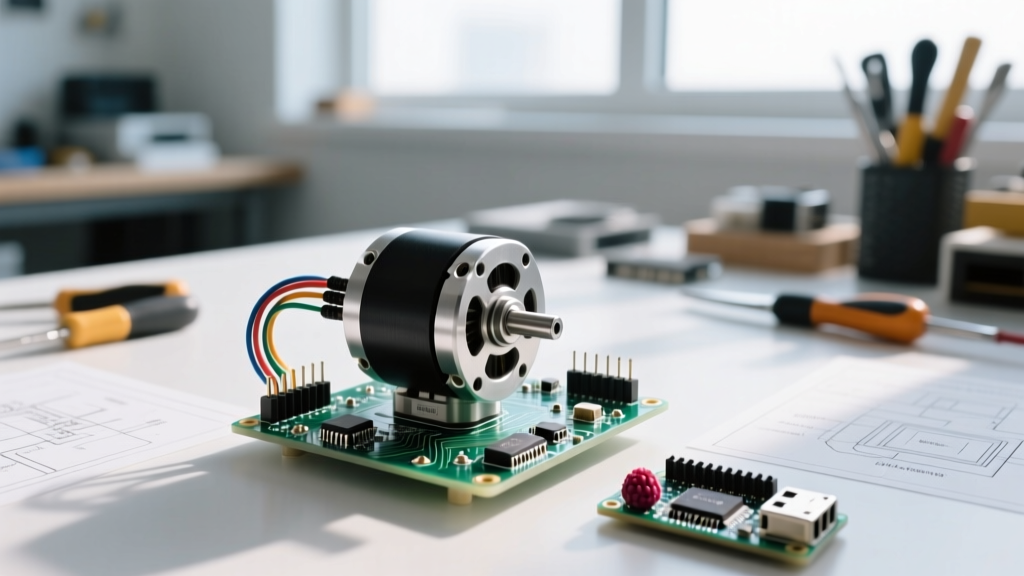
For applications requiring serious holding torque (like 3D printers or desktop CNC mills), the NEMA 17 bipolar stepper paired with a Pololu DRV8825 Stepper Motor Driver Carrier is the undisputed champion. The DRV8825 is a chopper driver that uses a step/direction interface. This is crucial for CircuitPython users because it only consumes two GPIO pins (Step and Dir) per motor, leaving the rest of the Pico’s pins free for limit switches and sensors.
Kit Breakdown:
- MCU: Raspberry Pi Pico (RP2040) running CircuitPython.
- Driver: DRV8825 Breakout (supports up to 2.2A per phase with active cooling).
- Motor: Standard 1.5A, 12V NEMA 17 Bipolar Stepper (e.g., 17HS4401).
- Power: 12V 5A DC switching power supply.
Why it wins: The step/dir interface natively supports the adafruit_motor.stepper library's microstepping capabilities. You can easily achieve 1/32 microstepping, resulting in buttery-smooth motion and significantly reduced acoustic resonance.
2. The I2C Offload: Adafruit Feather RP2040 + Motor Shield V2
If you are building a complex rover or a multi-axis robotic arm and are running out of GPIO pins, offloading the motor control to an I2C coprocessor is a brilliant strategy. The Adafruit Motor Shield V2 utilizes a PCA9685 PWM driver chip to handle the heavy lifting of H-bridge switching. While originally designed for Arduino, it is fully supported in CircuitPython via the adafruit_pca9685 and adafruit_motor libraries.
Kit Breakdown:
- MCU: Adafruit Feather RP2040.
- Driver: Adafruit Motor Shield V2 (uses TB6612FNG dual H-bridge MOSFETs internally).
- Motor: Low-voltage NEMA 14 or 17 Bipolar Stepper (rated for 5V to 12V).
Why it wins: Wiring is foolproof. The shield stacks directly onto the Feather, and the I2C bus handles all PWM generation. This prevents CircuitPython's garbage collection pauses from causing stuttering in your stepper motor timing, a common issue when bit-banging step pins directly from Python.
3. The Compact Prototyping Rig: QT Py + TB6612FNG Breakout
For wearable robotics, compact camera gimbals, or breadboard prototyping, the Adafruit QT Py series paired with a TB6612FNG breakout offers an incredibly small footprint. The TB6612FNG is a highly efficient dual H-bridge that handles the current reversal required for bipolar steppers without the massive heat sink requirements of older Darlington-based drivers.
Kit Breakdown:
- MCU: Adafruit QT Py ESP32-S2 or RP2040.
- Driver: SparkFun or Pololu TB6612FNG Breakout.
- Motor: 5V Bipolar Stepper (e.g., modified 28BYJ-48 or small NEMA 11).
Why it wins: It operates efficiently at lower voltages (5V to 13.5V), making it perfect for battery-powered LiPo projects where a 12V or 24V chopper supply is impractical.
Hardware Specification & Pricing Matrix
| Kit Configuration | Driver IC Architecture | Control Interface | Max Current / Phase | Est. Kit Price (2026) |
|---|---|---|---|---|
| Pico + DRV8825 + NEMA 17 | Chopper (Constant Current) | Step / Direction | 2.2A (with cooling) | $38 - $45 |
| Feather + Motor Shield V2 | MOSFET H-Bridge (PWM) | I2C (PCA9685) | 1.2A Continuous | $55 - $65 |
| QT Py + TB6612FNG | MOSFET H-Bridge (Direct) | Direct GPIO / PWM | 1.2A Continuous | $28 - $35 |
CircuitPython Implementation Nuances
When you write your code using the CircuitPython adafruit_motor documentation, the implementation changes drastically depending on your driver hardware.
Step/Dir vs. 4-Pin H-Bridge
If you are using the DRV8825, you initialize the motor using the StepDirStepper class. CircuitPython simply pulses the step pin and sets the direction pin high or low. The driver IC handles the complex coil decay modes and microstepping interpolation internally.
Conversely, if you are using the TB6612FNG or Motor Shield V2, you must use the standard StepperMotor class, passing in four separate PWM or digital pins (IN1, IN2, IN3, IN4). The CircuitPython library then calculates the 8-step or 4-step wave sequence in software to reverse the polarity across the A and B coils.
The Importance of release()
A common beginner mistake is leaving the motor energized after a movement sequence completes. Bipolar steppers draw maximum current when holding position. In battery-powered kits, this will drain your LiPo in minutes and overheat the motor casing. Always call stepper.release() in your CircuitPython script once the target position is reached to de-energize the coils.
Advanced Troubleshooting: Vref, Resonance, and Thermal Shutdown
Even with the best kit, controlling bipolar stepper motors involves navigating physical limitations. Here are the most common failure modes and how to engineer around them.
1. Tuning the Vref on Chopper Drivers
If your DRV8825 kit is skipping steps or the motor is stuttering, the current limit is likely set incorrectly at the factory. You must tune the Vref potentiometer on the driver board using a multimeter. For the Pololu DRV8825, the formula is:
Vref = Current Limit / 2
Example: For a 1.5A NEMA 17 motor, measure the voltage between the GND pin and the Vref potentiometer. Adjust it until your multimeter reads exactly 0.75V.
Failure to tune Vref results in either weak magnetic fields (skipped steps) or excessive current that triggers the driver's internal thermal shutdown protection.
2. Mid-Band Resonance and Coil Whine
Bipolar steppers are notorious for mid-band resonance—a phenomenon where the motor loses up to 30% of its torque at specific step rates (usually between 200 and 600 full steps per second), accompanied by a loud ringing or coil whine. If your CircuitPython camera slider vibrates violently at certain speeds, switch from FULLSTEP to MICROSTEP in your code. Microstepping alters the current decay curve, effectively damping the mechanical resonance of the rotor.
3. Voltage Starvation and Back-EMF
When a bipolar stepper decelerates rapidly, the collapsing magnetic field generates Back-EMF (electromotive force), sending voltage spikes back into your driver. If you are using the TB6612FNG or Motor Shield V2 without adequate decoupling capacitors, these spikes can reset your Raspberry Pi Pico or ESP32. Always ensure your kit includes a large electrolytic capacitor (at least 100µF, rated for 25V+) placed as close to the driver's VMOT and GND pins as possible to absorb these transients.
Final Verdict for Makers
If your project demands high torque, 24V operation, and precision CNC capabilities, the Pico + DRV8825 + NEMA 17 kit is mandatory. The chopper driver's ability to push high voltage through low-resistance coils yields vastly superior high-speed torque. However, if you are building an I2C-daisy-chained robotic platform or a beginner-friendly educational rover, the Feather + Motor Shield V2 eliminates wiring headaches and prevents Python-level timing jitter, making it the most elegant CircuitPython experience available today.