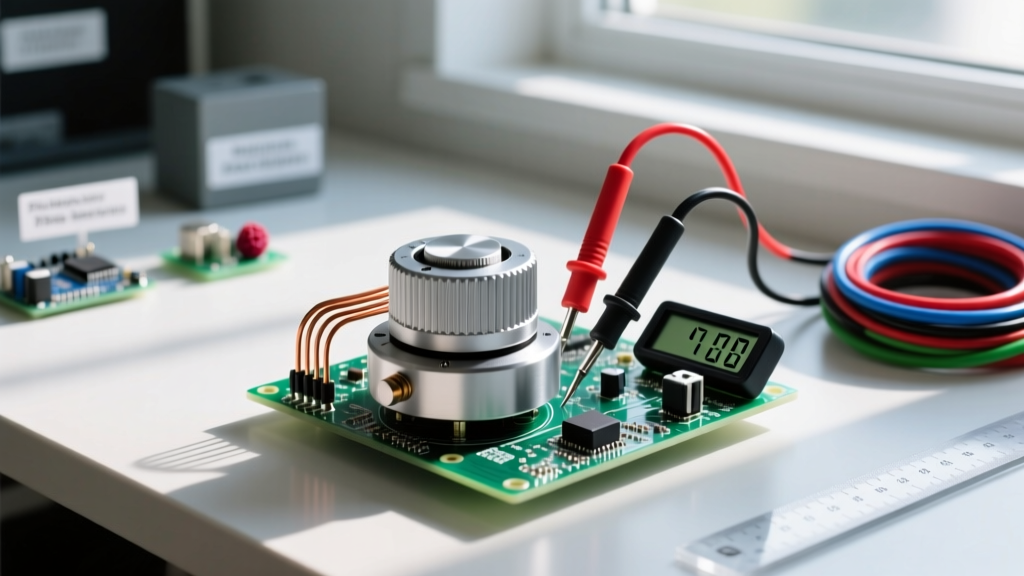

The 'potentiometer method' on the modern electronics workbench refers to the systematic three-terminal resistance sweep used to characterize, map, and diagnose variable resistors. While historical metrology used the term for null-balance voltage measurements, today's DIY builders and repair technicians use the potentiometer method to isolate track degradation, verify taper linearity, and catch wiper faults that a simple continuity beep misses. Whether you are troubleshooting a scratchy guitar amp volume knob, verifying a joystick position sensor, or testing a Bourns 3296W trimpot before soldering it to a PCB, this method provides definitive, numeric proof of component health.
Meter Setup and Safety Categories (CAT Ratings)
Before probing, you must configure your digital multimeter (DMM) correctly and assess the safety environment. Measuring a potentiometer desoldered from a board is a low-risk task, but testing one integrated into a mains-powered device introduces severe shock hazards.
DMM Configuration Block
- Dial Position: Resistance (Ω). If your meter is manual-ranging, select the 20kΩ range for testing standard 10kΩ pots to maintain resolution without over-ranging.
- Lead Jacks: Black lead to COM, Red lead to V/Ω. Do not use the mA or 10A current jacks; doing so will short the wiper to ground when powered and can blow your meter's internal fuse.
- Zeroing: Short the probe tips together. Note the residual lead resistance (typically 0.1Ω to 0.4Ω). Subtract this from your final readings when measuring low-value pots (e.g., 100Ω or 500Ω).
Probe Placement and the 3-Point Sweep
A standard potentiometer has three terminals: Pin 1 (Counter-Clockwise / CCW), Pin 2 (Wiper), and Pin 3 (Clockwise / CW). The potentiometer method requires three distinct measurement phases to fully map the component.
- Total End-to-End Resistance (Pin 1 to Pin 3): Place your probes on the two outer lugs. The wiper position does not matter for this reading. This verifies the total nominal resistance of the track. A good 10kΩ pot with a standard ±20% tolerance should read numerically between 8,000Ω and 12,000Ω. Precision cermet pots (like the Bourns 3296 series) will read within ±10% (9,000Ω to 11,000Ω).
- Wiper to CCW (Pin 1 to Pin 2): Place one probe on Pin 1 and the other on the center Pin 2. Slowly rotate the shaft from 0% to 100%. The resistance should rise smoothly from near 0Ω up to the total end-to-end value.
- Wiper to CW (Pin 3 to Pin 2): Move the outer probe to Pin 3. Rotate the shaft. The resistance should now fall smoothly from the total value down to near 0Ω as you turn it. The sum of the Pin 1-2 and Pin 3-2 readings at any given shaft position must always equal the total Pin 1-3 reading.
Taper Mapping: Expected Values by Rotation
Not all potentiometers scale linearly. Audio equipment relies on logarithmic (audio) tapers to match human hearing perception, while joysticks and servo feedback loops require strict linear tapers. The table below provides the exact expected numeric values for a 10kΩ potentiometer at key mechanical detents, based on standard All About Circuits taper curves and Bourns manufacturing specifications.
| Shaft Position | Linear (B-Taper) Expected | Audio / Log (A-Taper) Expected | Anti-Log (C-Taper) Expected |
|---|---|---|---|
| 0% (Full CCW) | ~0Ω - 5Ω | ~0Ω - 5Ω | ~0Ω - 5Ω |
| 25% Rotation | 2,500Ω ± 10% | ~400Ω - 600Ω | ~4,500Ω - 5,500Ω |
| 50% (Midpoint) | 5,000Ω ± 10% | ~1,200Ω - 1,800Ω | ~8,000Ω - 8,800Ω |
| 75% Rotation | 7,500Ω ± 10% | ~4,500Ω - 5,500Ω | ~9,500Ω - 9,800Ω |
| 100% (Full CW) | 10,000Ω ± 10% | 10,000Ω ± 10% | 10,000Ω ± 10% |
Note: True audio tapers vary wildly between manufacturers. ALPS and Panasonic often define their 50% rotation point differently than Bourns. Always check the specific manufacturer datasheet for exact tracking tolerances, which can be as wide as ±30% on cheap carbon composition tracks.
Track Materials and Contact Resistance
When executing the potentiometer method, the physical material of the resistive track dictates the noise floor and wiper contact resistance you will measure on your DMM.
- Carbon Composition: The cheapest and most common in vintage audio. Prone to 'dead spots' where the carbon wears away. Wiper contact resistance can fluctuate between 1Ω and 20Ω as you sweep, causing the 'scratchy' sound in amplifiers.
- Cermet (Ceramic/Metal): Used in precision trimpots (e.g., Bourns 3296W). Extremely stable, low temperature coefficient (±100 ppm/°C). Wiper contact resistance is highly stable, typically under 2Ω. If your DMM shows a 50Ω jump while sweeping a cermet pot, the component is physically damaged.
- Conductive Plastic: Used in high-end joysticks and studio faders. Offers the smoothest resolution and longest mechanical life (up to 1 million cycles). Contact resistance is virtually unmeasurable on a standard DMM, sitting well below 1Ω.
Diagnostic Troubleshooting: Good vs. Bad Readings
Use this decision matrix to interpret the numeric data gathered during your 3-point sweep. These thresholds assume a standard 10kΩ component measured out-of-circuit.
| Observed Symptom | Numeric DMM Reading | Diagnosis & Fix |
|---|---|---|
| Total Resistance (Pin 1-3) | Reads > 12kΩ or 'OL' | Open track. The resistive element is cracked or the lead wire has detached internally. Fix: Replace. |
| Wiper Sweep (Pin 1-2) | Jumps to 'OL' at mid-rotation | Dead spot on the carbon track. Wiper loses physical contact. Fix: Clean with DeoxIT F5 or replace. |
| Wiper Contact Resistance | Fluctuates 1Ω to 50Ω rapidly | Wiper bounce / oxidation. Common in unused vintage gear. Fix: Exercise the knob 50 times to burnish the contacts. |
| Total Resistance (In-Circuit) | Reads 4.5kΩ on a 10kΩ pot | Parallel circuit leakage. Surrounding PCB components are skewing the reading. Fix: Desolder at least one leg and re-test. |
Common Mistakes That Give Misleading Readings
Even with a high-end Fluke 87V, operator error can ruin the potentiometer method. Avoid these three bench mistakes:
- The Finger Parallel Path: Human skin has a resistance of roughly 40kΩ to 100kΩ depending on moisture. If you are testing a 100kΩ or 250kΩ audio pot and you pinch both metal probe tips and the pot's metal casing with your bare fingers, your body creates a parallel resistor network. This will artificially lower the total resistance reading, leading you to falsely diagnose the pot as 'out of tolerance' or 'shorted'. Always hold the probes by the insulated grips and rest the potentiometer on a dry, non-conductive silicone mat.
- Ignoring In-Circuit Parallel Paths: Measuring a trimpot while it is still soldered to a populated PCB is a cardinal sin of the potentiometer method. The surrounding resistors, capacitors, and semiconductor junctions form parallel and series networks that will completely mask the true resistance of the pot. Always lift at least one leg of the potentiometer off the PCB pad to isolate it before measuring.
- Misidentifying the Taper: Assuming a potentiometer is linear when it is actually logarithmic. If you test a 10kΩ audio pot and measure 1,500Ω at the exact mechanical midpoint, it is not 'broken' or 'drifted'—it is functioning exactly as an A-taper should. Always check the back of the casing for markings: 'B' denotes linear, 'A' denotes audio/log, and 'C' denotes anti-log.
By strictly following the 3-point sweep, referencing the correct taper tables, and isolating the component from parallel interference, the potentiometer method transforms a subjective 'scratchy knob' complaint into hard, verifiable bench data. For further reading on measurement safety standards, consult the Fluke guide on understanding measurement categories to ensure your test leads are rated for the environment you are working in.