
The WLED web installer (install.wled.me) has democratized custom lighting, allowing anyone to flash powerful, feature-rich firmware onto an ESP chip directly from a browser. However, the software is only half the battle. As a senior electronics technician, I see countless projects fail not because of the WLED installer, but because of incompatible, underpowered, or poorly selected hardware. This buying guide cuts through the noise, detailing the exact microcontrollers, logic level shifters, LED strips, and power supplies you need to buy for a bulletproof WLED installation.
The Microcontroller: Choosing the Right Brain for WLED
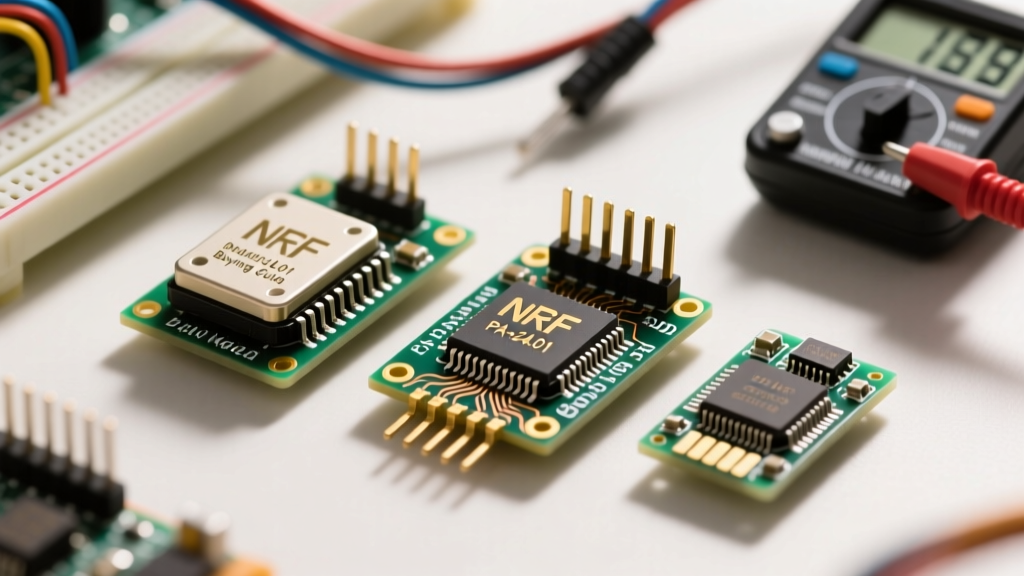
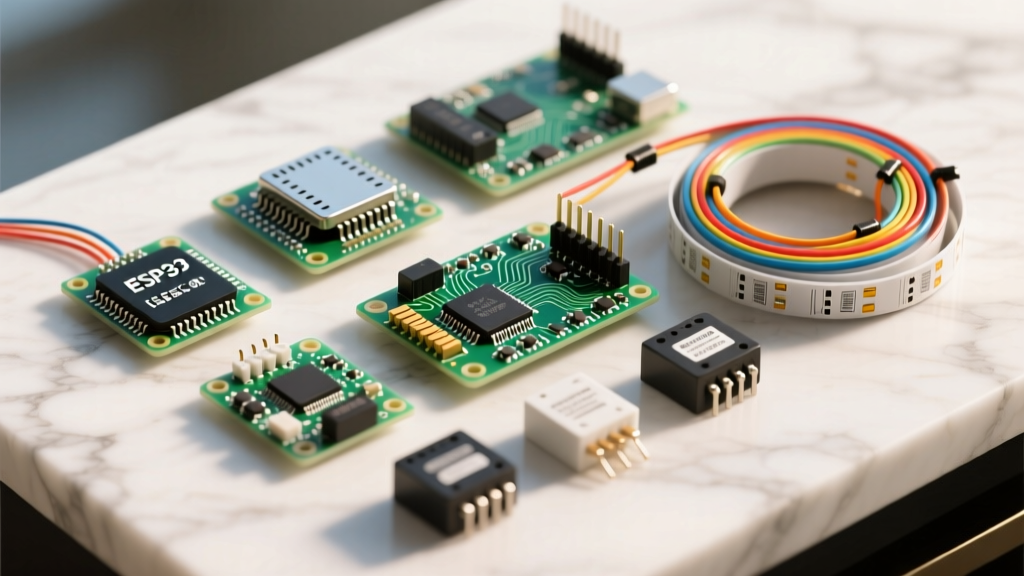
While the WLED installer technically supports the legacy ESP8266, buying one today is a mistake for new projects. The ESP8266 lacks the RAM for complex 2D matrices, struggles with high LED counts, and has only one usable data pin. To get the most out of the WLED firmware, you need to invest in the ESP32 ecosystem.
The ESP32 Standard vs. ESP32-S3
The standard ESP32-WROOM-32 is the undisputed king of DIY WLED builds. It supports multiple I2S data pins, allowing you to run parallel LED strips to multiply your frame rate. However, if you are building massive matrices or high-FPS gaming sync setups, the newer ESP32-S3 is worth the premium.
| Board Type | Max LEDs (Approx) | Parallel Outputs | Best For |
|---|---|---|---|
| ESP8266 (NodeMCU) | ~500 | 1 | Simple under-cabinet strips |
| ESP32-WROOM-32 | ~1500 | Up to 4 | Standard room lighting, trees |
| ESP32-S3 | ~2000+ | Up to 8 | Massive matrices, high-FPS sync |
Premium Alternative: QuinLED Boards
If you want to skip the breadboard and soldering phase entirely, buy a dedicated WLED board from QuinLED. The QuinLED-Dig-Uno and Dig-Quad feature built-in fuses, logic level shifters, and screw terminals, eliminating the need for messy wiring and providing enterprise-grade safety for your home installation.
The Unsung Hero: Logic Level Shifters
The most common cause of flickering, random color shifts, and WLED installer output failures is voltage mismatch. ESP32 boards output data at 3.3V, but WS2812B and SK6812 LEDs require a 5V logic signal to reliably read the high-speed data stream. Feeding 3.3V directly into a 5V LED data line often results in the first LED working, but the rest of the strip glitching violently.
What to Buy: SN74AHCT125
Do not buy cheap, unbranded logic level converters with MOSFETs; they are far too slow for high-speed LED data and will cause signal degradation. You must buy a 74AHCT125 chip. It is specifically designed to translate 3.3V logic to 5V logic at high speeds. Wiring your chosen GPIO pin through a 74AHCT125 to your LED data line will instantly cure 90% of random flickering issues.
Addressable LED Strips: Matching the Chip to the Environment
Not all addressable LEDs are created equal. The WLED installer supports dozens of chipsets, but your physical environment and power constraints dictate which one you should buy.
| Chipset | Voltage | Key Feature | Buying Recommendation |
|---|---|---|---|
| WS2812B | 5V | Cheap, ubiquitous, single data line | Short runs, indoor prototypes |
| WS2815 | 12V | Backup data line, lower current draw | Long architectural runs, ceiling coves |
| SK6812 RGBW | 5V | Dedicated warm/cool white channel | Task lighting, areas needing true white |
Pro Tip: If buying WS2812B, always choose the 'black PCB' version over the white PCB. Black PCBs dissipate heat significantly better, extending the lifespan of the diodes when running at high brightness.
Power Supplies and Injection: The Math You Cannot Ignore
The WLED firmware includes a power calculator in its settings, but you must understand the physics before you buy. A standard 5V WS2812B strip with 60 LEDs/meter draws roughly 0.3 Watts per LED. A 5-meter roll (300 LEDs) will pull 90 Watts (18 Amps at 5V).
Choosing the Power Supply (PSU)
Never buy generic, unbranded aluminum mesh PSUs from random marketplace sellers. They lack proper over-current protection, thermal shutoffs, and can catch fire. Buy Mean Well LRS or RS series power supplies. For a 90W setup, buy a 150W PSU (like the LRS-150-5) to maintain an 80% load ceiling, which keeps the unit cool and extends its lifespan.
Power Injection Wire and Capacitors
You cannot power 5 meters of 5V LEDs from one end. The thin copper traces on the strip will overheat and melt. You must buy 18 AWG silicone wire for main power runs and inject power every 2 to 3 meters. If you opt for 12V WS2815 strips, the current is lower, allowing you to use thinner 20 AWG injection wires. Furthermore, always buy a large electrolytic capacitor (1000uF, 10V or higher) to place across the VCC and GND terminals at the start of your strip to smooth out voltage spikes.
Audio Sync: Buying the Right I2S Microphone
WLED's audio-reactive features are a massive draw for DIYers. To use them properly, you need an I2S digital microphone, not an analog one. Analog microphones require the ESP32 to use its ADC (Analog to Digital Converter), which is slow, noisy, and conflicts with WiFi operations.
Buy the INMP441 MEMS I2S microphone. It provides crystal clear digital audio data directly to the WLED DSP algorithms. Wiring is straightforward: VDD to 3.3V, GND to GND, SCK to GPIO14, WS to GPIO12, and SD to GPIO27. Ensure you buy the version with the L/R pad configured correctly for your specific ESP32 pinout.
Pre-Flashing Checklist for the WLED Web Installer
Before you open the WLED web installer, ensure your hardware environment is ready to accept the firmware.
- UART Drivers: Many cheap ESP32 clones use the CH340 USB-to-UART chip instead of the CP2102. You must download and install the CH340 drivers on your OS, or the web installer will not detect your COM port.
- Browser Compatibility: The WLED installer relies on the Web Serial API. You must use a Chromium-based browser (Chrome, Edge, or Brave). Safari and Firefox do not support this API.
- Boot Mode: Some ESP32 dev boards require you to hold the 'BOOT' button while plugging in the USB cable to enter flash mode. If the installer hangs at 1%, this is usually the culprit.
- The 5V Pin Trap: Never wire your LED strip VCC to the ESP32's onboard 5V USB pin. The USB trace and onboard regulator cannot handle the amperage of an LED strip and will instantly burn out. Always power the LEDs directly from your dedicated PSU.
Conclusion
Building a WLED project is incredibly rewarding, but treating the hardware selection as an afterthought will lead to endless frustration. By investing in an ESP32-S3, a proper 74AHCT125 level shifter, high-quality WS2815 strips, and a Mean Well power supply, you guarantee that the firmware you flash via the WLED installer will perform flawlessly for years to come. For more deep-dives into LED protocols and pin configurations, refer to the official WLED Wiki and the Adafruit NeoPixel UberGuide.