
The Core Question: What Do Potentiometers Do in a Circuit?
If you have ever adjusted the volume on a guitar amplifier, tuned a vintage radio, or dialed in the speed of a DIY motor controller, you have interacted with a potentiometer. But beyond turning a knob, what do potentiometers do at the electrical level? Fundamentally, a potentiometer (often called a 'pot') is a three-terminal electromechanical component that acts as an adjustable voltage divider. By moving a conductive wiper across a resistive track, you alter the resistance between the wiper and the fixed terminals, allowing you to manually tune voltage levels or current flow in a circuit.
When sourcing components for a prototyping bench, understanding the dual operational modes of a potentiometer is critical. Wired with all three terminals, it functions as a voltage divider, outputting a variable reference voltage (ideal for analog inputs on an Arduino or ESP32). Wired with only two terminals (the wiper and one fixed end), it functions as a rheostat or variable resistor, actively throttling current (ideal for dimming LEDs or controlling fan speeds). Choosing the wrong component for the wrong mode is a frequent beginner mistake that leads to burned tracks and erratic circuit behavior.
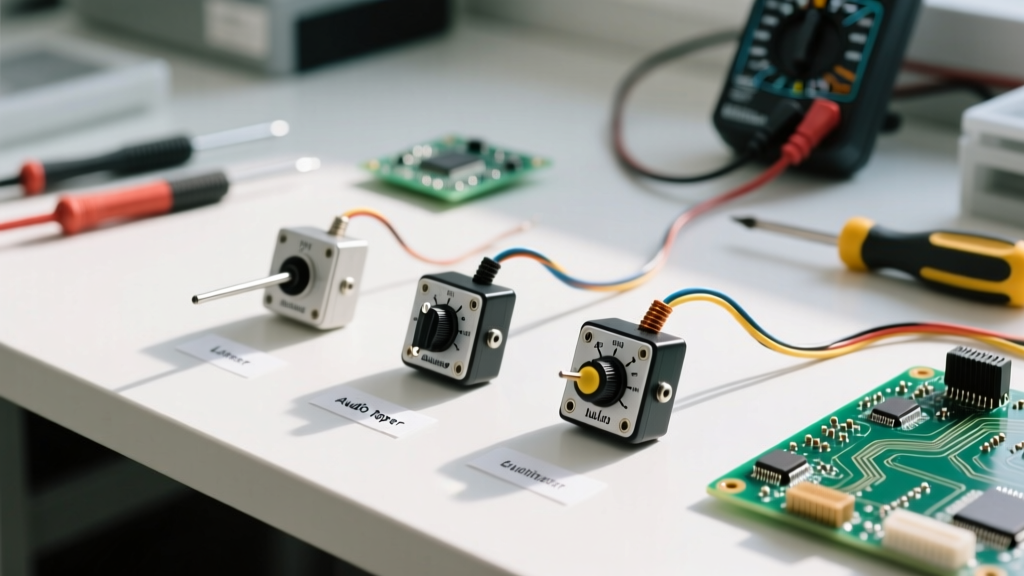
Decoding Tapers: Linear (B) vs. Audio (A) vs. Anti-Log (C)
One of the most confusing aspects of buying potentiometers is the 'taper'—the mathematical relationship between the physical rotation of the shaft and the change in resistance. Selecting the correct taper is non-negotiable for functional UI design.
- Linear Taper (Marked 'B'): The resistance changes at a constant rate relative to the shaft angle. At 50% rotation, you get exactly 50% of the total resistance. This is mandatory for microcontroller analog inputs, motor speed controls, and oscilloscope calibration dials.
- Audio/Logarithmic Taper (Marked 'A'): Human hearing perceives volume logarithmically, not linearly. An audio taper pot changes resistance slowly at first, then rapidly near the end of the rotation. If you use a linear pot for an audio volume control, the sound will appear to jump from 'silent' to 'deafening' within the first 20% of the knob's throw.
- Anti-Logarithmic/Reverse Audio (Marked 'C'): Rare in modern DIY, but sometimes used in specific synthesizer filter circuits or vintage equipment restoration.
Buyer Beware: Taper markings are not globally standardized. In most of the world (and on modern Bourns or Alpha components), 'B' means Linear and 'A' means Audio. However, on vintage American equipment (like old Fender amplifiers), 'A' meant Linear and 'C' meant Audio. Always verify with a multimeter before soldering.
Material Matters: Carbon, Cermet, and Wirewound Tracks
The physical material of the resistive track dictates the potentiometer's lifespan, noise profile, and power handling capabilities. When browsing catalogs from Digi-Key or Mouser, you will encounter three primary track materials:
1. Carbon Composition
Carbon pots are the cheapest and most common. They are excellent for audio applications because they introduce minimal inductance and high-frequency noise. However, they are prone to physical wear. Over time, the wiper carves a groove into the carbon, creating 'dead spots' and the infamous 'scratchy' sound when turning a dirty volume knob. They typically max out at 1/4W to 1/2W power dissipation.
2. Cermet (Ceramic-Metal)
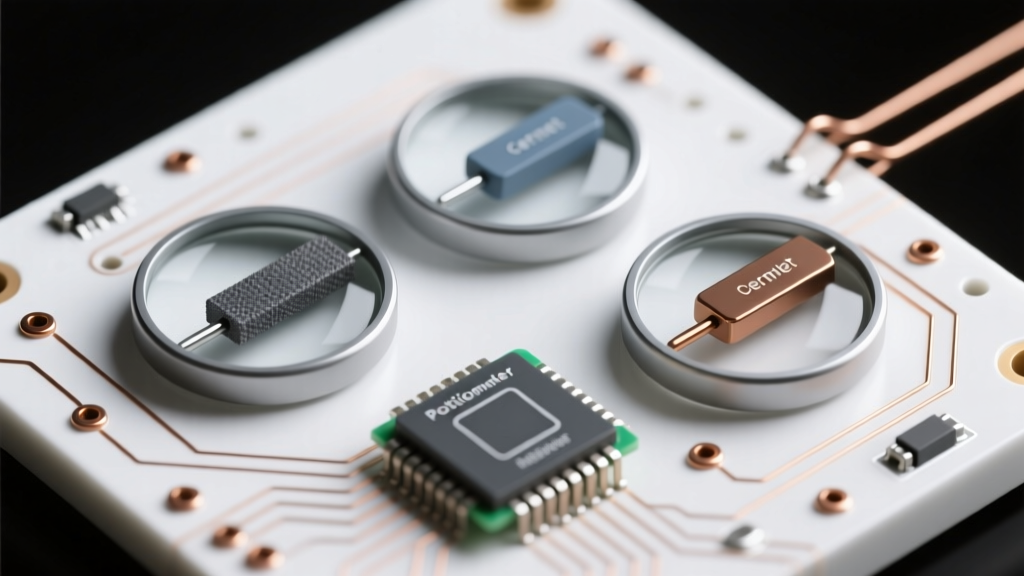
Cermet tracks are used almost exclusively in trimpots (the small blue or orange tuning pots on PCBs). They offer incredible thermal stability and a long operational life, making them perfect for 'set-and-forget' calibration tasks, like tuning the bias current on an amplifier or setting a voltage threshold on a comparator. They are generally not rated for continuous user adjustment.
3. Wirewound
Wirewound pots consist of resistance wire wrapped around a core. They can handle massive amounts of power (5W to 25W+), making them ideal for heavy-duty rheostat applications like vintage motor speed controls or high-power dummy loads. The drawback is 'resolution'—because the wiper jumps from one wire coil to the next, the resistance changes in tiny steps rather than smoothly, which can introduce quantization noise in sensitive audio circuits.
Calculating Power Dissipation in Rheostat Configurations
A massive trap for DIYers is ignoring the wattage rating when using a pot as a variable resistor. A standard panel-mount carbon pot is rated for 0.125W to 0.25W. If you wire a 100Ω potentiometer in series with a 12V LED strip, and dial the resistance down to 50Ω to dim the lights, the current might exceed 150mA. Using the formula P = I²R, the power dissipated as heat at the wiper junction will exceed the component's physical limits, melting the internal carbon track and causing an open circuit.
Pro-Tip from the Bench: Never use a standard carbon potentiometer to directly throttle high-current loads. Instead, use the potentiometer as a low-current voltage divider to feed a control voltage into a MOSFET or a dedicated PWM motor controller IC. This keeps the high current entirely out of the fragile resistive track.
Mechanical Form Factors and Real-World Pricing
Form factor dictates how the component integrates into your enclosure or PCB. Here is a breakdown of the most common styles you will encounter when purchasing:
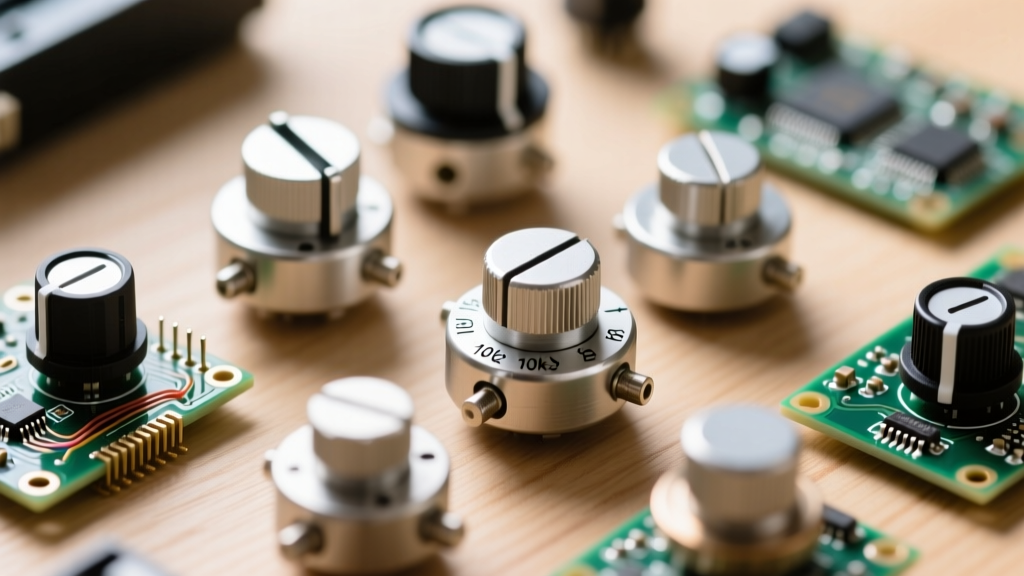
- Panel Mount Rotary: Features a threaded bushing and shaft designed to mount through a chassis. Examples include the Alpha RD901F series. Ideal for user-facing knobs on guitar pedals or synthesizers. (Price: $1.20 - $3.50 each)
- Trimpots / PCB Mount: Small, enclosed components soldered directly to the board. The Bourns 3296W (multi-turn) is the industry standard for precision calibration. (Price: $0.15 - $0.85 each)
- Slide Potentiometers: Linear travel rather than rotary. The Alps RS60 series is legendary in DJ mixers and graphic equalizers for its smooth feel and dual-track capabilities. (Price: $2.50 - $6.00 each)
2026 Buyer’s Matrix: Top Potentiometer Series for Prototyping
| Model Series | Type & Material | Best Application | Avg. Price |
|---|---|---|---|
| Bourns 3386P | Single-Turn Cermet Trimpot | General PCB calibration, bias setting | $0.75 |
| Bourns 3296W | Multi-Turn Cermet Trimpot | Precision voltage references, sensor tuning | $1.85 |
| Alpha RD901F | Panel Mount Carbon | Audio volume controls, guitar effect pedals | $1.40 |
| Vishay P16 | Panel Mount Cermet/Metal | Industrial controls, heavy-duty robotics UI | $8.50+ |
| Alps RS60 | Slide Potentiometer | Mixers, lighting consoles, motorized faders | $3.25 |
Common Failure Modes and Pro Wiring Tips
Even high-quality potentiometers from reputable manufacturers like Vishay or Bourns can fail if implemented poorly. According to application notes from Bourns technical documentation, the most common failure mode in single-turn pots is wiper bounce or temporary open-circuits caused by dust ingress or mechanical shock.
To mitigate this in critical circuits, engineers use a specific wiring trick: tie the unused fixed terminal directly to the wiper terminal. If you are using terminals 1 and 2 (wiper), solder a short jumper wire from terminal 2 to terminal 3. If the wiper ever momentarily loses physical contact with the track due to vibration or dirt, the circuit will default to the maximum resistance value rather than floating to an undefined, potentially dangerous high-impedance state that could send erratic voltages into a microcontroller's ADC pin.
Furthermore, if you are designing an audio circuit, always implement a simple RC low-pass filter (a 10kΩ resistor and a 0.1µF capacitor) between the potentiometer's wiper and the amplifier input. This filters out the high-frequency RF interference and physical 'scratch' noise generated by the wiper sliding across the carbon track, ensuring a pristine audio signal. For deeper theoretical frameworks on voltage division and variable resistance, the All About Circuits textbook chapter on potentiometers remains an invaluable, free resource for verifying your math before ordering components.
Final Thoughts on Sourcing
Understanding what potentiometers do extends far beyond simply turning a knob. By matching the correct taper to your human-machine interface, selecting a track material that survives your power requirements, and wiring the component to fail safely, you elevate your prototyping from amateur breadboarding to robust, production-ready electronics design. Always buy from authorized distributors to avoid counterfeit carbon pots that suffer from severe taper non-linearity and premature track degradation.