
The Diagnostician's Mindset: Beyond the Numbers
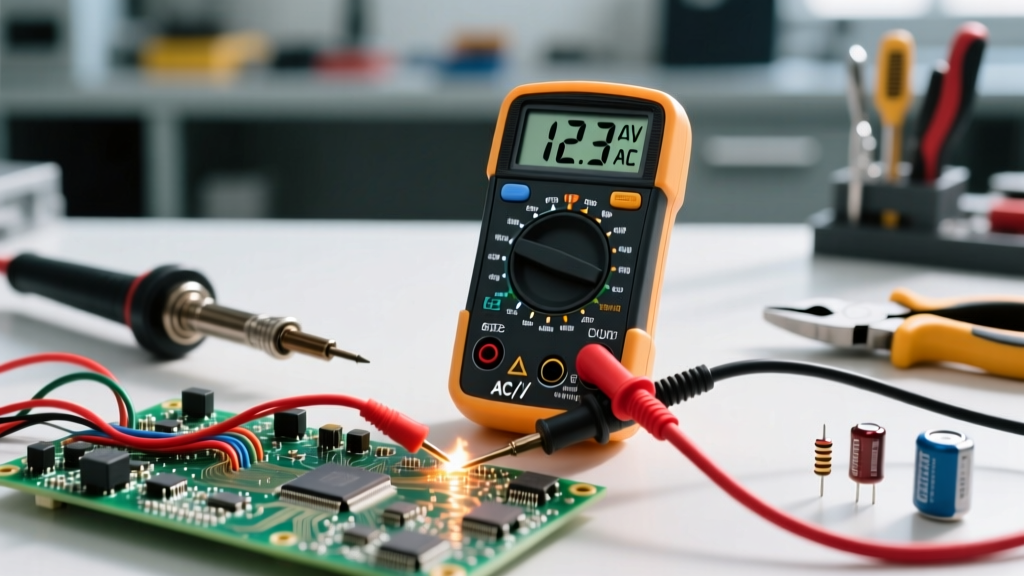
Learning how to read voltage on a multimeter is not just about turning a dial and touching two metal probes to a wire. It is the foundational skill of electrical diagnostics. Voltage is the electromotive force—the 'pressure' pushing electrons through a conductor. Whether you are troubleshooting a dead 18650 lithium cell in a DIY power bank or diagnosing a failing contactor on a 240V HVAC control board, your ability to accurately measure and interpret voltage separates guesswork from professional repair.
This guide is structured as a Skill-Building Path. We will progress from the physical anatomy of the meter to basic DC measurements, advance into hazardous AC mains testing, and finally cover professional-grade diagnostic techniques like voltage drop and ghost voltage elimination.
Phase 1: Hardware Anatomy and the 'Dead Short' Trap
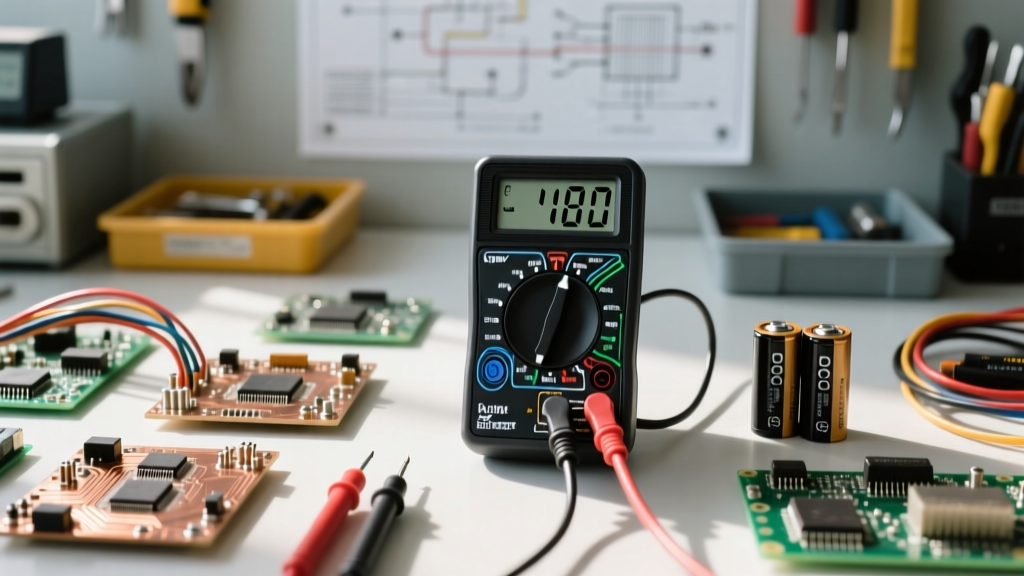
Before measuring anything, you must understand the physical interface of your digital multimeter (DMM). A standard DMM features a display, a rotary dial, and typically three or four input jacks.
- COM (Common): The black probe always goes here. It is your ground or reference point.
- V/Ω/mA (Voltage/Ohms/Milliamps): The red probe goes here for 99% of voltage measurements.
- 10A (High Current): Never place the red probe here when measuring voltage.
Critical Safety Warning: If you leave the red probe in the 10A (Amps) port and touch the probes across a voltage source, you are creating a dead short. The meter's internal high-amp fuse may blow, but in cheaper meters without proper HRC (High Rupturing Capacity) fuses, this can cause an arc flash, destroying the meter and causing severe injury. Always double-check your probe ports before testing. For deeper safety protocols, review Fluke's multimeter safety guidelines.
Phase 2: DC Voltage (The Beginner's Sandbox)
Direct Current (DC) voltage flows in one direction. This is the safest starting point for building your skills, as DC circuits (like batteries and low-voltage electronics) rarely pose an arc flash hazard.
Step-by-Step: Testing a 12V Automotive Battery
- Set the Dial: Turn the dial to DC Voltage (denoted by a 'V' with a solid line and dashed line beneath it). If your meter is manual-ranging, select the 20V DC range. If it is auto-ranging, simply select 'V DC'.
- Connect Probes: Black to the negative (-) terminal, Red to the positive (+) terminal.
- Interpret the Reading: A healthy, resting car battery should read between 12.4V and 12.7V. If you read 11.9V or lower, the battery is deeply discharged or has a dead cell. If the meter displays 'OL' (Overload), your manual range is set too low; step up to the 200V range.
Skill-Builder Insight: Have a friend start the car while you watch the meter. The voltage will dip momentarily (cranking amps draw), but once running, the alternator should push the system voltage to 13.7V - 14.7V. If it stays at 12V while running, your alternator has failed.
Phase 3: AC Voltage and CAT Ratings (The Danger Zone)
Alternating Current (AC) voltage reverses direction periodically (60Hz in North America, 50Hz in Europe). Measuring AC mains introduces the risk of lethal shock and arc flashes. This is where your tool's CAT (Measurement Category) rating matters.
According to IEC 61010 standards, a CAT III rated meter is required for testing hardwired equipment and distribution panels, while CAT IV is required for the origin of the installation (utility meter, main service entrance). Never use a cheap, unrated hobby meter on mains voltage.
Testing a Standard 120V Wall Receptacle
- Set the dial to AC Voltage (V with a wavy line ~).
- Insert the black probe into the neutral (taller) slot, and the red probe into the hot (shorter) slot.
- A standard US residential outlet should read between 118V and 124V.
- Move the black probe to the U-shaped ground slot. You should still read ~120V. If you read 0V between Hot and Ground, you have an open ground fault.
Skill-Builder Insight: When measuring AC voltage generated by non-linear loads (like variable frequency drives or modern LED drivers), a standard 'average-responding' meter will give inaccurate readings. You must use a True-RMS (Root Mean Square) multimeter to accurately measure the effective voltage of distorted sine waves. For a primer on meter types, see SparkFun's multimeter tutorial.
Phase 4: Advanced Diagnostics: Voltage Drop and Ghost Voltage
Once you know how to read voltage on a multimeter in basic scenarios, it is time to learn the techniques that professional electricians use to find hidden faults.
1. Voltage Drop Testing (Finding Hidden Resistance)
Instead of measuring voltage across a component, you measure voltage across a wire or connection while the circuit is under load. According to Kirchhoff's Voltage Law, any resistance in a conductor will consume some of the circuit's voltage.
- Set your meter to DC millivolts (mV).
- Place the red probe on the battery positive post, and the black probe on the starter motor positive terminal while the engine is cranking.
- The Benchmark: A good cable and connection will show a voltage drop of less than 50mV (0.05V). If you read 250mV or higher, you have severe corrosion or a frayed internal cable strand causing resistance.
2. Eliminating Ghost Voltage
When testing commercial AC circuits, you might read 40V to 80V on a wire that you know is disconnected. This is 'ghost voltage'—capacitive coupling from adjacent live wires running in the same conduit. High-impedance digital meters are so sensitive they pick up this harmless phantom energy, leading to massive diagnostic confusion.
The Fix: Use a meter with a LoZ (Low Impedance) mode, like the Fluke 117. Engaging LoZ places a low-impedance resistor in parallel with the meter's input, bleeding off the phantom capacitive charge and dropping the reading to a true 0V. For a deep dive into this phenomenon, read Fluke's technical note on ghost voltage.
The Voltage Troubleshooting Matrix
Use this quick-reference table to diagnose common electrical anomalies based on your multimeter readings.
| Scenario | Expected Reading | Anomalous Reading | Likely Failure Mode |
|---|---|---|---|
| US Wall Outlet (Hot to Neutral) | 118V - 124V AC | 105V AC | Overloaded circuit, undersized wiring, or utility brownout. |
| USB-C PD Charger Output | 5.0V, 9.0V, or 20.0V DC | 4.6V DC | Voltage sag due to cheap cable resistance or failing buck converter. |
| 24V HVAC Control Board | 24V - 28V AC | 0V AC | Blown 3A automotive-style fuse on the board or burnt transformer. |
| 3.7V Li-Ion Cell (18650) | 3.2V - 4.2V DC | 1.8V DC | Cell has tripped internal protection or suffered deep-discharge damage. |
Tool Progression: Which Meter Fits Your Current Skill Level?
Your ability to read voltage accurately is bottlenecked by the quality of your equipment. Here is a practical buying framework based on your current skill tier:
Tier 1: The Hobbyist (Klein Tools MM400)
Price: ~$45 | Best For: Arduino projects, automotive 12V DC, basic household batteries.
It is manual-ranging, which forces you to think about the scale of the voltage you are measuring before you test—a great habit for beginners. However, it lacks True-RMS and CAT III safety ratings for mains work.
Tier 2: The Prosumer (Fluke 115)
Price: ~$180 | Best For: Advanced DIYers, home inspectors, IT technicians.
Features True-RMS, auto-ranging, and a CAT III 600V safety rating. The build quality and internal HRC fuses provide genuine protection against accidental shorts on residential panels.
Tier 3: The Professional Diagnostician (Fluke 117 or 87V)
Price: $250 - $450+ | Best For: Electricians, industrial maintenance, HVAC techs.
The Fluke 117 includes 'VoltAlert' (non-contact voltage detection) and the crucial 'LoZ' mode to eliminate ghost voltages. The 87V is the industrial standard, capable of measuring motor drive frequencies and capturing micro-second voltage spikes.
Final Thoughts on the Diagnostic Path
Learning how to read voltage on a multimeter is a journey of pattern recognition. The numbers on the screen are just data; your value as a technician lies in interpreting what those numbers mean in the physical world. Start with safe, low-voltage DC circuits to build muscle memory and confidence. Respect the lethal potential of AC mains by investing in properly rated CAT III/IV tools. Over time, the multimeter will stop feeling like a measuring device and start feeling like an extension of your own diagnostic intuition.