
The Reality of Building a Pi-Based Security Rig
When hobbyists first start building a DIY smart home surveillance system, the hardware selection often feels straightforward. You grab a single-board computer, plug in a lens, and install MotionEyeOS. However, as AI-driven local processing becomes the standard in 2026, the requirements for a reliable raspberry pi camera for security have shifted dramatically. Modern NVR software like Frigate relies on high-resolution bounding boxes, low-latency CSI-2 data streams, and exceptional low-light performance to trigger object detection models without overwhelming the host processor.
Choosing the wrong camera module results in dropped frames, thermal throttling, or useless nighttime footage. In this comprehensive accessory review, we dismantle the top three camera modules currently dominating the Pi security space. We will evaluate their sensor architectures, real-world deployment friction, and compatibility with the latest Raspberry Pi 5 hardware.
Top Contenders: Which Raspberry Pi Camera for Security Wins?
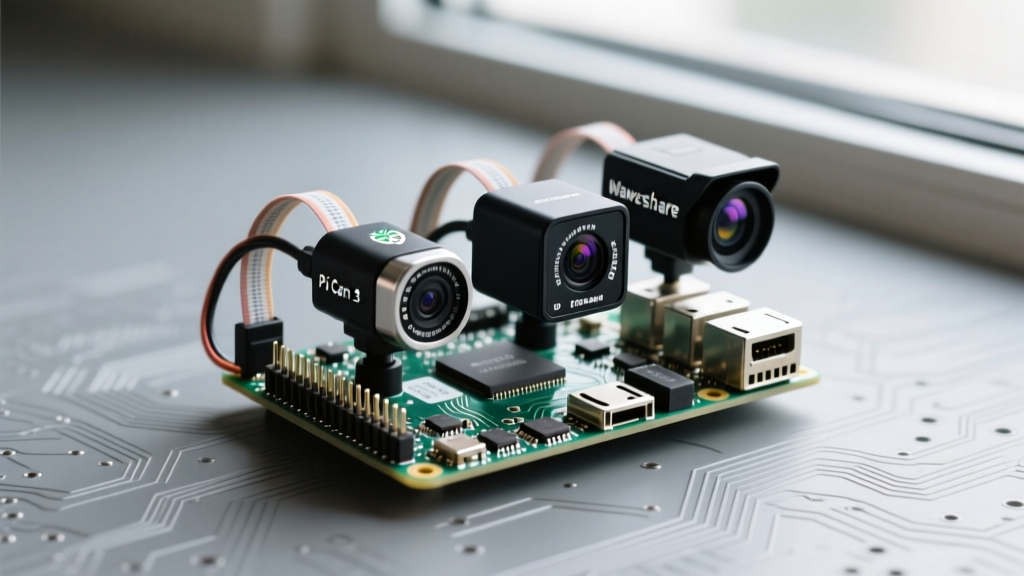
1. Raspberry Pi Camera Module 3 (IMX708): The Reliable Baseline
The official Raspberry Pi Camera Module 3 is built around the Sony IMX708 sensor. It delivers 11.9 megapixels and features a 2.7µm pixel size, which is a massive leap in light sensitivity over the older IMX219 found in the V2 module. For security applications, the standout feature is Phase Detection Auto Focus (PDAF). Unlike fixed-focus lenses that blur out objects closer than 1 meter, the Pi Cam 3 can dynamically track a subject walking from the sidewalk up to your front porch.
However, its 12MP resolution is a double-edged sword for NVR setups. If you are monitoring a wide 120-degree field of view (FoV) and need to digitally crop a license plate 15 meters away, the IMX708 will yield pixelated artifacts that confuse YOLO-based object detection algorithms. It is best suited for targeted choke points, like a front door or a narrow driveway, where the subject fills the frame.
2. Arducam 64MP Hawk-Eye: The Crop-and-Zoom Monster
If your security perimeter requires wide-area coverage without sacrificing detail, the Arducam 64MP Hawk-Eye (IMX682 sensor) is the undisputed heavyweight. Outputting a massive 9152 x 6944 resolution, this module allows you to digitally zoom in 4x on a live feed while still providing Frigate with a crisp 1080p crop for AI inference.
Be warned: pushing 64MP through the CSI-2 pipeline requires serious hardware overhead. On a Raspberry Pi 4, you will need to implement pixel binning (combining 4 pixels into 1) to achieve usable framerates, effectively turning it into a highly sensitive 16MP sensor. On the Raspberry Pi 5, the upgraded ISP and PCIe architecture handle the full resolution much better, but you must ensure your power supply can deliver a stable 5V/5A to prevent brownouts during heavy image signal processing.
3. Waveshare IMX219-IR Night Vision: The Low-Light Specialist
Standard Pi cameras include an IR-blocking filter to ensure accurate color reproduction during the day. This makes them entirely blind at night unless you flood the area with visible white light. The Waveshare IMX219-IR Night Vision module solves this by integrating a motorized IR-CUT filter and dual 850nm infrared LEDs. During daylight, the filter blocks IR light; at night, it clicks out of the way, allowing the sensor to see in pitch blackness.
While the 8MP resolution is dated by modern standards, the 1.12µm pixel pitch paired with aggressive IR illumination makes it the ultimate choice for indoor security, server room monitoring, or enclosed outdoor porches where visible light pollution is a concern.
Spec-to-Spec Comparison Matrix
| Feature | Pi Camera Module 3 | Arducam 64MP | Waveshare IMX219-IR |
|---|---|---|---|
| Sensor | Sony IMX708 | Sony IMX682 | Sony IMX219 |
| Resolution | 11.9 MP | 64 MP | 8 MP |
| Focus Type | Phase Detect AF | Manual / Fixed | Fixed Focus |
| Low Light / IR | Standard IR-Cut | Standard IR-Cut | Motorized IR-Cut + LEDs |
| Best Use Case | Porches, Choke Points | Large Yards, Driveways | Indoor, Pitch Black Zones |
| Estimated Price | $25 - $35 | $75 - $95 | $30 - $45 |
Critical Failure Modes in Pi Security Deployments
Hardware specs only tell half the story. In our field testing, deploying these cameras in continuous 24/7 security loops reveals several specific failure modes that DIYers must engineer around.
CSI Ribbon Cable EMI and Signal Degradation
The standard 200mm flat flexible printed circuit (FPC) cables included with most Pi cameras are unshielded. When routed near AC power lines, Wi-Fi antennas, or even the Pi's own switching voltage regulators, these cables act as antennas, picking up electromagnetic interference (EMI). This manifests in your system logs as mmal: mmal_vc_port_enable: failed to enable port vc.ril.camera or random frame drops.
- The Fix: For any outdoor run exceeding 30cm, abandon standard FPC cables. Use an HDMI-over-CSI adapter kit, which converts the delicate CSI-2 signals into robust, shielded HDMI cabling capable of running up to 10 meters without packet loss.
Thermal Throttling in NEMA Enclosures
Continuous H.264 or H.265 video encoding pushes the Raspberry Pi SoC to its thermal limits. If you mount a Pi 4 inside a sealed NEMA 4X waterproof enclosure for outdoor deployment, ambient summer temperatures combined with SoC heat will trigger thermal throttling within 20 minutes. The Pi will downclock, causing the camera framerate to plummet and AI inference to stall.
Always pair outdoor Pi security nodes with an active cooling solution, such as the Geekworm ICE Tower or a 5V brushless fan wired directly to the GPIO 5V and GND pins, pulling fresh air through a filtered vent.
IR Bleed on Enclosure Glass
A common mistake when using the Waveshare IR module is mounting it behind a glass window or a clear acrylic enclosure dome. The 850nm IR LEDs reflect off the inside of the glass directly back into the lens, blinding the sensor and resulting in a completely white, washed-out image at night. You must either 3D-print a custom hood that isolates the LEDs from the lens, or disable the onboard LEDs and use external, standalone IR illuminators mounted away from the camera housing.
The Raspberry Pi 5 Factor: CSI Connector Changes
If you are upgrading your security stack to the Raspberry Pi 5, be aware of the physical hardware changes. The Pi 5 utilizes the smaller 22-pin, 0.5mm pitch CSI connectors (the same size as the Pi Zero), abandoning the larger 15-pin, 1mm pitch connectors found on the Pi 4 and Pi 3.
This means your existing camera cables will not physically fit. You must source 15-pin to 22-pin adapter cables. Furthermore, the Pi 5 handles video encoding via a dedicated hardware H.264 encoder, but relies on software for H.265. When configuring your camera.yml in Frigate, stick to H.264 streams to leverage the Pi 5's silicon acceleration, ensuring your CPU remains free to handle MQTT brokering and Home Assistant automations.
Final Verdict: Matching the Module to Your Perimeter
There is no single 'best' camera; there is only the right tool for your specific physical environment. If you are monitoring a high-traffic front porch where packages are dropped off, the Raspberry Pi Camera Module 3 is unbeatable thanks to its PDAF autofocus and excellent HDR handling of harsh porch lights. For sprawling backyards or long driveways where you need to identify faces or plates at a distance, the Arducam 64MP provides the digital cropping headroom required by modern AI NVRs. Finally, for interior hallways or unlit alleys, the Waveshare IR module remains a budget-friendly workhorse.
By pairing these modules with a Coral USB Accelerator to offload object detection, and engineering proper thermal and EMI protections for your cabling, a Raspberry Pi-based security rig can easily rival, and outsmart, commercial closed-loop systems.