
Architecting the Raspberry Pi as a Security Camera
Setting up a raspberry pi as a security camera goes far beyond simply wiring a lens to a GPIO header. In 2026, the gold standard for DIY smart home surveillance relies on local AI processing, hardware-accelerated video decoding, and robust NVR (Network Video Recorder) software. While legacy projects like MotionEyeOS have largely stagnated, Frigate NVR has emerged as the definitive platform for object detection, utilizing Google Coral TPUs to identify people, vehicles, and animals without melting your Pi's CPU.
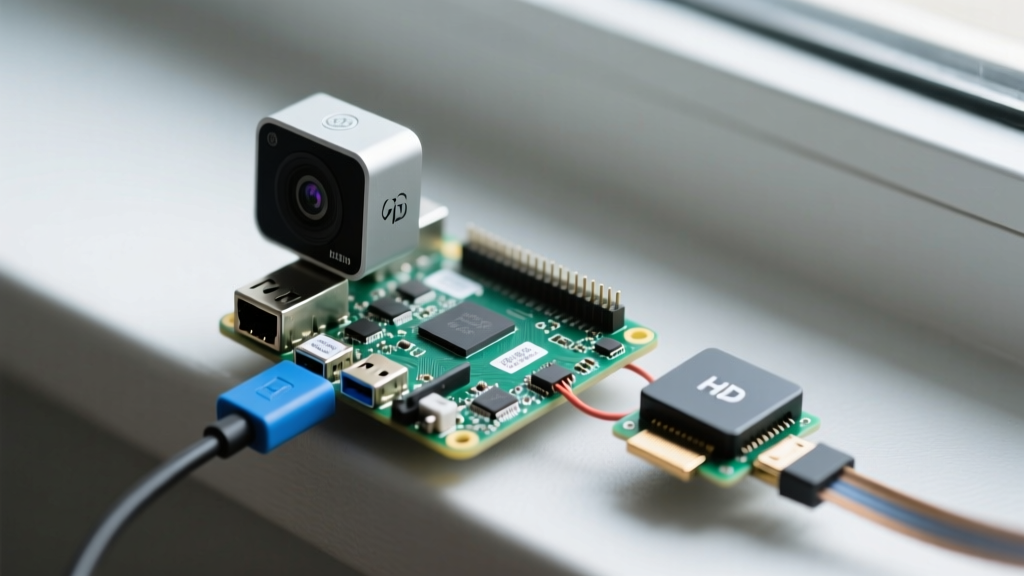
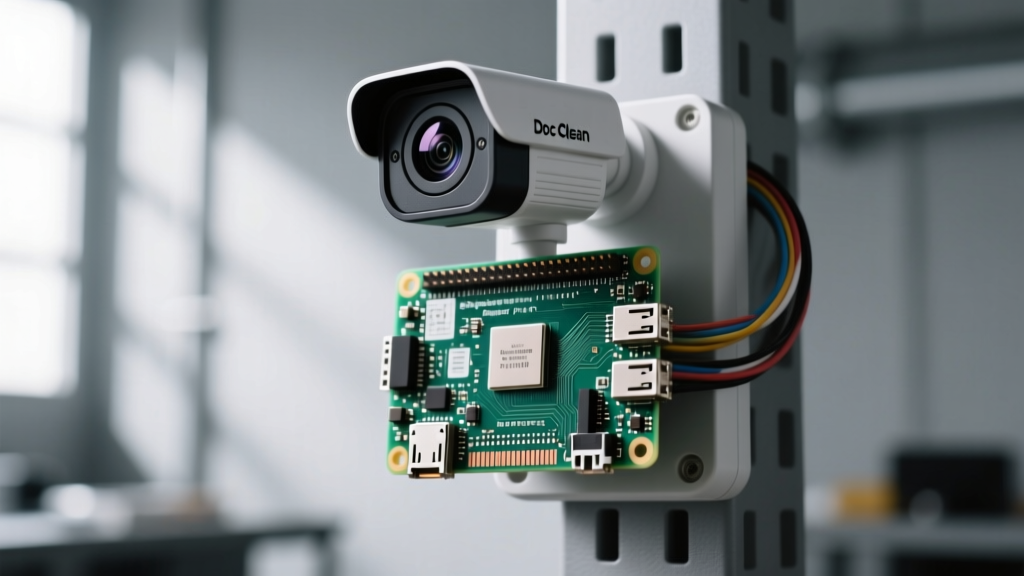
This software walkthrough focuses on the Raspberry Pi 5 (or Pi 4) paired with the Pi Camera Module 3 (Sony IMX708 sensor). We will bypass outdated legacy camera stacks and build a modern, low-latency RTSP pipeline using go2rtc, feeding directly into a containerized Frigate instance.
Phase 1: Preparing Raspberry Pi OS and the Camera Pipeline
Before deploying Docker containers, we must establish a reliable video stream from the CSI ribbon cable to the network stack. The modern Raspberry Pi OS (Bookworm or later) utilizes the libcamera framework and rpicam-apps. However, Frigate requires an RTSP or WebRTC feed, not a raw CSI dump.
Installing go2rtc for Ultra-Low Latency Streaming
We use go2rtc to wrap the native rpicam-vid binary into an RTSP server. This method ensures hardware-level encoding (H.264) with near-zero latency.
# Update system and install dependencies
sudo apt update && sudo apt upgrade -y
sudo apt install -y rpicam-apps wget

# Download go2rtc binary for ARM64
wget https://github.com/AlexxIT/go2rtc/releases/latest/download/go2rtc_linux_arm64
chmod +x go2rtc_linux_arm64
sudo mv go2rtc_linux_arm64 /usr/local/bin/go2rtc
Next, create a systemd service to run the RTSP server continuously:
sudo nano /etc/systemd/system/go2rtc.servicePaste the following configuration:
[Unit]
Description=go2rtc RTSP Server
After=network.target

[Service]
ExecStart=/usr/local/bin/go2rtc -c /etc/go2rtc.yaml
Restart=always
User=root

[Install]
WantedBy=multi-user.target
Create the /etc/go2rtc.yaml file to map the Pi Camera Module 3:
streams:
  pi_cam: exec:rpicam-vid -t 0 --inline --width 1920 --height 1080 --framerate 15 --codec libx264 --listen -o rtsp://localhost:8554/cam
Enable and start the service with sudo systemctl enable --now go2rtc. You now have a hardware-accelerated RTSP stream available at rtsp://127.0.0.1:8554/cam.
Phase 2: Deploying Frigate NVR via Docker Compose
Running Frigate natively via pip is a dependency nightmare. Docker isolates the environment and allows us to map the Coral USB TPU and hardware video decoders directly into the container.
Hardware Acceleration Mapping
The Raspberry Pi's VideoCore VII GPU handles H.264 decoding. To prevent the CPU from bottlenecking at 100% utilization when decoding a 1080p stream, we must pass the /dev/video19 (or equivalent HEVC/H264 decoder node) and configure Frigate's hwaccel_args.
# Install Docker and Compose Plugin
curl -fsSL https://get.docker.com -o get-docker.sh
sudo sh get-docker.sh
sudo usermod -aG docker $USER
Create your project directory and docker-compose.yml:
mkdir -p ~/frigate/config ~/frigate/media
cd ~/frigate
nano docker-compose.yml
version: '3.9'
services:
frigate:
image: ghcr.io/blakeblackshear/frigate:stable
container_name: frigate
privileged: true
restart: unless-stopped
shm_size: '256mb' # Prevents /dev/shm crashes on Pi
devices:
- /dev/bus/usb:/dev/bus/usb # Coral TPU
- /dev/video19:/dev/video19 # Pi H264 Hardware Decoder
volumes:
- /etc/localtime:/etc/localtime:ro
- ./config:/config
- ./media:/media/frigate
- type: tmpfs
target: /tmp/cache
tmpfs:
size: 1000000000 # 1GB RAM disk to save SD card I/O
ports:
- '5000:5000'
- '8554:8554'
- '8555:8555/udp'Phase 3: Configuring Frigate for AI Object Detection
The core of Frigate's intelligence lies in the config.yml file. Here, we define the camera, the detection thresholds, and the Coral TPU inference engine.
mqtt:
  enabled: false

detectors:
  coral:
    type: edgetpu
    device: usb

cameras:
  pi_driveway:
    ffmpeg:
      hwaccel_args: preset-rpi-64-h264
      inputs:
        - path: rtsp://127.0.0.1:8554/cam
          roles:
            - detect
            - record
    detect:
      width: 1920
      height: 1080
      fps: 15
    objects:
      track:
        - person
        - car
        - dog
      filters:
        person:
          min_score: 0.6
          threshold: 0.75
Tuning Detection Thresholds vs. False Positives
A common failure mode for DIY security cameras is alert fatigue caused by shadows or swaying trees. Frigate uses a two-step scoring system: min_score (the threshold to start tracking an object) and threshold (the confidence required to log the event).
| Object Type | Min Score | Threshold | Real-World Scenario |
|---|---|---|---|
| Person | 0.60 | 0.75 | Ignores distant silhouettes; triggers on clear torso/head visibility. |
| Car | 0.55 | 0.70 | Headlights at night can confuse the model; lower min_score helps track taillights. |
| Dog/Cat | 0.65 | 0.80 | Prevents plastic bags or low bushes from triggering pet alerts. |
Phase 4: Mitigating Common Software Failure Modes
Running enterprise-grade NVR software on a Single Board Computer introduces specific hardware-software friction points. Address these proactively to ensure 99.9% uptime.
- SD Card Exhaustion: Frigate writes thousands of temporary cache files per hour. By mapping
/tmp/cacheto atmpfsRAM disk in our Docker Compose file, we eliminate write-wear on the microSD card. Only finalized events are written to the/mediavolume (ideally mounted to an external USB 3.0 SSD). - Shared Memory (
/dev/shm) Crashes: Docker defaults to a 64MB shared memory limit. A 1080p stream requires roughly 200MB+ of shared memory for frame buffers. Failing to setshm_size: '256mb'(or higher for 4K) will result in silent container restarts and missing clips. - Coral TPU Thermal Throttling: The USB Coral Accelerator can reach 85°C+ during continuous inference. Ensure your Pi case has active airflow directed over the USB dongle, or use a USB extension cable to move the TPU away from the Pi's SoC heat sink.
Pro-Tip on CSI Ribbon Interference: The Pi Camera Module 3's IMX708 sensor is highly sensitive to EMI (Electromagnetic Interference). If you experience random RTSP stream drops or corrupted H.264 I-frames, ensure your CSI ribbon cable is not routed directly over the Pi's USB 3.0 controller or the Coral TPU dongle. Use a shielded CSI cable or a 90-degree GPIO adapter to separate the data lanes from high-frequency USB noise.
Phase 5: Home Assistant Integration via MQTT
To make your raspberry pi as a security camera truly 'smart', it must communicate with your home automation hub. Frigate exposes an MQTT API that pushes real-time snapshot URLs and bounding-box coordinates to Home Assistant.
Install Mosquitto MQTT on your Pi or Home Assistant server, then update the mqtt block in your Frigate config.yml:
mqtt:
  enabled: true
  host: 192.168.1.50
  port: 1883
  topic_prefix: frigate
Once connected, use the official Frigate Home Assistant Integration via HACS. This automatically generates binary sensors for person_detected and car_detected, allowing you to trigger automations—such as flashing your porch Hue lights red when an unrecognized person lingers in the driveway zone after midnight.
By combining the raw hardware capabilities of the Raspberry Pi 5 with the software orchestration of go2rtc and Frigate, you achieve a localized, AI-driven security node that rivals commercial PoE camera systems—without the monthly cloud subscriptions.