
Architecting Your Raspberry Pi Notification Center
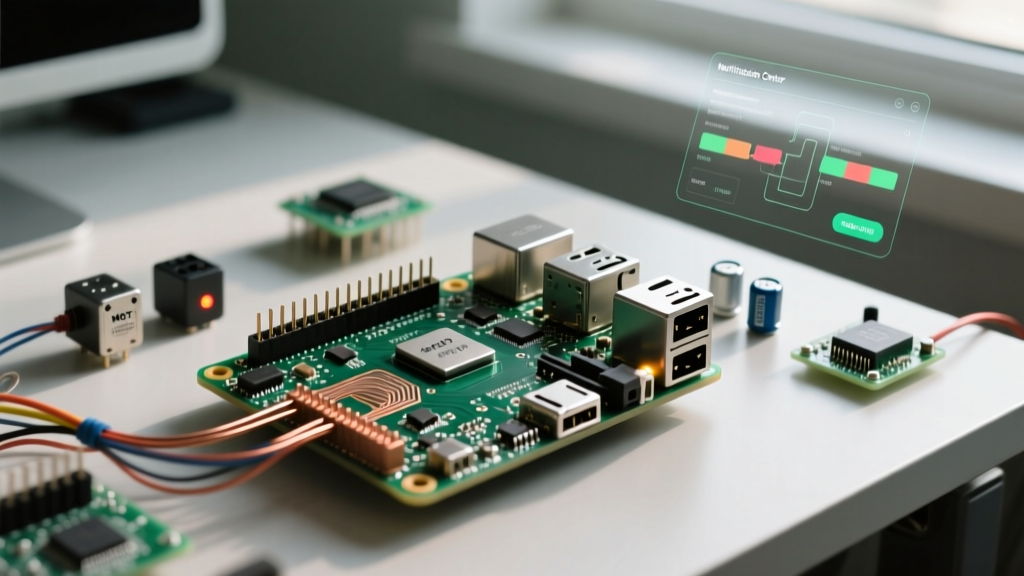
Smart home fatigue is a genuine problem for advanced DIYers. When every sensor, server, and appliance pushes alerts to your phone, the result is notification blindness. Building a dedicated raspberry pi notification center solves this by centralizing critical alerts into a single, physical dashboard mounted on a wall or desk. Instead of relying on fragmented mobile apps, this setup aggregates MQTT payloads from Home Assistant, server logs, and local I2C sensors into a unified visual interface.
In this guide, we will configure a Raspberry Pi 4 or 5 running Raspberry Pi OS Bookworm. We will use Eclipse Mosquitto as the message broker and Node-RED to parse JSON payloads and render a dynamic dashboard. Because modern Pi OS defaults to the Wayland display server, we will also cover the specific kiosk-mode configurations required to keep your dashboard running 24/7 without screen burn-in or memory leaks.
Hardware BOM and Display Selection Matrix
Choosing the right display dictates your power envelope and mounting strategy. Below is a comparison of the most reliable displays for a dedicated notification hub.
| Display Model | Interface | Power Draw | Best Use Case | Approx. Price |
|---|---|---|---|---|
| Official 7" Touchscreen | DSI | ~1.5W | Wall-mounted dashboards | $65 |
| Waveshare 7.9" DSI | DSI | ~2.0W | Desktop notification hub | $45 |
| Good Display 7.5" e-Paper | SPI | ~0.01W (active) | Always-on low-power alerts | $55 |
For this guide, we recommend the Waveshare 7.9" DSI display. It offers a wide aspect ratio that is perfect for horizontal alert tickers and consumes minimal power when displaying static Node-RED dashboard elements. If you opt for a DSI display, ensure you handle the fragile ribbon cable with care; a partially seated DSI connector is the number one cause of 'white screen' boot failures.
Phase 1: OS Preparation and MQTT Broker Setup
Your notification center needs a reliable messaging protocol. MQTT is the undisputed standard for IoT telemetry. We will install Eclipse Mosquitto to act as the local broker.
First, flash Raspberry Pi OS Bookworm (64-bit) onto a high-endurance microSD card or an NVMe SSD via the Pi 5 PCIe HAT. Boot the Pi, open the terminal, and update your packages:
sudo apt update && sudo apt upgrade -y
sudo apt install mosquitto mosquitto-clients -y
By default, Mosquitto restricts anonymous connections in newer versions. For a localized, secure LAN setup, we need to configure the listener. Create a new configuration file:
sudo nano /etc/mosquitto/conf.d/local.confAdd the following lines to allow local devices to publish alerts to the broker:
listener 1883
allow_anonymous true
Restart the service using sudo systemctl restart mosquitto. You can verify the broker is active by subscribing to a test topic in a secondary terminal window: mosquitto_sub -h localhost -t "home/alerts/#" -v.
Phase 2: Installing Node-RED and Dashboard UI
Node-RED provides a visual flow-based programming environment that is perfect for parsing incoming MQTT payloads and routing them to a UI. Install Node-RED using the official script provided by the Node-RED foundation:
bash <(curl -sL https://raw.githubusercontent.com/node-red/linux-installers/master/deb/update-nodejs-and-nodered)Once installed, start the service and enable it on boot:
sudo systemctl enable nodered.service
sudo systemctl start nodered.service
Navigate to http://[your-pi-ip]:1880 in your browser. To build the visual interface for your raspberry pi notification center, you must install the dashboard palette. Click the hamburger menu in the top right, select Manage palette, go to the Install tab, and search for node-red-dashboard. Install it and restart the Node-RED runtime.
Phase 3: Wayland Kiosk Mode Configuration
Raspberry Pi OS Bookworm uses the Wayland display server (specifically the labwc compositor) instead of X11. Old tutorials referencing .config/lxsession will fail. To force Chromium to launch in kiosk mode on boot and display your Node-RED dashboard, you must edit the Wayfire/LabWC autostart file.
Open the autostart configuration:
nano ~/.config/labwc/autostartAdd the following line to launch Chromium with hardware acceleration and kiosk flags:
wlr-randr --output DSI-1 --mode 1920x1080 &
chromium-browser --kiosk --disable-features=TranslateUI --app=http://localhost:1880/ui/ &
E-E-A-T Insight: Chromium running in kiosk mode on a Pi 4 is notorious for memory leaks that can crash the browser after 72 hours of continuous uptime. To prevent your notification center from going blank on a weekend, set up a cron job to gracefully restart the browser nightly. Type crontab -e and add:
0 3 * * * pkill -f chromium && sleep 5 && DISPLAY=:0 chromium-browser --kiosk --app=http://localhost:1880/ui/ &Phase 4: Configuring Alert Logic and Payload Parsing
A notification center is only as good as its logic. You don't want every minor sensor fluctuation triggering a red banner. We will structure our MQTT payloads using JSON to include severity levels.
Example Payload published by Home Assistant or a Python script:
{
  "sensor": "front_door",
  "state": "open",
  "severity": "high",
  "timestamp": 1715623400
}
In Node-RED, drag an MQTT In node onto the canvas and configure it to subscribe to home/alerts/#. Connect it to a JSON node to parse the string into a JavaScript object. Next, connect a Switch node to route the message based on the msg.payload.severity property.
- Rule 1: If
severity == "high", route to a UI Text node styled with a red background and a large, bold font. - Rule 2: If
severity == "low", route to a UI List node that appends the event to a scrolling log at the bottom of the screen.
This tiered approach ensures that critical alerts (like a water leak or an open garage door) dominate the screen, while informational alerts (like a server backup completing) are logged passively.
Troubleshooting Common Display and MQTT Failures
When building a permanent raspberry pi notification center, you will inevitably encounter edge cases. Here is how to resolve the most common hardware and software failures.
1. Stale Alerts and the MQTT Retained Flag
If your dashboard shows a "Front Door Open" alert long after the door has been closed, the publishing device likely sent the MQTT message with the Retained flag set to true. When Mosquitto restarts, or when your Pi reboots and Node-RED reconnects, the broker immediately pushes the last retained message. Fix: Ensure your Home Assistant automations or Python scripts publish state-clearing messages (e.g., {"state": "closed"}) with the retain flag enabled, or disable retain entirely for transient alerts.
2. DSI Display Not Detected on Boot
If you plug in a DSI touchscreen and get a blank screen, the Pi OS kernel may not be loading the correct overlay. Open the boot configuration file:
sudo nano /boot/firmware/config.txtEnsure that the KMS driver is active. Look for dtoverlay=vc4-kms-v3d. If you are using a third-party display like the Waveshare 7.9", you may need to append the specific I2C touch overlay: dtoverlay=vc4-kms-dsi-7inch (consult your specific vendor's wiki for the exact string). Always power down the Pi completely before reseating the DSI ribbon cable; hot-plugging DSI can blow the display power fuse on the Pi board.
3. Touchscreen Input Offset
On wide-aspect ratio DSI screens, touch inputs sometimes register on the wrong axis under Wayland. This is usually caused by a mismatch in the display rotation matrix. You can calibrate the touch input using the wlr-randr utility or by checking the libinput transformation matrix in your Wayland compositor settings. Ensure your physical display orientation matches the software rotation flag.
Expanding Your Hub with I2C Environmental Sensors
To make your notification center truly standalone, consider wiring a local BME280 temperature and humidity sensor directly to the Pi's GPIO header. By connecting the sensor's SDA and SCL pins to GPIO 2 and GPIO 3 respectively, you can use Node-RED's node-red-contrib-bme280 palette to read local ambient conditions. This allows the dashboard to display the server room's temperature right next to your smart home security alerts, bridging the gap between physical environment monitoring and digital network states.
For more advanced hardware integration and GPIO pinout details, always refer to the official Raspberry Pi hardware configuration documentation. By combining robust MQTT architecture, Wayland kiosk optimization, and tiered visual logic, your raspberry pi notification center will become an indispensable, distraction-free command post for your entire smart home ecosystem.