
The OS Fragmentation: Legacy vs. Libcamera vs. Rpicam
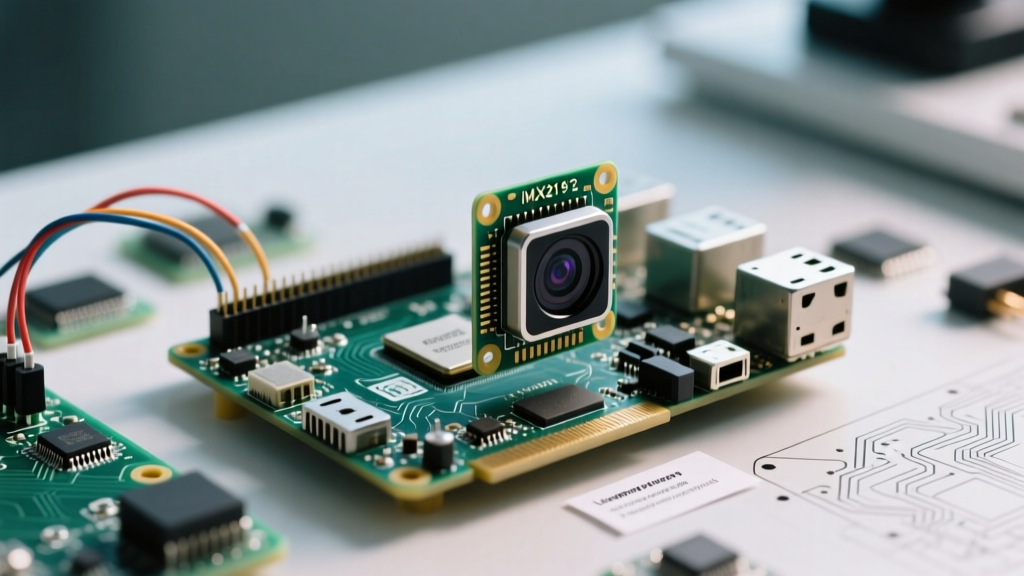
The Raspberry Pi Camera Module V2, built around the Sony IMX219 8-megapixel sensor, remains one of the most reliable optical peripherals in the single-board computer ecosystem. However, the software landscape governing this hardware has undergone massive structural shifts over the last few years. If you are setting up a Raspberry Pi Camera 2 in 2024 or beyond, relying on outdated tutorials will lead to immediate roadblocks.
The Raspberry Pi Foundation has systematically deprecated the legacy MMAL-based camera stack (raspistill and raspivid) in favor of a modern, open-source pipeline. Understanding which software suite maps to your specific Raspberry Pi OS release is the critical first step in this walkthrough.
| OS Release | Software Stack | CLI Prefix | Python Library | Status |
|---|---|---|---|---|
| Buster (Legacy) | MMAL / Firmware | raspistill / raspivid | picamera | Deprecated |
| Bullseye | Libcamera | libcamera-still | picamera2 | Maintenance |
| Bookworm | Rpicam / Libcamera | rpicam-still / rpicam-vid | picamera2 | Current Standard |
For this software walkthrough, we will focus on the modern rpicam-apps (the renamed libcamera-apps in Bookworm) and the picamera2 Python architecture, as these represent the current standard for IMX219 integration.
Pre-Flight Software Checks: I2C and CSI Validation
Before invoking capture commands, you must verify that the OS correctly enumerates the Sony IMX219 sensor. The Camera Module V2 relies on two distinct communication pathways: the I2C bus (specifically the CCI - Camera Control Interface) for sensor configuration, and the MIPI CSI-2 lanes for high-speed pixel data transfer.
To verify software-level detection, open your terminal and execute the following command:
rpicam-hello --list-camerasA successful enumeration will yield an output similar to this:
Available cameras
-----------------
0 : imx219 [3280x2464 10-bit RGGB] (/base/axi/pcie@120000/rp1/i2c@80000/imx219@10)
If the terminal returns "No cameras available", the OS cannot communicate with the sensor's I2C address (typically 0x10 for the IMX219). This is often misdiagnosed as a dead camera, but it is frequently a software configuration error. Ensure that the camera interface is enabled via sudo raspi-config under Interface Options, and verify that your /boot/firmware/config.txt (or /boot/config.txt on older setups) contains the line camera_auto_detect=1.
Core CLI Walkthrough: Tuning the IMX219 ISP Pipeline
The Raspberry Pi's hardware Image Signal Processor (ISP) is responsible for converting the raw Bayer data from the IMX219 sensor into usable RGB frames. The modern software stack exposes deep control over this pipeline. Let us explore the parameters that matter most for production-grade deployments.
Advanced Still Capture Parameters
To capture a high-fidelity image while manually controlling the ISP, use the rpicam-still command. The IMX219 sensor is notorious for rolling shutter artifacts and low-light chroma noise if left on full auto.
rpicam-still -o capture_test.jpg --width 3280 --height 2464 --denoise cdn_off --awb daylight --metering centre --timeout 2000- --denoise cdn_off: By default, the ISP applies heavy spatial and temporal denoising, which smears fine details. Setting this to
cdn_offdisables the color denoise block, preserving edge sharpness for machine vision or OCR tasks. - --awb daylight: The IMX219's auto white balance algorithm can hunt in mixed lighting. Hardcoding the AWB gain to 'daylight' (approx 5500K) ensures color consistency across time-lapse sequences.
- --metering centre: Forces the auto-exposure algorithm to prioritize the center 20% of the frame, ignoring bright peripheral light sources that would otherwise underexpose your primary subject.
Video Streaming and Bitrate Control
When configuring the Raspberry Pi Camera 2 for continuous video recording or RTSP streaming, managing the H.264 hardware encoder is vital to prevent thermal throttling on the SoC.
rpicam-vid -t 0 --width 1920 --height 1080 --framerate 30 --bitrate 8000000 --codec h264 -o video_stream.h264The IMX219 can natively output 1080p at 30fps using a 2x2 pixel binning mode. Pushing the bitrate to 8Mbps ensures that fast-moving objects do not introduce macro-blocking artifacts, which is crucial if the video feed is being fed into a motion-detection daemon like Frigate or MotionEye.
Python Integration: Moving to Picamera2 and OpenCV
For developers building custom smart home nodes or computer vision pipelines, the CLI tools are insufficient. The picamera2 library is the official Python wrapper for the libcamera framework. It replaces the legacy picamera library and operates on an asynchronous queue system.
Below is a production-ready script that initializes the Raspberry Pi Camera 2, configures the sensor for a low-latency preview stream, and captures a frame directly into a NumPy array for OpenCV processing. This bypasses disk I/O entirely, a critical optimization for edge AI applications.
import cv2
import numpy as np
from picamera2 import Picamera2

# Initialize the camera
picam2 = Picamera2()

# Configure for a fast, low-res video pipeline (ideal for OpenCV)
config = picam2.create_video_configuration(main={'size': (640, 480), 'format': 'RGB888'})
picam2.configure(config)
picam2.start()

# Capture a frame directly to a NumPy array
frame = picam2.capture_array()

# Perform a basic OpenCV operation (e.g., Grayscale conversion and Edge Detection)
gray = cv2.cvtColor(frame, cv2.COLOR_RGB2GRAY)
edges = cv2.Canny(gray, 100, 200)

# Display the result (requires a GUI environment or X11 forwarding)
cv2.imshow('IMX219 Edge Detection', edges)
cv2.waitKey(0)

picam2.stop()
For comprehensive documentation on tuning the picamera2 request loops and tuning the ISP via Python dictionaries, refer to the official Picamera2 Python Manual.
Real-World Failure Modes: Debugging 'No Cameras Available'
Even with perfect software configuration, the Raspberry Pi Camera 2 is susceptible to physical-layer issues that manifest as software errors. When rpicam-hello fails, you must systematically isolate the fault domain.
- The I2C vs. MIPI Disconnect: The CSI ribbon cable contains both I2C control lines and MIPI data lanes. If the cable is slightly crooked, the I2C lines might connect while the MIPI lanes fail. In this scenario,
dmesg | grep imx219will show the driver successfully loading the sensor model, butrpicam-stillwill crash with admaHeaporbuffer allocationerror. This means the software sees the camera, but cannot receive pixel data. Reseating the ribbon cable and ensuring the blue tape faces the correct direction (towards the Ethernet port on most Pi models) resolves this. - Power Supply Brownouts: The IMX219 sensor and the Pi's ISP draw significant transient current during initialization. If your power supply cannot deliver a stable 5V/3A, the kernel will silently drop the camera peripheral to save the SoC. Check
sudo dmesg | grep -i undervoltage. If you see warnings, the software stack is functioning correctly, but the hardware is being starved. - Wayland and DRM/KMS Conflicts: In Raspberry Pi OS Bookworm, the default display server is Wayland. Attempting to run
rpicam-hellowith a preview window over SSH without X11 forwarding or proper DRM/KMS (Direct Rendering Manager) configuration will result in a fatal preview error. Append--nopreviewto your CLI commands when running headless smart home automations to bypass the display server entirely.
Mastering the Raspberry Pi Camera 2 requires moving past legacy assumptions and embracing the modular, open-source nature of the modern libcamera pipeline. By understanding the intersection of the IMX219 hardware quirks and the rpicam software architecture, you can build highly resilient, low-latency vision systems for any DIY or professional deployment.
For deeper hardware specifications and ribbon cable compatibility matrices, consult the official Raspberry Pi Camera Documentation and the broader Camera Software Stack Guide.