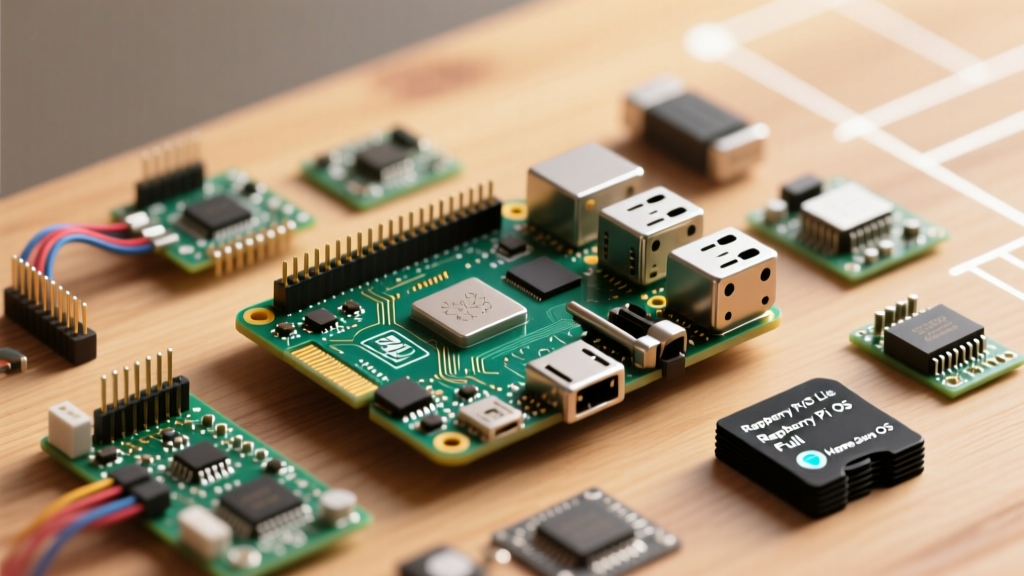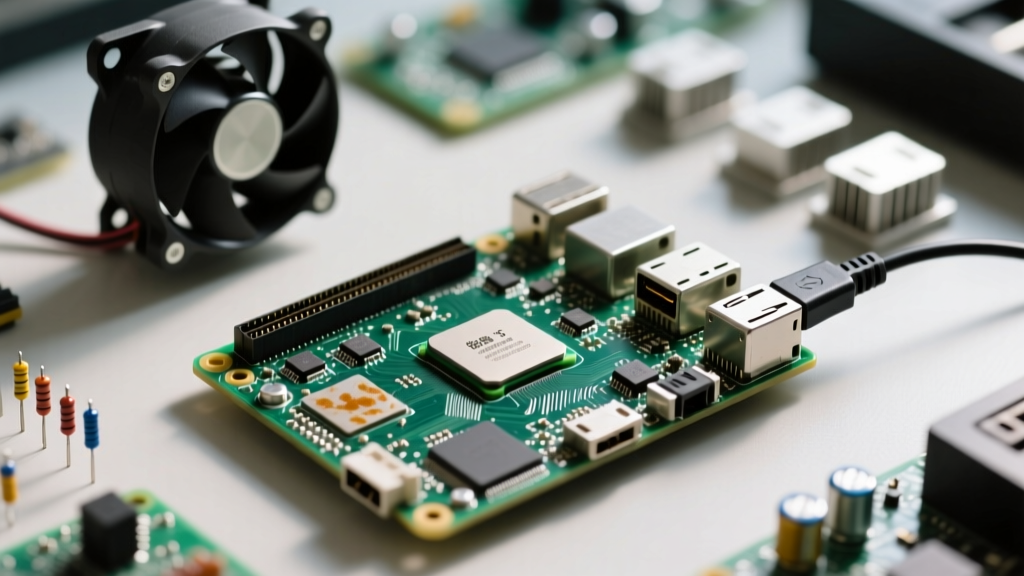

The Silicon Reality: Why the BCM2712 Demands Tuning
When using a Raspberry Pi 5 for demanding edge workloads—such as running Frigate NVR, compiling large codebases, or hosting a heavily automated Home Assistant instance—the stock configuration is rarely enough. The transition to the Broadcom BCM2712 SoC brought a massive leap in performance via quad-core Cortex-A76 processors clocked at 2.4GHz. However, this architectural shift also introduced a significantly higher thermal density compared to the previous BCM2711.
Unlike older generations where passive cooling was often sufficient for headless setups, the Pi 5 concentrates its heat output into a much smaller die area. Without deliberate performance tuning, thermal throttling will aggressively cap your CPU frequencies, negating the very upgrade you paid for. In this guide, we bypass basic setup tutorials and dive straight into the hardware-level and OS-level optimizations required to sustain peak silicon performance.
Power Delivery: The Hidden Bottleneck in SBC Performance
Before touching a single thermal pad or overclocking parameter, you must audit your power delivery. The Raspberry Pi 5 utilizes a Renesas DA9098 Power Management IC (PMIC) and requires a USB-C Power Delivery (PD) negotiation to unlock its full potential. If you are using a standard 5V/3A charger, the Pi 5 will boot, but it will intentionally restrict the downstream USB ports to a combined 600mA to prevent system brownouts.
For users attaching NVMe SSDs via the PCIe HAT, external USB webcams for computer vision, or Zigbee coordinators, this 600mA limit is a critical failure point that leads to random peripheral disconnects and I/O errors.
Diagnosing Voltage Drops via sysfs
Do not rely on the red power LED alone to diagnose power issues. The most accurate method to check for historical under-voltage events is querying the VideoCore firmware via the terminal:
vcgencmd get_throttledIf the output returns throttled=0x50000, your system has experienced an under-voltage event since the last reboot. The 0x50000 hex value specifically indicates that under-voltage has occurred, even if it is not currently happening. To resolve this, you must upgrade to the official 27W USB-C PD power supply, which guarantees a 5V/5A (25W) delivery, unlocking the full 1.6A downstream USB budget.
| Power Supply Type | Negotiated State | USB Current Limit | NVMe HAT Compatible? |
|---|---|---|---|
| Official 27W PD Brick | 5V / 5A (25W) | 1.6A (1600mA) | Yes (Stable) |
| Standard 15W USB-C | 5V / 3A (15W) | 0.6A (600mA) | No (High Risk of I/O Errors) |
| USB-A to USB-C Cable | 5V / 1.5A (Fallback) | Restricted / Unstable | No (Will Crash Under Load) |
Thermal Management: Active vs. Passive Cooling Benchmarks
The Raspberry Pi 5 firmware initiates soft thermal throttling at 80°C and hard throttling at 85°C. Because the BCM2712 lacks an integrated heat spreader (IHS), the bare die is directly exposed to whatever cooling solution you apply. According to extensive testing by Tom's Hardware, passive aluminum heatsinks are fundamentally inadequate for sustained multi-core loads on this board.
Applying the Right Thermal Interface Material (TIM)
If you are building a custom enclosure, the choice of Thermal Interface Material (TIM) is critical. Standard silicone thermal pads (often rated at 1.5 W/mK) trap heat against the die. For bare-die SBC cooling, you should use high-viscosity thermal paste (like Thermal Grizzly Kryonaut) or specialized phase-change materials (like Honeywell PTM7950) paired with a copper cold plate. These materials fill the microscopic imperfections between the silicon and the cooler, reducing thermal resistance by up to 4°C compared to standard pads.
| Cooling Solution | Idle Temp (25°C Room) | Stress Temp (Stressberry) | Throttling Observed? |
|---|---|---|---|
| Bare Board (No Cooler) | 45°C | 88°C+ | Yes (Severe, within 15s) |
| Generic Passive Heatsink | 41°C | 84°C | Yes (Soft throttle at 2m) |
| Official Active Cooler | 32°C | 68°C | No (Sustained 2.4GHz) |
| Argon NEO 5 (Aluminum Case) | 36°C | 74°C | No (Passive case dissipation) |
Overclocking the BCM2712: Safe Limits and config.txt Tweaks
For users pushing the boundaries of edge AI inference or retro emulation, overclocking the Cortex-A76 cores yields measurable gains. While the silicon is binned for 2.4GHz, many BCM2712 chips can comfortably sustain 3.0GHz, provided the active cooler is installed. The official Raspberry Pi Config.txt Documentation outlines the parameters, but using the correct voltage delta is the secret to preventing silicon degradation.
Instead of using the legacy over_voltage parameter—which forces a static voltage and can fry the SoC if set too high—use over_voltage_delta. This parameter instructs the PMIC to add a specific microvolt offset to the dynamically calculated base voltage, preserving the DVFS (Dynamic Voltage and Frequency Scaling) curve.
# Add to /boot/firmware/config.txt
arm_freq=3000
over_voltage_delta=50000
gpu_freq=1000
The over_voltage_delta=50000 adds 0.05V to the default curve. If your system fails to boot or throws kernel panics under load, drop the arm_freq to 2900 or increase the delta to 75000. Always monitor your thermals after applying these tweaks; a 3.0GHz overclock will push the Active Cooler fan to its maximum 18,000 RPM threshold much faster.
OS-Level Optimizations for Headless Workloads
Hardware tuning only gets you halfway there. When using a Raspberry Pi as a headless server, the default Raspberry Pi OS (Bookworm) includes several background services and kernel parameters that waste CPU cycles and I/O bandwidth.
Optimizing Swappiness and ZRAM
By default, Linux kernel swappiness is set to 60, meaning the OS will aggressively move idle memory pages to your microSD card or SSD. This destroys flash storage lifespan and causes massive latency spikes. Reduce swappiness to 10 and configure ZRAM to compress memory pages in RAM before swapping to disk.
# Edit /etc/sysctl.conf
vm.swappiness=10
vm.vfs_cache_pressure=50
Install the zram-tools package and configure it to allocate 50% of your total RAM as a compressed block device. This effectively gives an 8GB Pi 5 the memory headroom of a 12GB system for text-heavy workloads like Docker containers and databases.
Disabling Unused Hardware Interfaces
If your smart home node does not require Bluetooth or the onboard audio DAC, disable them at the firmware level to free up IRQ interrupts and memory. Add the following to your config.txt:
dtparam=audio=off
dtparam=krnbt=off
Furthermore, switch your I/O scheduler to mq-deadline for NVMe drives, or bfq if you are still relying on a high-endurance microSD card. This ensures that critical database reads (like Home Assistant's SQLite WAL files) are prioritized over background logging writes.
Final Verdict: Building a Stable High-Performance Node
Tuning a single-board computer is an exercise in balancing thermal headroom, power delivery, and OS efficiency. When using a Raspberry Pi 5 for mission-critical DIY projects, never assume the out-of-the-box configuration is optimal. By securing a true 27W PD power supply, utilizing phase-change thermal materials, applying safe delta-voltage overclocks, and stripping the OS of unnecessary I/O bottlenecks, you transform a $80 hobby board into a highly reliable edge computing node capable of rivaling entry-level x86 mini PCs. Always verify your baseline stability with a 12-hour run of stressberry before deploying your Pi into a production smart home environment.