
The Textbook vs. The Workbench: A Working Direct Current Definition
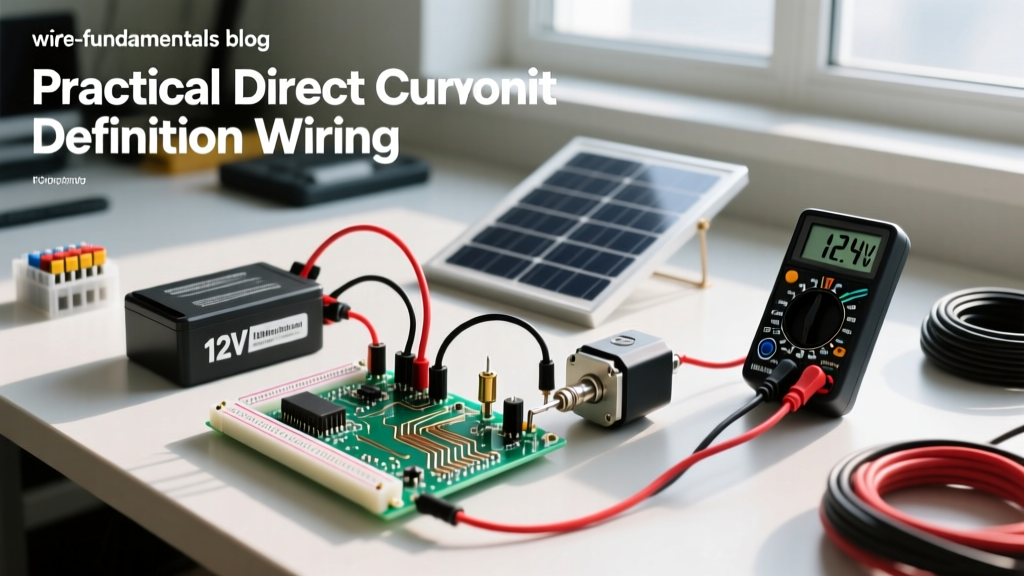
If you open a high school physics textbook, the direct current definition is usually reduced to a single, sterile sentence: the unidirectional flow of electric charge. While technically accurate, this basic direct current definition fails to prepare DIYers, solar installers, and automotive enthusiasts for the harsh physical realities of wiring DC systems. At ElectricalFlux, we define Direct Current (DC) by how it behaves under load: a relentless, continuous electron flow that demands strict attention to conductor sizing, polarity management, and arc suppression.
Unlike Alternating Current (AC), which oscillates and periodically drops to zero volts, DC maintains a constant voltage polarity. This fundamental difference dictates everything from the gauge of wire you pull through a conduit to the specific type of fuse you install at the battery terminal. Understanding the practical direct current definition is the difference between a highly efficient 48V solar battery bank and a melted wire harness that triggers a catastrophic electrical fire.
The Physics of Unidirectional Flow and Conductor Sizing
The most critical real-world application of the direct current definition revolves around wire sizing. Because DC systems typically operate at much lower voltages (12V, 24V, or 48V) compared to standard 120V/240V AC mains, they must push significantly higher amperage to deliver the same wattage. According to the U.S. Department of Energy, managing this high amperage requires precise calculations to prevent excessive voltage drop and resistive heating.
Furthermore, DC does not suffer from the 'skin effect' seen in AC, where high-frequency electrons travel primarily on the outer edge of the conductor. DC utilizes the entire cross-sectional area of the wire. However, the continuous, unidirectional flow of electrons generates a steady, unrelenting thermal load. If the wire gauge is undersized, the heat has no zero-crossing cycle to dissipate, leading to thermal runaway and insulation failure.
Comparative Data: Sizing for a 1000W Load
To visualize how the direct current definition impacts physical wiring, consider a 1000-watt load. The table below demonstrates the required copper wire gauge (AWG) for a 10-foot one-way run, maintaining a strict 3% maximum voltage drop, which is the gold standard for sensitive DC electronics and National Electrical Code (NEC) compliance in solar applications.
| System Type | Nominal Voltage | Current (Amps) | Required Wire Gauge (AWG) | Real-World Application |
|---|---|---|---|---|
| AC Mains | 120V AC | 8.3A | 14 AWG | Standard household receptacle |
| DC System | 48V DC | 20.8A | 10 AWG | Server rack solar battery bank |
| DC System | 12V DC | 83.3A | 2/0 AWG | RV inverter or marine windlass |
As the data illustrates, delivering 1000 watts at 12V DC requires a massive 2/0 AWG cable—thick as a human thumb—while 120V AC requires only a standard 14 AWG wire. This is the practical reality of DC wiring: low voltage demands massive copper.
The Hidden Danger: DC Arcing and the Lack of Zero-Crossing
When discussing the direct current definition, we must address arc faults. In an AC circuit operating at 60Hz, the voltage crosses zero 120 times per second. If a switch is opened or a wire breaks under load, the resulting electrical arc naturally extinguishes itself at the next zero-crossing point.
DC has no zero-crossing. When a DC circuit is broken under load, the unidirectional flow of electrons sustains a continuous plasma arc. This arc can reach temperatures exceeding 10,000°F, instantly melting copper, igniting nearby insulation, and welding contactor switches shut. This is why you must never use an AC-rated breaker on a high-amperage DC battery bank. An AC breaker lacks the internal arc chutes and magnetic blowouts required to physically force a DC arc apart.
Selecting DC-Rated Overcurrent Protection
To safely manage the relentless energy described in our direct current definition, you must use DC-specific fuses and breakers. For modern Lithium Iron Phosphate (LiFePO4) batteries, which can dump thousands of amps of short-circuit current in milliseconds, standard automotive fuses are inadequate.
- Class T Fuses: Rated for up to 125V DC and 400+ volts DC, these feature a fast-acting element designed to clear massive short-circuit faults from large lithium banks without catastrophic failure.
- ANL Fuses: Ideal for general DC distribution blocks and inverter feeds up to 32V DC. They provide excellent protection for continuous loads but lack the extreme interrupting capacity of Class T.
- Marine-Grade Breakers: Must be explicitly rated for DC voltage. The internal geometry is specifically engineered to stretch and snap the DC plasma arc.
Polarity, Grounding, and the Negative Ground Standard
Because DC flows strictly from positive to negative (in conventional current theory), polarity management is non-negotiable. Reversing polarity in an AC appliance usually results in a tripped breaker or a harmless swap of the hot and neutral lines. Reversing polarity in a DC system—such as connecting a positive lead to a negative chassis ground—will instantly fry sensitive charge controllers, reverse-bias diodes, and potentially cause battery explosions.
According to the American Boat and Yacht Council (ABYC), marine DC systems must utilize fully isolated, two-wire circuits. Unlike automotive systems that use the vehicle's steel chassis as the negative return path (chassis ground), marine vessels must run dedicated negative return wires to prevent galvanic corrosion and stray current leaks through the water.
Color Coding Best Practices
Adhering to standard color codes prevents fatal wiring errors. In North America, the standard for DC wiring is:
- Positive (+): Red (or sometimes Yellow in specific marine ABYC applications to distinguish from AC hot wires).
- Negative (-) / Ground: Black or White (if explicitly marked as a DC grounded conductor per NEC Article 690).
Summary Checklist for Your Next DC Project
Moving beyond the basic textbook direct current definition requires a methodical approach to your wiring projects. Before you crimp your first terminal, verify the following:
- Calculate Voltage Drop: Use the Circular Mils formula to ensure your wire gauge limits voltage drop to 3% or less at maximum continuous load.
- Verify DC Ratings: Check every switch, breaker, and fuse to ensure it has a specific DC voltage and amperage interrupting rating.
- Use Ratcheting Crimpers: DC systems suffer heavily from high-resistance connections. Solder can melt under high DC thermal loads; use properly sized, ratcheting crimp tools for all ring terminals.
- Implement Isolated Grounds: Unless you are wiring a standard automobile, run dedicated negative return wires back to your main DC busbar.
By respecting the physical demands of unidirectional electron flow, you ensure your DIY solar arrays, EV conversions, and marine battery banks operate safely and efficiently for decades.