
When designing an off-grid solar array, a marine battery bank, or a telecom backup system, sizing the conductors correctly is non-negotiable. Unlike high-voltage alternating current (AC) systems, a low-voltage direct current power source operates with fundamentally different physics. Because power (Watts) equals voltage multiplied by current (P = V × I), lower system voltages demand exponentially higher current to deliver the same wattage. This high current makes DC systems incredibly unforgiving of undersized wiring, leading to severe voltage drop, thermal runaway, and potential fire hazards.
The Physics of DC: Why Wire Sizing Differs from AC
Before diving into the math, it is crucial to understand how direct current behaves inside a copper or aluminum conductor. In AC systems, the 'skin effect' forces electrons to travel primarily along the outer perimeter of the wire. Direct current, however, distributes electron flow uniformly across the entire cross-sectional area of the conductor. While this means DC utilizes the wire more efficiently, the sheer volume of current required for a 12V, 24V, or 48V direct current power source means that conductor resistance becomes the primary enemy.
Even a fraction of an ohm of resistance can cause a massive voltage drop. If your 12V inverter requires 150A to run a 1500W microwave, a poorly sized wire dropping 2V will deliver only 10V to the inverter, triggering a low-voltage disconnect (LVD) and shutting down your system.
Step-by-Step Calculation: Sizing for a DC Power Source
To properly size your wire, we use the standard DC voltage drop formula. This calculation determines the required cross-sectional area of the wire, measured in Circular Mils (CM).
Expert Rule of Thumb: For critical DC loads (like inverters and charge controllers), limit your voltage drop to 1%. For non-critical DC loads (like LED lighting), a 3% drop is generally acceptable according to NFPA 70: National Electrical Code (NEC) recommendations.
Step 1: Determine Maximum Continuous Current
Identify the maximum continuous current your direct current power source will supply or the load will draw. The NEC requires that conductors be sized to handle 125% of the continuous load. If your inverter draws a continuous 80A, your wire must be sized for 100A (80A × 1.25).
Step 2: Calculate the One-Way Wire Length
Measure the physical distance from the power source to the load. This is your 'L' (Length). Note: The voltage drop formula accounts for the return path by multiplying by 2, so only input the one-way physical distance in feet.
Step 3: Apply the DC Voltage Drop Formula
The formula to find the required Circular Mils (CM) is:
CM = (2 × K × I × L) / VD
- CM: Circular Mils (the cross-sectional area of the wire)
- 2: Constant representing the out-and-back circuit loop
- K: Specific resistance of the conductor material (12.9 for Copper, 21.2 for Aluminum at 75°C)
- I: Current in Amps
- L: One-way length in feet
- VD: Allowable Voltage Drop (e.g., 0.36V for a 3% drop on a 12V system)
Wire Gauge Reference: Circular Mils and Ampacity
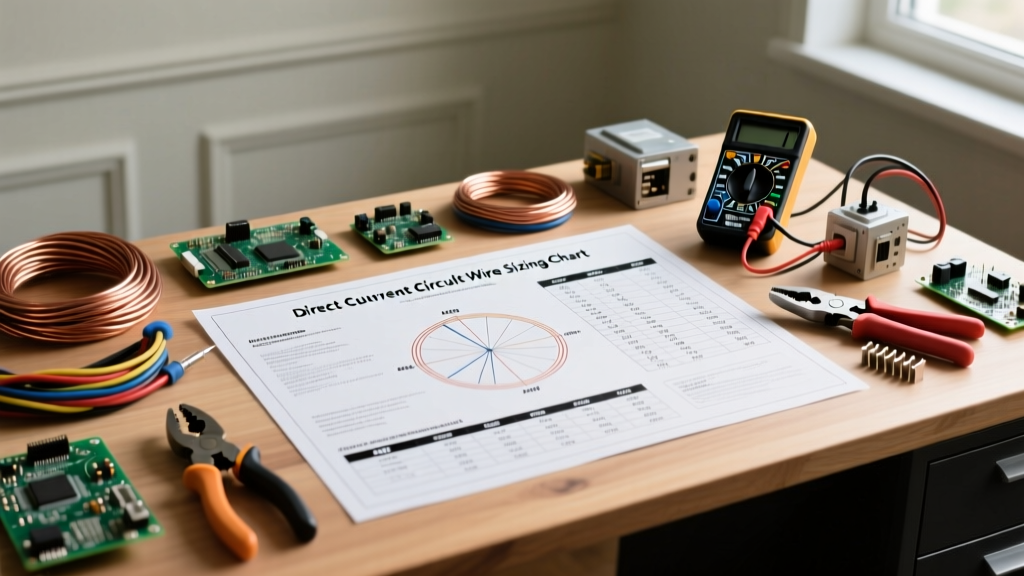
Once you calculate the required CM, you must cross-reference it with standard American Wire Gauge (AWG) sizes and verify that the wire's ampacity exceeds your 125% adjusted current. Below is a reference chart based on copper conductors at 75°C.
| AWG Size | Circular Mils (CM) | Max Ampacity (75°C) | Resistance (Ohms/1000ft) |
|---|---|---|---|
| 4 AWG | 41,740 | 85A | 0.308 |
| 2 AWG | 66,360 | 115A | 0.194 |
| 1 AWG | 83,690 | 130A | 0.154 |
| 1/0 AWG | 105,600 | 150A | 0.122 |
| 2/0 AWG | 133,100 | 175A | 0.0967 |
Real-World Scenario: 24V Solar Array to Charge Controller
Let us apply this to a practical installation. You are wiring a 24V battery bank to a Victron SmartSolar MPPT 150/40 charge controller. The maximum continuous charging current is 40A. The one-way wire run is 15 feet. We want a strict 1% voltage drop (0.24V) to maximize charging efficiency.
The Math in Action
First, adjust for continuous load: 40A × 1.25 = 50A minimum ampacity required.
Next, calculate CM using our formula:
CM = (2 × 12.9 × 50 × 15) / 0.24
CM = 19,350 / 0.24 = 80,625 CM
Looking at the chart, 1 AWG wire offers 83,690 CM and an ampacity of 130A, which easily satisfies both the voltage drop requirement and the 50A minimum ampacity. While a tool like the Southwire Voltage Drop Calculator can automate this, understanding the manual calculation ensures you can verify software outputs and account for specific environmental variables.
Temperature Derating: The Hidden Trap
If this wire is routed through a hot engine bay or an unventilated solar combiner box where ambient temperatures reach 50°C (122°F), you must apply NEC temperature correction factors. At 50°C, the derating factor for 75°C rated wire is 0.75. Multiplying the 1 AWG ampacity (130A) by 0.75 yields 97.5A. Since 97.5A is still well above our 50A requirement, 1 AWG remains safe. If it were not, we would have to step up to 1/0 AWG.
Overcurrent Protection: Fusing Your DC Power Source
Sizing the wire is only half the battle; protecting it is equally critical. DC arcs do not cross zero and self-extinguish like AC arcs. When a short circuit occurs on a direct current power source like a lithium battery bank, it can deliver 10,000 to 20,000 amps of fault current instantly.
Selecting the Right DC Fuse
Standard automotive blade fuses are entirely inadequate for main battery feeds due to their low Ampere Interrupting Capacity (AIC). For main battery conductors, you must use high-AIC fuses:
- Class T Fuses: Rated for 20,000 AIC at 125VDC. Mandatory for large lithium battery banks and high-current inverter feeds (typically >100A).
- ANL Fuses: Rated for 6,000 AIC at 32VDC. Suitable for smaller lead-acid banks and moderate current applications (typically 35A to 500A).
- Mega / AMI Fuses: Rated for 2,000 AIC. Best for alternator charging lines and smaller branch circuits.
Always place the overcurrent protection device as physically close to the direct current power source positive terminal as possible (ideally within 7 to 18 inches, per marine ABYC and NEC guidelines) to protect the entire length of the conductor.
Common DC Wiring Mistakes and Troubleshooting
Even with perfect calculations, physical installation errors can ruin a DC system. Avoid these frequent pitfalls:
- Soldering High-Current Lugs: In high-vibration environments (RVs, boats), solder can crack and fail. Always use a calibrated hydraulic crimping tool with adhesive-lined heat shrink. For an exhaustive breakdown of professional DC termination, refer to the Victron Energy Wiring Unlimited Guide.
- Undersized Lugs and Terminals: A 2 AWG wire crimped into a lug meant for 4 AWG creates a high-resistance bottleneck that will melt under load. Match your crimp dies exactly to the wire and lug specifications.
- Ignoring the Ground Path: DC systems require a dedicated, equally sized equipment grounding conductor (EGC). Do not rely on a metal vehicle chassis to serve as the primary return path for high-current inverters, as chassis resistance is highly unpredictable and prone to corrosion.
Summary Checklist for DC Installations
Before energizing your direct current power source, verify the following:
- Continuous current multiplied by 1.25.
- Voltage drop calculated at 1% for critical loads, 3% for non-critical.
- Wire gauge selected based on the higher requirement between CM (voltage drop) and Ampacity.
- Temperature derating applied if ambient heat exceeds 30°C (86°F).
- High-AIC DC fuse installed within 18 inches of the power source.
- All connections mechanically crimped, torqued to spec, and sealed against oxidation.
Mastering these calculations ensures your DC electrical system will operate efficiently, safely, and reliably for decades, whether it is powering a remote cabin, a transatlantic sailboat, or a mobile command center.