
The Hidden Saboteur in Your DIY Workbench
When you are knee-deep in building a custom analog synthesizer, a high-fidelity stereo preamp, or a precision programmable bench power supply, few things are as frustrating as a misbehaving control interface. You wire up a brand-new 10kΩ potentiometer, apply power, and immediately notice the anomaly: the left channel is louder than the right at low volumes, or your voltage dial reads 5.2V when the knob is exactly at the physical midpoint. The culprit is rarely your soldering or your microcontroller code. The hidden saboteur is potentiometer tolerance.
Most hobbyists assume that a 10kΩ potentiometer will measure exactly 10,000 ohms across its outer lugs and output exactly 50% of the voltage at the mechanical center. In reality, manufacturing variances mean that off-the-shelf components can deviate wildly from these ideals. In project-based learning, understanding the nuanced difference between total resistance tolerance, linearity tolerance, and tracking tolerance is the dividing line between a frustrating prototype and a professional-grade instrument.
Project Brief: The Stereo Preamp Channel Imbalance
Consider a common DIY audio project: building a dual-mono passive preamplifier. You purchase a standard, inexpensive dual-gang 50kΩ logarithmic (audio taper) potentiometer. When you test the circuit at high volumes, the stereo image is perfectly centered. However, when you turn the volume down to whisper levels (around 10% rotation), the right channel is noticeably louder than the left.
This is not a defect; it is a direct result of poor tracking tolerance. While the total end-to-end resistance of both gangs might fall within the manufacturer's stated ±20% tolerance, the physical alignment of the resistive carbon tracks inside the housing is slightly mismatched. At the extreme bottom of the logarithmic curve, a minor physical misalignment translates to a massive decibel difference between the two channels. To solve this in high-end audio, builders either invest in premium pots with strict tracking specs or add fixed series resistors to limit the bottom-end deviation.
Decoding the Datasheet: Resistance vs. Taper Tolerance
To master component selection, you must learn to read between the lines of a manufacturer's datasheet. According to the Electronics Tutorials guide on variable resistors, tolerance is not a single metric. It is broken down into three distinct categories:
- Total Resistance Tolerance: The allowable deviation of the total end-to-end resistance. A 10kΩ carbon pot with a ±20% tolerance could measure anywhere from 8kΩ to 12kΩ. This rarely matters in voltage divider circuits, as the ratio remains intact, but it matters deeply if the pot is used as a variable rheostat to limit current.
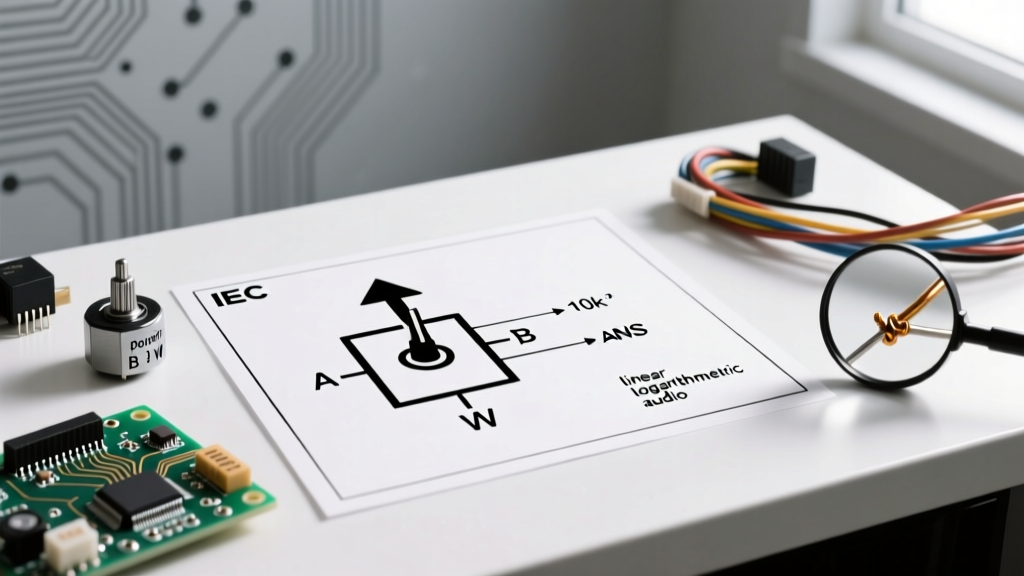
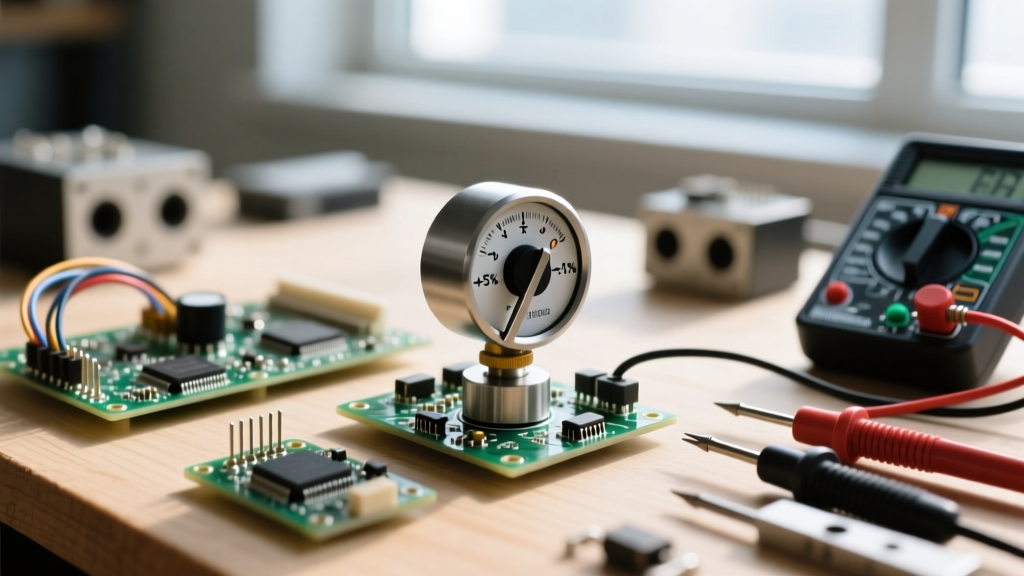
- Linearity (or Conformity) Tolerance: This dictates how closely the wiper's output follows the ideal mathematical curve (linear, logarithmic, or anti-log). A linear pot with a ±5% linearity tolerance guarantees that at 50% mechanical rotation, the wiper will output between 45% and 55% of the total voltage.
- Tracking Tolerance: Exclusive to multi-gang potentiometers, this measures the maximum deviation in output between two or more gangs at any given shaft angle. It is usually expressed in decibels (dB) for audio pots or percentages for linear pots.
Expert Insight: Never use a standard carbon-track potentiometer for precision DC voltage control in a microcontroller project. The wiper contact resistance can fluctuate by hundreds of ohms as it moves across the carbon element, introducing severe noise into your ADC readings. Always use cermet or conductive plastic for DC control voltages.
Real-World Component Breakdown: Carbon vs. Cermet vs. Wirewound
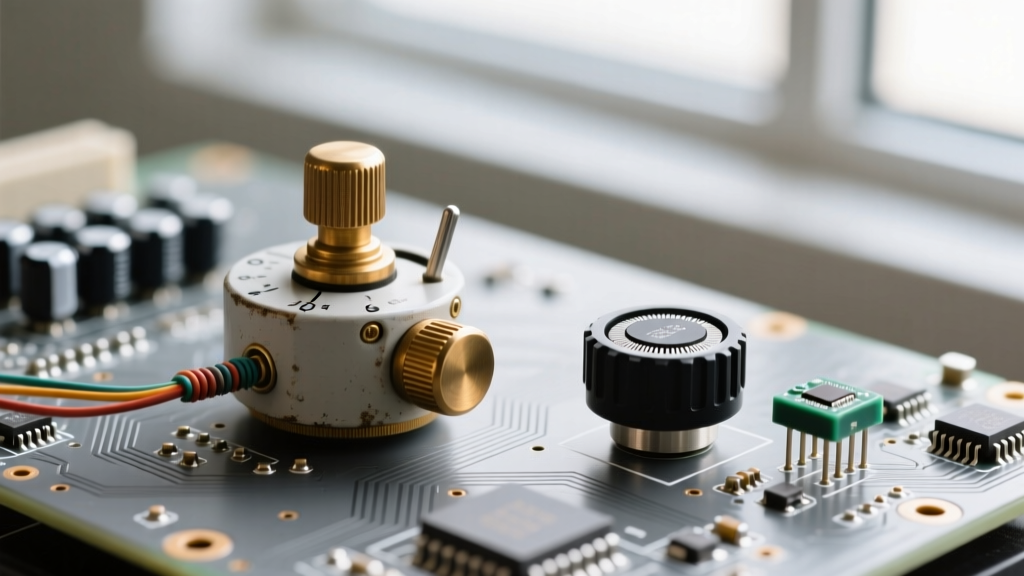
Selecting the right potentiometer material is the first step in mitigating tolerance issues. Below is a comparison chart of common potentiometer technologies you will encounter when sourcing parts from distributors like Mouser or Digi-Key.
| Material / Technology | Typical Resistance Tolerance | Linearity Tolerance | Best Project Use Case | Approx. Unit Cost |
|---|---|---|---|---|
| Carbon Composition | ±20% | ±15% to ±20% | Basic audio volume, non-critical user inputs | $0.50 - $1.00 |
| Cermet (e.g., Bourns 3296) | ±10% | ±5% | PCB trimmers, one-time calibration offsets | $1.20 - $2.50 |
| Wirewound (e.g., Bourns 3590) | ±3% to ±5% | ±5% (Independent) | Precision power supplies, high-wattage rheostats | $8.00 - $15.00 |
| Conductive Plastic (e.g., TT P092) | ±20% | ±2% to ±3% | High-end studio audio, precision servo feedback | $12.00 - $25.00 |
As noted in the Bourns Trimmer Design Guide, cermet elements offer excellent stability and temperature coefficients, making them ideal for set-and-forget calibration trimmers on custom PCBs. However, for panel-mount user interfaces where smooth rotation and long life are required, conductive plastic is the undisputed king of linearity.
Project Build: Calibrating a Precision Voltage Divider
Let's apply this knowledge to a practical project: building the control interface for a DIY 0-30V programmable bench power supply using an STM32 microcontroller and a 10kΩ linear panel potentiometer. Even if you buy a high-quality Bourns conductive plastic pot, a ±3% linearity tolerance means your 15.00V set-point might actually command 14.55V or 15.45V from the DAC. Here is how to engineer the tolerance out of the system.
Step 1: Measuring the Actual Sweep
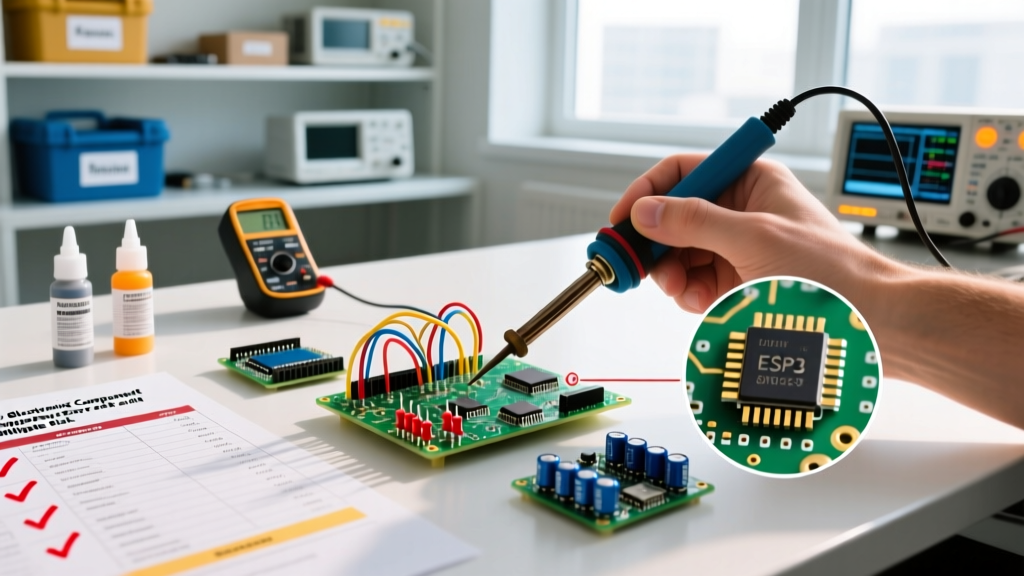
Before mounting the potentiometer to your enclosure, connect the outer lugs to a precision 5.000V reference (not your noisy Arduino 5V rail). Connect the wiper to a high-impedance digital multimeter. Slowly rotate the shaft and record the voltage at 10% mechanical intervals. You will quickly map the physical reality of the component's linearity tolerance, creating a unique fingerprint for that specific part.
Step 2: Software Compensation via Lookup Tables
Instead of relying on a simple linear mapping function in your C++ code, feed your measured data points into an array stored in the microcontroller's EEPROM or Flash memory. Use linear interpolation between the known data points in your firmware. When the user turns the knob to a physical position that reads 2.51V on the ADC, the firmware checks the lookup table, recognizes that this specific pot outputs 2.51V at exactly 52% rotation, and commands the power supply DAC accordingly. This software-defined calibration completely nullifies the hardware's linearity tolerance.
Advanced Troubleshooting: When Tolerance Drifts Over Time
Tolerance is not a static number; it degrades. When troubleshooting a DIY MIDI controller or an analog synthesizer that has developed "scratchy" knobs or drifting control voltages, you are witnessing the dynamic failure of tolerance.
- Wiper Contact Resistance: Over thousands of rotation cycles, the wiper blade wears down the resistive track. In carbon pots, this creates carbon dust that gets trapped under the wiper, causing momentary open circuits (heard as loud pops in audio circuits).
- Temperature Coefficient of Resistance (TCR): If your project operates in a garage that drops to 5°C in the winter and 35°C in the summer, the potentiometer's resistance will shift. Wirewound pots typically have a low TCR (around ±50 ppm/°C), while carbon composition pots can drift by hundreds of ppm/°C. If your DIY thermostat relies on a pot for the temperature threshold, this TCR drift will ruin your calibration.
- Mechanical Hysteresis: In cheap pots, the internal spring-loaded wiper exhibits mechanical backlash. If you turn the knob clockwise to 50%, it might output 2.50V. If you overshoot and turn it back counter-clockwise to the exact same visual mark, it might output 2.42V. This hysteresis is a mechanical tolerance issue that software lookup tables cannot fix.
Sourcing and Final Recommendations
When designing your next electronics project, treat the potentiometer not just as a simple mechanical knob, but as a complex sensor with strict environmental and electrical boundaries. For audio projects where stereo imaging is paramount, bypass standard carbon pots and source ALPS RK27 "Blue Velvet" or Noble conductive plastic pots, which boast tracking tolerances of ±3dB or better. For microcontroller-based DC inputs, always implement a multi-point software calibration routine to bypass linearity errors.
By understanding and designing around potentiometer tolerance, you elevate your builds from unpredictable hobby experiments to reliable, precision-engineered tools. For further reading on component selection and audio taper curves, the Sound on Sound technical archives provide excellent visual breakdowns of how logarithmic tolerances interact with human hearing perception.