
When working on electronics, automotive systems, or household wiring, knowing exactly how to measure voltage in multimeter setups is the most fundamental diagnostic skill you can possess. However, memorizing every dial setting, probe placement, and safety category can slow you down in the field. This reference guide is designed as a rapid cheat sheet for technicians, DIYers, and engineers to quickly verify DC and AC voltage parameters without digging through dense manuals.
The 5-Second Pre-Measurement Checklist
Before touching probes to a live circuit, run through this rapid mental checklist to prevent blown fuses and ensure accurate readings:
- Visual Inspection: Check probe insulation for cracks or exposed wire. A compromised probe in a CAT III environment is an arc flash hazard.
- Port Verification: Ensure the red probe is in the V/Ω port, not the A (Amps) port. Measuring voltage with the red probe in the current jack will create a dead short.
- Dial Selection: Confirm the dial is set to the correct voltage type (DC or AC) before testing.
- Range Check: If using a manual-ranging meter, set it to the highest expected voltage range first, then step down for resolution.
- Battery Status: Look for the low-battery icon on the LCD. A dying battery can cause erratic ADC (Analog-to-Digital Converter) readings, leading to false voltage diagnostics.
DC vs. AC Voltage: Dial Settings Cheat Sheet
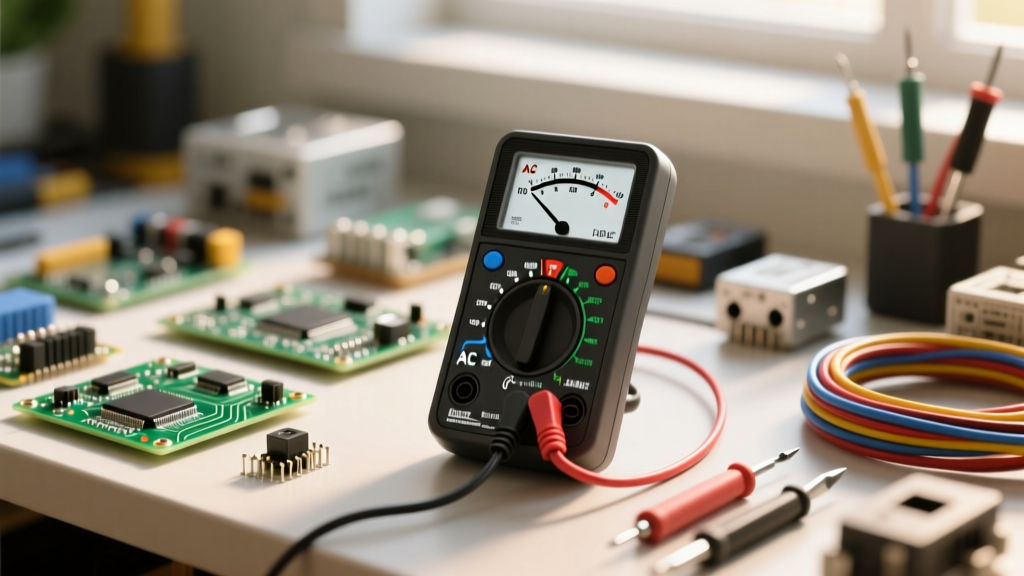
Multimeters separate voltage into two distinct measurement paths. Using the wrong path can result in a reading of zero or wildly inaccurate RMS approximations. Reference the table below for standard dial symbols and applications.
| Measurement Type | Dial Symbol | Internal Circuitry | Common Applications |
|---|---|---|---|
| DC Voltage | V⎓ or VDC | Direct ADC sampling with low-pass filtering | Batteries, USB lines, Arduino logic, automotive 12V systems |
| AC Voltage | V~ or VAC | True-RMS or average-responding rectifier networks | Wall outlets, HVAC controls, mains transformers |
| Millivolts DC | mV⎓ | High-gain amplifier stage for microvolt resolution | Thermocouples, shunt resistor current sensing, audio signals |
Auto-Ranging vs. Manual Ranging Workflows
Modern digital multimeters (DMMs) like the Fluke 117 or Klein Tools MM400 handle ranges differently. Here is how to measure voltage in multimeter setups based on your ranging type:
- Auto-Ranging: Simply select V⎓ or V~. The meter's microcontroller will cycle through internal voltage dividers until it finds the optimal range. Pro-Tip: Auto-ranging can take 1-3 seconds to lock onto a value. In high-voltage environments, this delay can feel like an eternity.
- Manual Ranging: Select the voltage mode, then press the RANGE button to cycle through fixed thresholds (e.g., 400mV, 4V, 40V, 400V, 600V). Always start at 600V and step down until you get maximum decimal resolution without triggering the 'OL' (Overload) error.
Probe Placement Matrix: Where to Connect
Voltage is always a relative measurement between two points. Unlike current, which requires breaking the circuit, voltage is measured in parallel. Follow this matrix for standard probe placement:
| Scenario | Black Probe (COM) | Red Probe (V/Ω) | Expected Polarity / Reading |
|---|---|---|---|
| Standard DC Circuit | Ground / Negative Rail | Test Point / Positive Rail | Positive value (e.g., 5.02V) |
| Reverse Polarity DC | Positive Rail | Ground / Negative Rail | Negative value (e.g., -5.02V) |
| AC Mains (Hot to Neutral) | Neutral / Ground | Hot / Line | AC RMS value (e.g., 120V or 230V) |
| AC Voltage Drop | Load Input (Hot) | Load Output (Switched) | Drop across the switch or component |
Field Note: When measuring AC mains, the physical orientation of the red and black probes does not affect the RMS voltage reading because AC alternates polarity 50 to 60 times per second. However, maintaining a consistent color convention (Black to Neutral/Ground, Red to Hot) is critical for personal safety and mental mapping of the circuit.
Troubleshooting Ghost Voltages & OL Errors
Even experienced technicians get tripped up by phantom readings. According to Fluke's official voltage measurement guide, understanding your meter's input impedance is key to diagnosing these anomalies.
The 'OL' (Overload) Error
If your display flashes OL, the voltage at the probes exceeds the currently selected range. Immediate Action: Remove the probes from the circuit, switch to a higher voltage range (or switch to manual ranging and select the 600V/1000V tier), and re-test. Never ignore an OL reading, as pushing past the meter's rated limits can destroy the internal MOVs (Metal Oxide Varistors) designed to protect the ADC.
Ghost Voltages and Capacitive Coupling
When testing multi-conductor cables (like Romex or industrial control trays), you may read 40V to 90V AC on a disconnected or 'dead' wire. This is a ghost voltage caused by capacitive coupling from adjacent live wires. Modern DMMs have an input impedance of roughly 10 Megohms. This high impedance acts like an antenna, picking up stray electromagnetic fields. The Fix: Use a meter with a LoZ (Low Impedance) mode, such as the Fluke 117. Engaging LoZ drops the internal impedance to roughly 3 kilohms, providing a parallel path that bleeds off the capacitive ghost charge, revealing the true 0V state of the dead wire. For deeper diagnostic techniques, the SparkFun multimeter tutorial offers excellent visual breakdowns of impedance loading.
Multimeter Safety Categories (CAT Ratings) Reference
Knowing how to measure voltage in multimeter setups is useless if your equipment cannot withstand the transient spikes of the environment. The IEC 61010-1 standard defines CAT ratings based on location, not just maximum continuous voltage. A CAT III 600V meter is designed to survive a 4000V transient impulse, whereas a CAT II 600V meter will only survive a 2500V impulse.
| CAT Rating | Environment Definition | Transient Test Voltage (for 600V rating) |
|---|---|---|
| CAT I | Electronics, signal level, benchtop power supplies | 2500V |
| CAT II | Single-phase receptacle connected loads (appliances, portable tools) | 2500V |
| CAT III | Three-phase distribution, single-phase commercial lighting, fixed motors | 4000V |
| CAT IV | Three-phase utility connections, outdoor service entrances, primary meters | 6000V |
Cheat Code for Field Techs: If you are measuring voltage at a standard residential wall outlet (CAT II), but the outlet is hardwired directly to the main distribution panel without a sub-panel breaker in between, the environment technically elevates to CAT III. Always carry a minimum CAT III 600V rated meter for general building diagnostics to ensure adequate arc flash and transient protection.
Quick Reference Summary
- Identify the Source: Is it battery-powered (DC) or grid-powered (AC)?
- Set the Dial: V⎓ for DC, V~ for AC. Start high on manual meters.
- Verify Ports: Black in COM, Red in V/Ω.
- Connect in Parallel: Touch probes across the component or rails.
- Read and Interpret: Watch for negative signs (reverse polarity) or LoZ requirements (ghost voltages).
Keep this cheat sheet bookmarked or printed for your workbench. Proper voltage measurement is the bedrock of all electrical diagnostics, and mastering these parameters ensures both accurate troubleshooting and personal safety.