
The Hidden Risks of Headless Pi Deployments
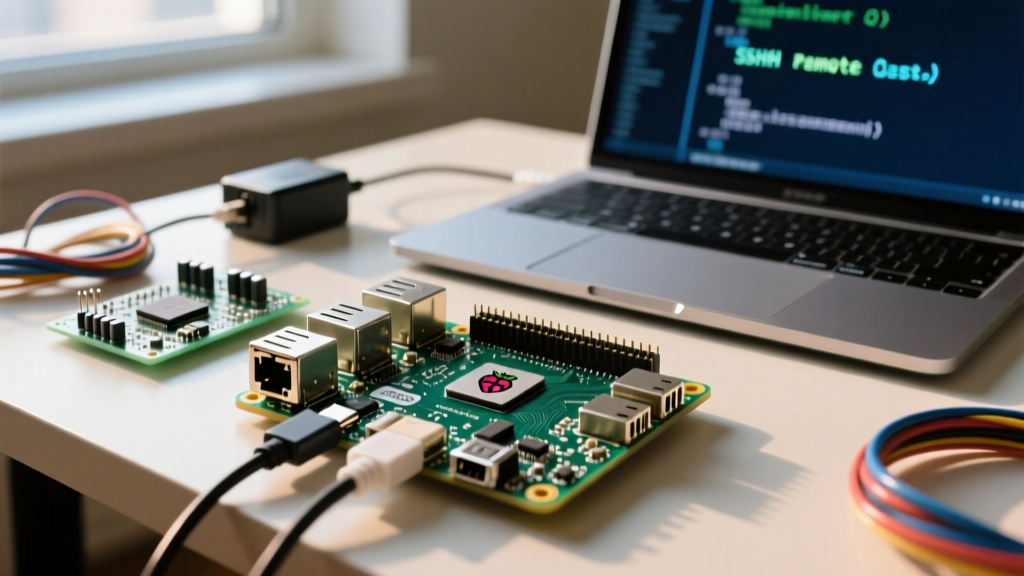
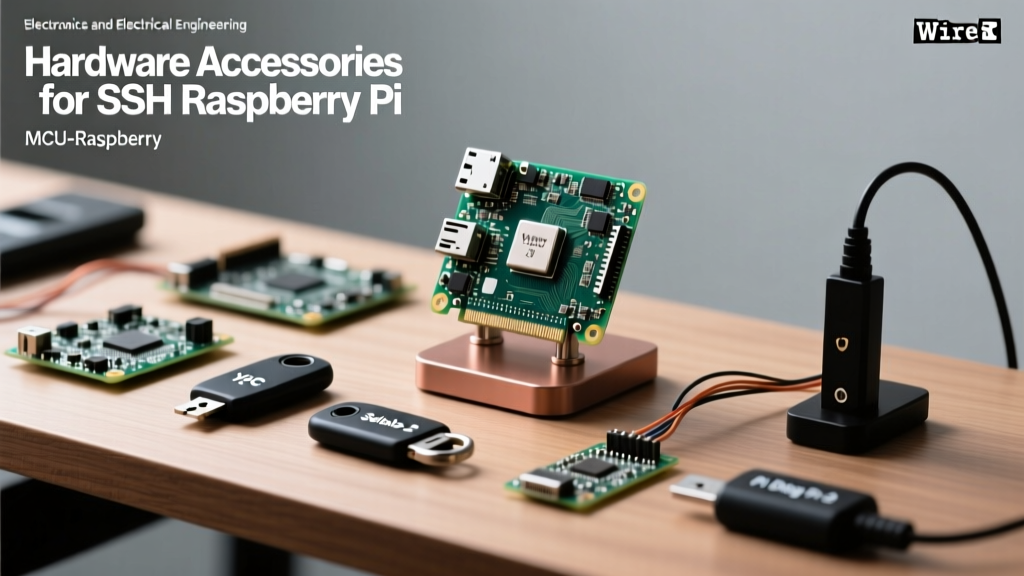
Running a headless Raspberry Pi 5 or Pi 4 means your entire administrative lifeline depends on SSH. While standard password authentication or basic RSA key pairs are common, they are increasingly vulnerable to brute-force attacks, credential stuffing, and SD card corruption that locks you out of the network stack. In 2026, securing and maintaining SSH for Raspberry Pi requires moving beyond software-only paradigms. This accessory review evaluates three distinct hardware tools—ranging from FIDO2 security keys to UART debug probes—that fundamentally upgrade how you authenticate, access, and recover your single-board computers.
Accessory 1: YubiKey 5 NFC – The Enterprise Standard
When evaluating hardware tokens for SSH authentication, the YubiKey 5 NFC (priced around $54) remains the undisputed heavyweight. Yubico’s implementation of the FIDO2 standard allows you to generate resident SSH keys where the private key material never leaves the device's secure element (the Infineon SLE78 chip).
Setup and Pi Integration
To use the YubiKey for SSH on Raspberry Pi OS (Bookworm or later), you leverage OpenSSH’s native FIDO2 support. By running ssh-keygen -t ecdsa-sk -O resident -f ~/.ssh/id_ecdsa_sk, the Pi generates a key pair anchored to the physical token. The public key is added to your target server's authorized_keys file, while the private key handle resides on the YubiKey.
The tactile feedback mechanism is a standout feature. Every SSH connection requires a physical touch on the gold contact pad, neutralizing remote malware or automated scripts attempting to hijack your active SSH session. However, the proprietary nature of Yubico's firmware means you must trust their supply chain—a non-issue for enterprise, but a consideration for strict open-source advocates.
Accessory 2: SoloKeys Solo 2 – The Open-Source Challenger
For makers who demand auditability, the SoloKeys Solo 2 (approximately $35) offers a compelling alternative. Built on the NXP LPC55S69 microcontroller, the Solo 2 runs fully open-source firmware. It supports FIDO2 and works seamlessly with the same ssh-keygen commands used for the YubiKey.
Physical Build and NFC Performance
Where the Solo 2 diverges is in physical ergonomics and RF performance. The NFC antenna range is roughly 15% shorter than the YubiKey 5 NFC, requiring more precise alignment when tapping it against a smartphone for 2FA, though this is irrelevant when using it via USB-A or USB-C directly on a Raspberry Pi 4 or 5. The injection-molded plastic shell feels slightly less robust than Yubico’s crush-proof casing, making it better suited for stationary Pi clusters rather than keychain carry.
Accessory 3: Raspberry Pi Debug Probe – The UART/SSH Lifesaver
Hardware security keys protect your SSH session, but what happens when the Pi drops off the network entirely due to a misconfigured wpa_supplicant.conf or a DHCP lease failure? You cannot SSH into a device with no IP address. Enter the Raspberry Pi Debug Probe ($12).
Hardware Fallback Architecture
While not a cryptographic token, the Debug Probe is an essential accessory for any serious Pi deployment. Based on the RP2040 microcontroller and running DAPLink firmware, it provides a reliable CDC-ACM serial UART bridge. By connecting the probe’s TX to the Pi’s RX, RX to TX, and GND to GND, you establish a hardware-level serial console at 115200 baud.
This allows you to bypass the network stack entirely. If a bad update breaks your SSH daemon or network manager, you can log in via the serial console using picocom /dev/ttyACM0 -b 115200, fix the configuration, and restore your primary SSH access. It is the ultimate hardware fail-safe for headless environments.
Comparative Breakdown: FIDO2 Tokens vs. UART Fallbacks
| Accessory | Primary Function | Protocol / Interface | Approx. Price | Best Use Case |
|---|---|---|---|---|
| YubiKey 5 NFC | Cryptographic SSH Auth | FIDO2 / USB / NFC | $54.00 | Enterprise & high-security Pi nodes |
| SoloKeys Solo 2 | Cryptographic SSH Auth | FIDO2 / USB / NFC | $35.00 | Open-source purists & hobbyists |
| Pi Debug Probe | Network Failure Recovery | UART Serial / USB-C | $12.00 | Headless cluster maintenance & debugging |
Implementation Guide: Enforcing FIDO2 for SSH for Raspberry Pi
Transitioning to hardware-backed SSH requires modifying both your client and server configurations. On your Raspberry Pi (acting as the client connecting to another server, or vice versa), ensure the libfido2 library is installed:
sudo apt update
sudo apt install libfido2-dev
Generate your resident key:
ssh-keygen -t ecdsa-sk -O resident -f ~/.ssh/id_ecdsa_skCopy the public key to your target server. To enforce the use of this hardware key and disable legacy RSA keys, edit your ~/.ssh/config file:
Host *
    IdentityFile ~/.ssh/id_ecdsa_sk
    PubkeyAuthentication yes
    PasswordAuthentication no
According to the OpenSSH 8.2 release notes, FIDO2 resident keys allow you to carry your SSH credentials securely across different machines without copying private key files, drastically reducing the attack surface of your Pi fleet.
Failure Modes and Troubleshooting Hardware Auth
Hardware accessories introduce physical failure modes that software-only setups do not have. Anticipating these is critical for maintaining uptime.
The Touch Timeout Problem
By default, OpenSSH requires a physical touch on the FIDO2 token within 25 seconds of initiating the connection. If you are running automated Ansible playbooks or bash scripts from your Raspberry Pi, the script will hang and eventually fail because no human is present to touch the key. Solution: For automated, non-interactive nodes, generate a non-resident key without the touch requirement using ssh-keygen -t ecdsa-sk -O no-touch-required. Note that this requires the server's sshd_config to permit touch-less FIDO2 keys, which slightly lowers the security posture against malware.
UART Wiring Disasters
When using the Raspberry Pi Debug Probe, the most common catastrophic failure mode is miswiring the UART pins. The Pi’s GPIO UART operates at 3.3V logic levels. If you accidentally use a third-party 5V USB-to-TTL serial cable instead of the official 3.3V Debug Probe, or if you cross the 5V power pin with the RX pin, you will instantly destroy the Pi’s SoC UART controller, and potentially the entire chip. Always verify pinout with a multimeter before applying power. For comprehensive wiring diagrams, refer to the official Raspberry Pi Debug Probe documentation.
Lost or Broken Security Keys
If you rely solely on a single YubiKey for SSH access to a remote Pi cluster and lose it, you are permanently locked out. Best practice dictates generating a secondary FIDO2 backup key, storing it in a physical safe, and adding its corresponding public key to the Pi’s authorized_keys file simultaneously. For deeper insights into FIDO2 SSH integration, consult the Yubico developer guidelines on securing SSH.
Final Verdict: Building a Resilient Pi SSH Strategy
Securing SSH for Raspberry Pi is no longer just about changing the default port or disabling root login. By integrating hardware like the YubiKey 5 or SoloKeys Solo 2, you anchor your cryptographic identity to a physical, tamper-resistant secure element. Pairing this with the Raspberry Pi Debug Probe ensures that even when network configurations fail, you maintain a hardware-level serial lifeline to restore your system. This multi-layered accessory approach transforms a fragile headless setup into an enterprise-grade, resilient deployment.