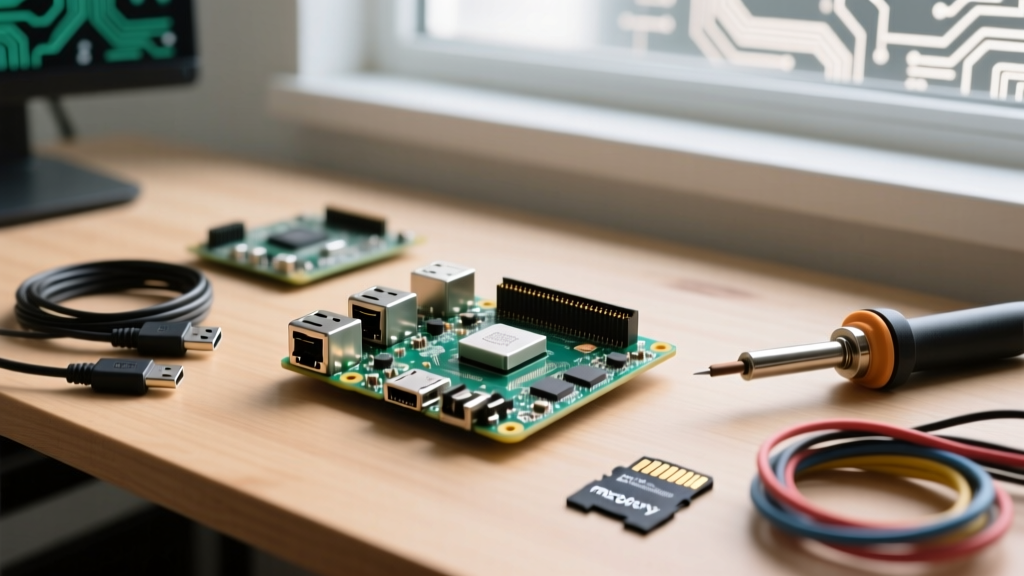

Learning how to set up a Raspberry Pi in 2026 requires discarding some outdated assumptions. With the release of the Raspberry Pi 5 and the industry-wide shift to Debian Bookworm, the setup process involves new power delivery standards, a completely revamped networking stack, and PCIe integration. Whether you are building a Home Assistant server, a compute cluster, or a DIY smart home hub, this project tutorial will walk you through the exact hardware requirements, OS flashing protocols, and headless configuration techniques needed for a bulletproof deployment.
The Power Paradigm: Why Your Old Charger Won't Work
The most common point of failure when setting up a modern Pi is inadequate power delivery. The Raspberry Pi 5 introduced a strict 5V/5A (27W) USB-C Power Delivery (PD) requirement. If you attempt to use a legacy 5V/3A (15W) power supply from a Pi 4, the board will still boot, but the firmware will trigger a protective hard-limit.
According to extensive testing by Jeff Geerling, this limit drops the maximum current available to the four USB ports from 1.6A down to just 600mA. If you plug in an external SSD, a Zigbee coordinator, or an RTL-SDR dongle, you will experience random brownouts, USB disconnects, and kernel panics.
| Pi Model | Required PSU | Max USB Peripheral Current | Boot Behavior on Under-Power |
|---|---|---|---|
| Raspberry Pi 4 | 5V / 3A (15W) | 1.2A | Throttling, SoC instability |
| Raspberry Pi 5 | 5V / 5A (27W PD) | 1.6A | USB ports hard-limited to 600mA |
Selecting the Right Boot Medium
While microSD cards remain the default, they are the weakest link in any Pi setup. For a production environment, you must use an Application Performance Class 2 (A2) rated card, such as the SanDisk Extreme or Samsung PRO Plus. A2 cards support higher IOPS (Input/Output Operations Per Second) via command queuing, which drastically reduces the micro-stutters common in Home Assistant database writes.
For the Pi 5, the optimal setup bypasses SD cards entirely by utilizing the new PCIe Gen 2.0 x1 interface. By pairing an M.2 HAT+ with an NVMe SSD (like the WD Blue SN580), you achieve read/write speeds exceeding 400MB/s, compared to the ~45MB/s ceiling of a UHS-I SD card. If using NVMe drives larger than 2TB, ensure you format them using GPT rather than MBR to avoid partition table limitations during the Imager process.
Thermal Management: The Pi 5 Active Cooler Requirement
Unlike the Pi 4, which could often get away with passive aluminum heatsinks for light workloads, the Raspberry Pi 5's BCM2712 SoC generates significant thermal density. Without active cooling, the Pi 5 will hit its 85°C thermal throttle limit within minutes of compiling code or running containerized workloads.
The official Raspberry Pi Active Cooler (priced around $5) is a masterpiece of engineering. It connects to the dedicated 4-pin PWM fan header and utilizes the SoC's internal thermal sensor to dynamically adjust RPM. Third-party cases like the Argon ONE V3 or the Geekworm NasPi also integrate excellent PWM fan control, but ensure you are using the correct pinout for the Pi 5's new JST connector, as it differs physically from the Pi 4's 5V/GND fan pins.
Flashing the OS: Navigating the Bookworm Shift
The transition to Raspberry Pi OS Bookworm brought a massive architectural change that breaks legacy setup tutorials: the death of wpa_supplicant. In older OS versions, you could drop a wpa_supplicant.conf file into the /boot partition to configure headless Wi-Fi. Bookworm utilizes NetworkManager, rendering that trick completely useless.
To correctly flash and configure your OS, follow this exact workflow using the official Raspberry Pi Imager:
- Select your Device: Choose Raspberry Pi 5 (or your specific SBC).
- Select your OS: Choose 'Raspberry Pi OS (64-bit)'. Avoid the 'Full' desktop version for headless servers to save 1GB+ of RAM and reduce background CPU overhead.
- Select your Storage: Target your A2 SD card or USB NVMe enclosure.
- Crucial Step - OS Customisation: Click the gear icon (or press
Ctrl+Shift+X) to open the advanced settings. This is where you inject your Wi-Fi credentials, which the Imager will automatically format into the correct NetworkManager.nmconnectionfiles.
Enabling Headless SSH and User Creation
The default pi user with the password raspberry was deprecated for security reasons. In the OS Customisation menu, you must manually create a username and a strong password. Ensure you check the box to Enable SSH and select 'Use password authentication' for initial access. If you are deploying this in a secure environment, you can inject your public SSH key directly into this menu, bypassing password authentication entirely.
First Boot and Network Discovery
Insert your storage medium and apply power. The Pi 5 features a dedicated physical power button, but it will auto-boot if power is applied. If you configured Wi-Fi via the Imager, the Pi will connect to your network within 15 seconds.
Pro-Tip: Do not rely on IP scanning tools like Fing or Angry IP Scanner if your router's DHCP lease table is slow to update. Instead, use mDNS (Multicast DNS) by pingingraspberrypi.localfrom your terminal. If you changed the hostname in the Imager settings, use[your-hostname].local.
Diagnosing Boot Failures via LED Codes
If your Pi fails to boot, do not immediately reflash the SD card. Modern Raspberry Pi boards use the green activity LED to blink specific bootloader error codes. Count the long and short blinks to diagnose the exact failure mode, as detailed in the official hardware documentation.
| Blink Pattern | Meaning | Troubleshooting Step |
|---|---|---|
| 4 Long, 5 Short | Bootloader EEPROM is corrupted or missing | Use a secondary PC to flash the bootloader recovery image to an SD card |
| 3 Long, 1 Short | SD card host detect failed | Check SD card seating; clean the metal contacts with isopropyl alcohol |
| 2 Long, 4 Short | start.elf not found (boot partition issue) | Reflash OS; ensure the FAT32 boot partition is not corrupted |
Post-Install Hardening and Optimization
Once you have SSH'd into your new setup, execute the standard update sequence:
sudo apt update && sudo apt full-upgrade -yAssigning a Static IP via NetworkManager
For any headless server, a static IP is mandatory. Since dhcpcd.conf is no longer used in Bookworm, you must use the nmcli (NetworkManager Command Line Interface) tool to assign a static IP. Run the following command, replacing the IP and gateway with your network's specific details:
sudo nmcli con mod 'preconfigured' ipv4.addresses 192.168.1.50/24 ipv4.gateway 192.168.1.1 ipv4.dns '1.1.1.1,8.8.8.8' ipv4.method manualAfter applying the changes with sudo nmcli con up 'preconfigured', your Pi will maintain a persistent IP address across reboots, ensuring your SSH sessions and Docker containers remain reachable.
Unlocking PCIe Gen 3.0 Speeds
If you are using an NVMe drive on the Pi 5 via the official M.2 HAT+, you can force the PCIe interface to Gen 3.0 speeds (doubling your theoretical bandwidth to ~800MB/s). While the Pi 5 is only officially certified for Gen 2.0, high-quality drives and short ribbon cables can often sustain Gen 3.0 stability. Edit your boot configuration:
sudo nano /boot/firmware/config.txtAdd the following line to the bottom of the file:
dtparam=pciex1_gen=3Reboot your system, and verify your link speed using lspci -vv. By following these precise hardware and software configurations, you ensure your Raspberry Pi setup is not just functional, but optimized for years of uninterrupted 24/7 operation.