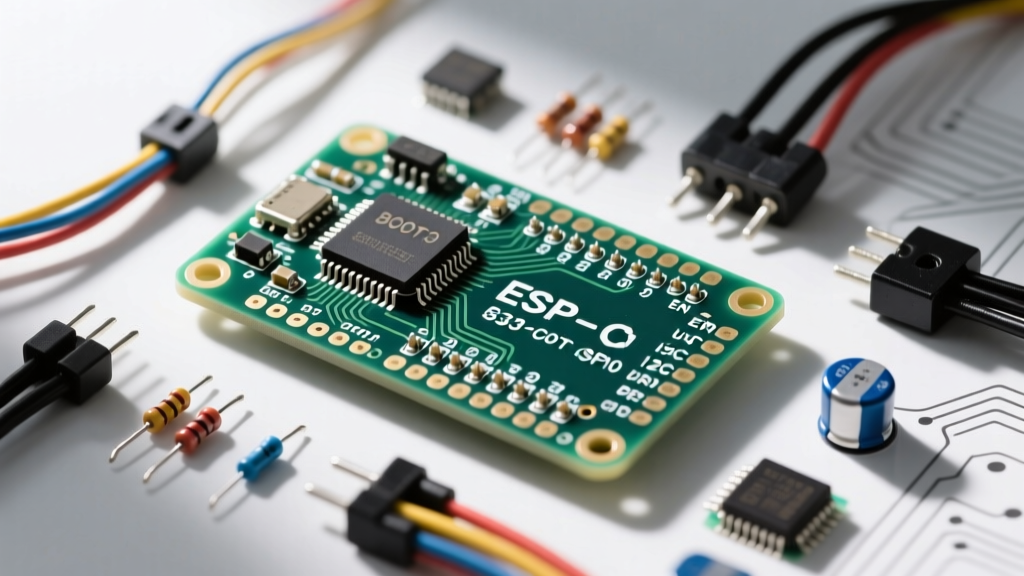

The ESP32-C3 has rapidly become the go-to microcontroller for cost-sensitive, low-power IoT projects. By swapping the traditional Xtensa architecture for a 32-bit RISC-V core, Espressif delivered a chip that rivals the ESP8266 in price while offering Bluetooth 5.0 (LE) and enhanced security. However, transitioning from a classic ESP32 or ESP8266 to the C3 variant often leads to immediate hardware headaches. The ESP32-C3 pinout is not merely a shrunken version of its predecessors; it features a unique GPIO matrix, strict strapping pin behaviors, and specific peripheral limitations that can brick your project before you even finish compiling your sketch.
In this concept explainer, we will deconstruct the ESP32-C3 pinout, separating the theoretical datasheet specifications from the real-world constraints you face on the workbench.
The RISC-V Architecture and the GPIO Matrix
Unlike older microcontrollers where a specific physical pin is hardwired to a specific peripheral (like I2C SDA or SPI MOSI), the ESP32-C3 utilizes a GPIO Matrix. This routing fabric allows you to map almost any internal peripheral signal to almost any physical GPIO pad.
According to the ESP32-C3 Technical Reference Manual, the matrix routes signals through multiplexers. While this offers incredible flexibility for PCB layout, it introduces signal integrity constraints. High-speed signals like SPI or I2S (if supported via external workarounds) suffer from timing skew and jitter when routed through the matrix rather than dedicated IO_MUX pins. For standard I2C, UART, and low-speed SPI, the matrix is perfectly adequate, but you must be mindful of trace lengths on custom PCBs.
The 22-Pin Illusion: Where Did My GPIOs Go?
If you glance at the official ESP32-C3 datasheet, you will see 22 programmable GPIOs listed. Makers often assume this means 22 pins are available for sensors, relays, and displays. In practice, the usable pin count is significantly lower due to hardcoded internal routing.
- GPIO 12 to 17: These six pins are dedicated to the internal SPI Flash and PSRAM. While you can technically use them if you configure the chip for external flash, on 99% of commercial dev boards, they are inaccessible or tied directly to the onboard memory.
- GPIO 18 and 19: These are hardcoded to the USB D- and D+ lines. They connect directly to the USB-C connector for native USB communication and JTAG debugging. Using them as standard digital I/O is impossible on standard dev boards without physically severing PCB traces.
- GPIO 20 and 21: These are routed to the primary UART0 (TX/RX) for serial communication with your PC. While you can remap UART0 via the matrix, doing so breaks your ability to use the Serial Monitor for debugging unless you set up a secondary USB-to-Serial bridge.
Consequently, out of the advertised 22 pins, you typically only have 14 truly free GPIOs (GPIO 0 through 10, plus GPIO 22 and 23 on some bare modules) for general-purpose wiring.
Strapping Pins: The Bootloader Bottleneck
The most common reason an ESP32-C3 project fails to boot is the mismanagement of strapping pins. During the reset sequence, the chip samples the voltage levels on specific GPIOs to determine its boot mode. If you have a sensor or relay pulling these pins to an unintended state, the chip will hang or enter the wrong mode.
The ESP32-C3 features four critical strapping pins:
- GPIO 2: Determines the boot source. Must be LOW to boot from SPI Flash. If pulled HIGH, the chip attempts to boot from a non-existent ROM, resulting in a silent failure.
- GPIO 3: Controls the SPI flash voltage. Must be HIGH for 3.3V flash operation (standard on almost all maker boards). If pulled LOW, it switches to 1.8V, potentially corrupting data or damaging the flash chip.
- GPIO 8: Controls UART boot log printing. HIGH enables log output; LOW disables it.
- GPIO 9: Dictates the boot mode. LOW enters normal SPI Flash boot; HIGH forces the chip into ROM Serial Bootloader mode (used for flashing new firmware).
The ESP32-C3 SuperMini Trap (GPIO 8)
The wildly popular, ultra-cheap 'ESP32-C3 SuperMini' development boards feature an onboard WS2812 RGB LED. To save pins, manufacturers wired this LED to GPIO 8.
Real-World Failure Mode: If you write a sketch that initializes GPIO 8 as an OUTPUT and immediately drives it LOW to turn off the RGB LED, you will inadvertently disable the UART boot logs on the next reset. Worse, if you wire an external button with a pull-down resistor to GPIO 8, the chip will boot with logging disabled, making it incredibly difficult to debug serial output issues. Always use a 10kΩ pull-up resistor on GPIO 8 if you must use it for external hardware.
Peripheral Routing Constraints
Because the ESP32-C3 is a budget-oriented chip, Espressif stripped out several heavy peripherals found on the classic ESP32. There is no DAC, no I2S, and no capacitive touch sensor interface. Here is how the remaining peripherals map out in the Arduino IDE environment.
| Peripheral | Default / Recommended Pins | Matrix Capable? | Hardware Notes |
|---|---|---|---|
| I2C (Wire) | SDA: 4, SCL: 5 | Yes (Any GPIO) | Internal pull-ups are weak (~45kΩ). Always add external 4.7kΩ pull-ups for reliable sensor communication. |
| SPI (FSPI) | SCK: 2, MOSI: 3, MISO: 4, CS: 5 | Yes (Any GPIO) | Use FSPI for standard peripherals. HSPI is not available on the C3. |
| UART0 | TX: 21, RX: 20 | Yes | Used for Serial Monitor. Remapping requires external USB-to-TTL adapter for logs. |
| UART1 | TX: 0, RX: 1 | Yes | Best choice for communicating with GPS modules or secondary microcontrollers. |
| USB / JTAG | D-: 18, D+: 19 | No (Hardcoded) | Supports native USB CDC and hardware debugging via the Arduino ESP32 Core. |
Analog Limitations: ADC Without the Extras
If your project relies on analog sensors, the ESP32-C3 pinout requires careful planning. The chip features a single 12-bit SAR ADC (ADC1) with only 5 channels, mapped to GPIO 0 through GPIO 4.
Unlike the classic ESP32, which featured two ADCs and a clever workaround using the WiFi radio to read ADC2, the C3 only has ADC1. Furthermore, the 12-bit resolution (0-4095) is notoriously non-linear at the extreme ends of the voltage spectrum. Readings near 0V and 3.3V tend to saturate and compress.
Actionable Advice: When designing voltage dividers for battery monitoring on the ESP32-C3, scale your maximum expected voltage to read around 2.8V to 3.0V (an ADC value of roughly 3500). Avoid designing circuits that expect precise differentiation between 3.1V and 3.3V, as the ADC hardware will likely return the exact same maximum value for both, masking critical low-battery states.
Safe Wiring Practices for Custom Breakouts
When moving from a breadboard prototype to a custom PCB or perfboard wiring, adhere to these ESP32-C3 specific rules:
- Leave GPIO 2, 3, and 9 floating or pulled to their safe states: Do not connect relays or high-current loads directly to these pins. A relay coil's back-EMF or a floating input during power-up can easily flip the strapping state, bricking the boot process.
- Respect the 3.3V Logic Level: The ESP32-C3 is strictly a 3.3V device. Feeding 5V into any GPIO, even briefly, will destroy the RISC-V core's input protection diodes. Use bidirectional logic level shifters when interfacing with 5V modules like the HC-SR04 ultrasonic sensor or NeoPixel strips.
- Utilize Native USB for Debugging: Because GPIO 18 and 19 support native USB CDC, you can bypass the onboard UART-to-USB bridge (if your board has one) by using the Arduino IDE's 'USB CDC On Boot: Enabled' flag. This frees up GPIO 20 and 21 for your actual project hardware while maintaining full Serial Monitor functionality.
Understanding the ESP32-C3 pinout is less about memorizing numbers and more about understanding the architectural compromises Espressif made to hit a sub-$2 price point. By respecting the strapping pins, working within the GPIO matrix limits, and designing around the 5-channel ADC, you can build highly reliable, ultra-low-cost IoT nodes that outperform older legacy chips.