
Adding WiFi to Raspberry Pi: Best USB & HAT Hardware Compared
While modern single-board computers like the Raspberry Pi 4 and Pi 5 come equipped with onboard wireless connectivity, there are dozens of scenarios where the native silicon simply falls short. Whether you are deploying a remote weather station requiring high-gain directional antennas, building a Kali Linux penetration testing rig that demands packet injection, or simply trying to connect a legacy Pi 1 or Pi Zero to a modern 5GHz network, adding WiFi to Raspberry Pi systems via external hardware is a critical skill for advanced makers.
In this comprehensive hardware comparison, we bypass the marketing fluff and dive deep into the exact chipsets, power delivery bottlenecks, and Linux kernel driver realities of external WiFi solutions. From high-draw USB 3.0 adapters to native PCIe M.2 HATs, here is how to properly upgrade your Pi’s wireless capabilities in 2026.
The Onboard WiFi Bottleneck: Why Bypass Native Silicon?
To understand why external hardware is necessary, we must first examine the limitations of the onboard Infineon/Cypress chips (such as the CYW43455 found on the Pi 4 and Pi 5). These chips utilize PCB trace antennas, which are marvels of miniaturization but suffer from three distinct failure modes in real-world applications:
- Range and Obstruction: PCB traces struggle to penetrate standard drywall, let alone the metal enclosures many makers use for thermal management.
- Bluetooth Coexistence Interference: The shared 2.4GHz antenna path often results in severe throughput drops when Bluetooth peripherals (like keyboards or Zigbee dongles) are active simultaneously.
- Monitor Mode Limitations: The Broadcom/Cypress firmware is notoriously closed-source. Enabling true monitor mode or packet injection for security auditing on the native chip is either impossible or highly unstable.
Consequently, adding external WiFi is not just about legacy support; it is about unlocking enterprise-grade wireless features on a $35 to $80 compute module.
Tier 1: High-Performance USB WiFi Adapters
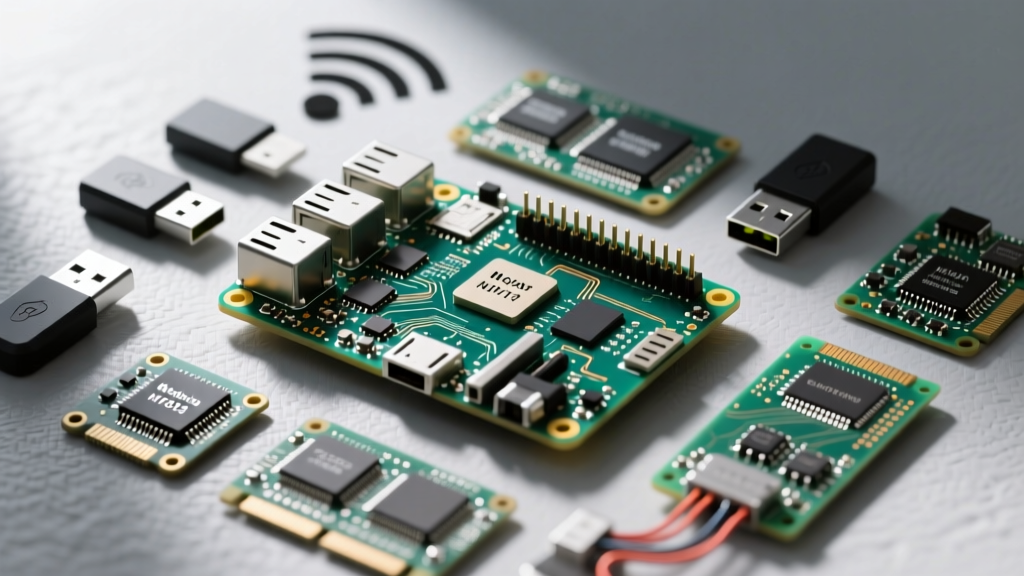
USB adapters remain the most universal method for adding WiFi to Raspberry Pi setups, compatible with everything from the Pi Zero 2 W (via micro-USB OTG) to the Pi 5. However, chipset selection is paramount.
The Pen-Tester’s Choice: Alfa AWUS036ACH
The Alfa AWUS036ACH is the undisputed heavyweight in the external WiFi space. It utilizes the Realtek RTL8812AU chipset, supporting dual-band 802.11ac (WiFi 5) with massive external SMA connectors for 5dBi or 9dBi directional antennas.
The Catch: Power draw. This adapter can pull upwards of 500mA under heavy transmit loads. If you plug this directly into an underpowered Pi 4, you will trigger a brownout, causing the USB bus to reset and the Pi to throttle. It requires a high-quality 5V/3A USB-C power supply or an actively powered USB hub.
The Native Linux Hero: Panda Wireless PAU09
If you want to avoid the headache of compiling third-party drivers on ARM64 architecture, the Panda PAU09 is a masterclass in compatibility. It uses the Ralink RT3572 chipset. While it is an older WiFi 4 (802.11n) N600 adapter, its drivers are baked directly into the mainline Linux kernel. You plug it into your Pi, and it works instantly—complete with stable monitor mode support out of the box.
Tier 2: M.2 PCIe HATs (The Pi 5 Native Route)
The introduction of the PCIe 2.0 x1 interface on the Raspberry Pi 5 fundamentally changed the hardware topology. Instead of routing network traffic through the USB 3.0 controller (which shares bandwidth and latency constraints), you can now use an M.2 A+E Key HAT to install desktop-grade WiFi cards.
By pairing a board like the Pineberry Pi HatDrive or a generic M.2 WiFi HAT with an Intel AX210 module, you unlock WiFi 6E (6GHz band) and Bluetooth 5.3. This is the cleanest, most reliable method for adding WiFi to Raspberry Pi 5 units destined for Home Assistant servers or media centers, as it completely frees up the USB bus for external NVMe storage or Zigbee coordinators.
Head-to-Head Hardware Comparison Matrix
| Hardware Solution | Interface | Chipset | Max Speed | Monitor Mode | Power Draw |
|---|---|---|---|---|---|
| Alfa AWUS036ACH | USB 3.0 | Realtek RTL8812AU | 867 Mbps (5GHz) | Yes (w/ Drivers) | High (~500mA) |
| Panda PAU09 | USB 2.0 | Ralink RT3572 | 300 Mbps (2.4GHz) | Yes (Native) | Medium (~300mA) |
| TP-Link Archer T3U Plus | USB 3.0 | Realtek RTL8812BU | 867 Mbps (5GHz) | Yes (w/ Drivers) | Medium (~350mA) |
| Intel AX210 (via M.2 HAT) | PCIe 2.0 x1 | Intel AX210 | 2400 Mbps (6GHz) | Yes (Native) | Low (~250mA) |
Critical Bottlenecks: USB Power Delivery and Interference
The most common point of failure when adding external WiFi to a Raspberry Pi is not the adapter itself, but the Pi’s power delivery network. According to the official Raspberry Pi hardware documentation, the USB ports on a Pi 4 are limited to a combined output of 1.2 Amps. If you connect a high-gain USB WiFi adapter alongside a USB SSD and a Zigbee dongle, you will exceed this limit, resulting in the dreaded 'under-voltage detected' warning and kernel panics.
Furthermore, USB 3.0 ports generate broadband RF noise that heavily interferes with 2.4GHz signals. If your external WiFi adapter is plugged directly into a Pi 4's USB 3.0 port, you may experience massive packet loss on the 2.4GHz band. The hardware workaround is to use a short, shielded USB 2.0 extension cable to physically move the adapter away from the Pi's I/O shield.
Navigating Linux Kernel 6.x Drivers on Pi OS
With the shift to Raspberry Pi OS Bookworm and Linux Kernel 6.x, driver compatibility has shifted. Mainline kernel support for Realtek chipsets remains sparse. If you choose an RTL8812AU or RTL8812BU adapter, you will need to compile DKMS drivers from source.
For ARM64 systems, the community-standard resource is the morrownr GitHub repository. These repositories include automated installation scripts specifically patched for the ARM architecture and the unique memory management of the Pi. Attempting to use generic Ubuntu driver guides will often result in kernel header mismatches and compilation failures on the Pi.
Final Verdict: Which Method Should You Choose?
Your choice of hardware depends entirely on your deployment scenario:
- For Penetration Testing & Wardriving: Choose the Alfa AWUS036ACH or Panda PAU09. The external SMA antennas and proven monitor-mode stability are non-negotiable for Kali Linux deployments.
- For Pi 5 Home Assistant Servers: Invest in an M.2 HAT with an Intel AX210. It bypasses USB bottlenecks, offers WiFi 6E speeds for local camera streaming, and maintains a clean physical footprint inside standard Pi cases.
- For Low-Profile IoT Nodes: Stick to onboard WiFi, or if 5GHz is required on a Pi Zero 2 W, use a compact TP-Link Archer T3U Plus paired with a high-quality powered USB hub to prevent voltage sag.
By matching the correct chipset to your power budget and OS requirements, you can transform your Raspberry Pi from a basic hobbyist board into a formidable, enterprise-grade network appliance.