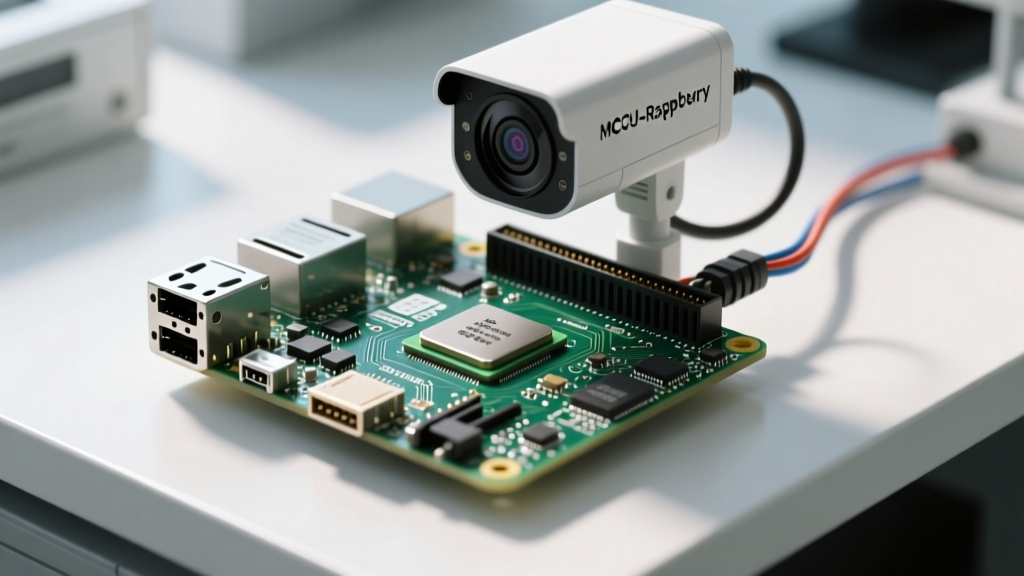

If you are researching how to make a security camera with raspberry pi boards, you have likely seen the basic tutorials that tell you to flash an OS, plug in a USB webcam, and call it a day. The reality of 24/7 surveillance is vastly different. Unoptimized single-board computer setups quickly succumb to thermal throttling, SD card corruption, and severe network latency.
To build a reliable, low-latency security camera, you must approach the project from a performance-tuning perspective. This guide dives deep into hardware encoding, bus bandwidth limitations, and thermal management to ensure your Pi security camera sustains 1080p at 30fps without dropping frames or crashing your network.
The Hardware Bottleneck: CSI vs. USB Camera Modules
The most common mistake when building a Pi-based camera is relying on USB webcams. While a Logitech C920 is a great desktop webcam, it is a performance nightmare for a headless SBC. USB webcams rely on the UVC (USB Video Class) driver stack. If the camera outputs MJPEG to save USB 2.0 bandwidth, the Pi's CPU must decompress every single frame in software before re-encoding it for your network stream. This easily spikes a single CPU core to 90% utilization, causing micro-stutters and dropped frames.
Instead, you must use a Camera Serial Interface (CSI) module. CSI cameras connect directly to the Pi’s dedicated Image Sensor Pipeline (ISP) via the MIPI CSI-2 bus, bypassing the CPU and USB controller entirely.
| Sensor Model | Resolution | Pixel Size | Low Light Performance | Best Use Case |
|---|---|---|---|---|
| Sony IMX219 (V2) | 8MP | 1.12µm | Poor | Daytime, budget setups |
| Sony IMX477 (HQ) | 12.3MP | 1.55µm | Excellent | 24/7, interchangeable lenses |
| Sony IMX708 (V3) | 11.9MP | 1.4µm | Great (HDR) | High-contrast outdoor scenes |
GPU Memory Allocation and Hardware Encoding
By default, Raspberry Pi OS allocates a minimal amount of RAM to the GPU. When you attempt to stream 1080p video while simultaneously running motion-detection algorithms, the GPU runs out of memory, leading to sudden daemon crashes. You must manually increase the GPU memory split in your boot configuration.
Edit your /boot/firmware/config.txt (on Bookworm) or /boot/config.txt (on Bullseye) and add the following parameters:
[all]
gpu_mem=256
dtoverlay=imx477
According to the Raspberry Pi Boot Configuration documentation, setting gpu_mem=256 reserves 256MB of RAM specifically for the VideoCore GPU and hardware encoder. Furthermore, ensure you are utilizing the libcamera-vid toolchain, which leverages the Pi’s native H.264 hardware encoder. As detailed in the Raspberry Pi Camera Software Documentation, hardware encoding keeps CPU usage below 15%, leaving the ARM cores free to run AI-based object detection like Frigate or Motion.
Thermal Throttling and Sustained Framerate Stability
Video encoding is a thermally demanding task. The Raspberry Pi 4B will begin to throttle its CPU clock speed from 1.5GHz down to 600MHz once the SoC hits 80°C. At 85°C, it throttles further, resulting in massive frame drops and stream timeouts.
A bare Raspberry Pi 4 in an enclosed outdoor housing will throttle within 14 minutes of continuous 1080p H.264 encoding, even in moderate ambient temperatures.
To solve this, passive aluminum heatsinks are insufficient for 24/7 surveillance. You need active thermal management. The Argon ONE V2 case or the GeeekPi ICE Tower cooler are highly recommended. The ICE Tower utilizes a copper heat pipe and a 5V PWM fan, keeping the SoC under 55°C under continuous load. If your camera is mounted outdoors in direct sunlight, you must also use a UV-resistant, ventilated enclosure with a small 12V exhaust fan wired to a GPIO-controlled MOSFET to pull hot air out of the housing.
Storage I/O: Preventing SD Card Death
Security software like Motion detects movement by comparing pixel changes between frames. When motion is triggered, it writes hundreds of small JPEG files or fragmented MP4 clips to the disk. MicroSD cards are designed for sequential reads, not continuous random 4K writes. This I/O pattern will destroy a standard SanDisk Ultra SD card in less than three months.
The tmpfs RAM Disk Solution
To bypass this failure mode, configure your motion daemon to write temporary event captures to a RAM disk. In Linux, you can mount a tmpfs partition by adding this to your /etc/fstab:
tmpfs /var/lib/motion tmpfs defaults,noatime,size=512M 0 0
This forces all high-I/O motion captures into the Pi’s RAM. You can then use a lightweight rsync cron job or an inotify script to batch-transfer the finalized video files to a NAS or Home Assistant server over the network. For permanent local storage on a Pi 5, bypass USB entirely and use an NVMe SSD via the PCIe Gen 2 HAT, which provides the sustained random-write IOPS required for multi-camera NVR setups.
Network Latency and Stream Optimization
When configuring your streaming protocol, avoid MJPEG over HTTP if you are accessing the camera remotely. MJPEG sends full JPEG frames sequentially, consuming roughly 15-20 Mbps for a 1080p stream. This will quickly saturate a 2.4GHz Wi-Fi connection, causing latency spikes of 3 to 5 seconds.
Instead, configure your software to output an RTSP (Real-Time Streaming Protocol) stream using H.264. RTSP sends only the keyframes and the delta changes between frames, dropping the bandwidth requirement to 2-4 Mbps. If you are integrating with Home Assistant, use the Motion Project Configuration Guide to set up an RTSP server like mediamtx, allowing Home Assistant's WebRTC integration to display the feed with sub-500ms latency.
Troubleshooting Common Frame-Drop Failures
- USB Bus Saturation: If you must use a USB drive for local storage alongside a USB Wi-Fi adapter, the shared USB 2.0 bus will bottleneck. Move storage to a CSI NVMe HAT or use wired Ethernet.
- Ribbon Cable Interference: The MIPI CSI-2 ribbon cable acts as an antenna if not properly shielded. If you experience random I2C errors or green screen artifacts, ensure you are using a high-quality shielded flex cable and avoid routing it parallel to the Pi's power supply lines.
- Nighttime Focus Shift: IR-cut filters on HQ cameras can sometimes cause focus shift when they mechanically engage at dusk. Use a parfocal lens or manually lock the focal ring with a dab of clear nail polish to prevent blurry nighttime captures.
Building a high-performance Pi security camera requires looking past the basic setup wizards. By optimizing your GPU memory allocation, leveraging hardware encoding, managing thermal thresholds, and protecting your storage media from I/O abuse, you can create a surveillance node that rivals commercial IP cameras in both reliability and latency.


