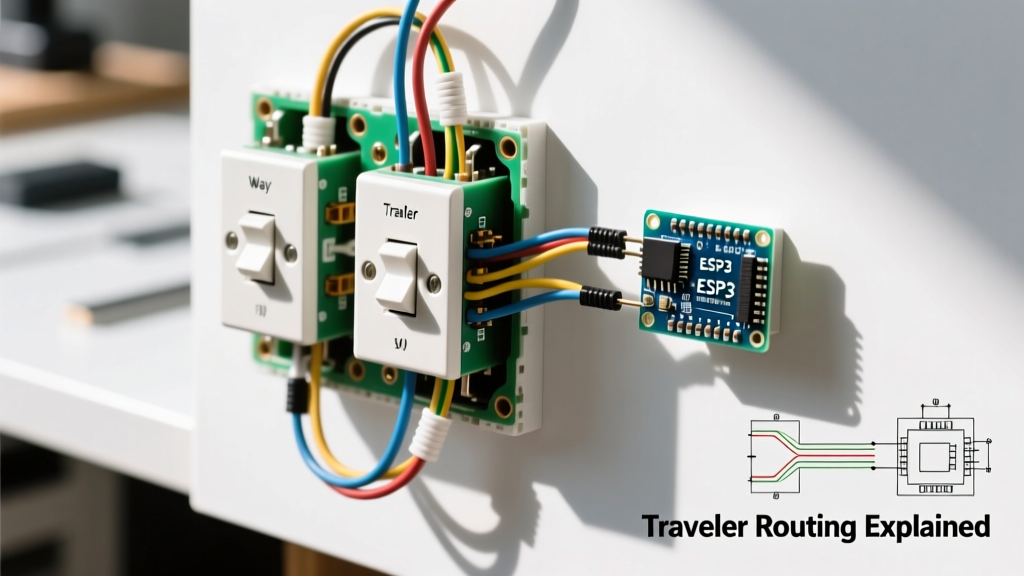
To wire a standard receptacle switch combo device on a 15A residential circuit, connect the black (hot) line wire to the brass switch terminal, the white (neutral) to the silver terminal, and the bare copper to the green ground screw. If the switch must control the built-in outlet, leave the brass break-off fin intact and jumper the switch output to the receptacle hot. For a 15A circuit, use 14 AWG copper wire and a 15A-rated combo device like the Leviton 5225. If you are on a 20A circuit, you must step up to 12 AWG wire and a 20A-rated device like the Leviton 5224 to comply with NEC single-receptacle rules.
Decision Tree: Choose Your Receptacle Switch Configuration
Before stripping any wire, you must determine how the switch and receptacle will interact. A combo device gives you two primary wiring configurations. Use this decision table to lock in your approach.
| Goal | Use Case | Box Requirements | Fin Status |
|---|---|---|---|
| Config A: Switch controls the built-in receptacle | Workbench lamp, garbage disposal, under-cabinet lighting | Line Hot, Neutral, Ground | Leave brass fin INTACT (jumper switch to receptacle) |
| Config B: Switch controls a separate light; receptacle is always hot | Bathroom vanity, porch light with tool outlet | Line Hot, Neutral, Ground, AND a separate Load wire for the light | BREAK the brass fin (separate switch and receptacle hots) |
Tools, Materials, and NEC Sizing Rules
Assuming standard US residential wiring (copper conductors, 60°C/75°C insulation ratings, 120V nominal), your wire gauge must strictly match your breaker size and device rating.
Required Tools
- Non-contact voltage tester (NCVT) and a CAT III digital multimeter (e.g., Fluke 117)
- Wire strippers rated for 14 and 12 AWG solid wire (e.g., Klein 11055)
- Phillips #2 and flathead screwdrivers
- Lineman's pliers for twisting pigtails
Wire Gauge and Device Rating Matrix
| Breaker Size | Minimum Wire Gauge (Copper) | Required Combo Device Rating | NEC Rule Reference |
|---|---|---|---|
| 15 Amp | 14 AWG | 15 Amp (Leviton 5225) | NEC 210.21(B)(1) |
| 20 Amp | 12 AWG | 20 Amp (Leviton 5224) | NEC 210.21(B)(1) |
Expert Note: While the NEC allows 15A standard duplex receptacles on 20A circuits when there are multiple outlets, a combo device counts as a single receptacle outlet. Therefore, a 20A circuit strictly requires a 20A-rated receptacle. Do not install a 15A combo device on a 20A breaker.
Mains Safety Protocol
1. Turn OFF the circuit breaker at the main panel.
2. Apply a lockout/tagout device if you are not the only person in the home.
3. Test the wires with an NCVT, then verify dead with a multimeter (measure Hot-to-Ground and Hot-to-Neutral; both must read 0.0V).
4. If local codes require a licensed electrician for device replacements in your jurisdiction, defer to a professional.
Step-by-Step Wiring Procedure
Follow the steps below that match your chosen configuration from the decision tree. Strip exactly 5/8-inch of insulation from all solid copper wires. Do not nick the copper conductor, as this creates a shear point that can snap under thermal expansion.
Preparation (Both Configurations)
- Grounding: Connect the bare copper ground wire from the wall to the green ground screw on the combo device. If there are multiple ground wires in the box, twist them together with a 6-inch bare copper pigtail, cap with a wire nut, and connect the pigtail to the green screw. Tighten to 12 in-lbs.
- Neutral: Connect the white (neutral) wire from the wall to the silver terminal screw on the receptacle side. If multiple neutrals exist, pigtail them. Never land a hot wire on this silver screw.
Config A: Switch Controls the Built-In Receptacle
In this setup, power enters the switch, and the switch acts as a gatekeeper for the outlet directly below it.
- Locate the brass break-off fin between the two brass screws on the device. Leave it intact.
- Connect the black (hot) line wire from the wall to the top brass screw (Switch Line).
- Using a 6-inch piece of 14 AWG (or 12 AWG) black wire, create a jumper. Connect one end to the bottom brass screw (Switch Load) and the other end to the brass screw on the receptacle half.
- Tighten all terminal screws firmly. Give each wire a gentle tug to ensure it is seated under the screw head and not just pinned by the threads.
Config B: Switch Controls a Light, Receptacle is Always Hot
In this setup, the receptacle gets constant power, while the switch routes power to a separate ceiling or wall fixture.
- Locate the brass break-off fin between the two brass screws. Snap it off using your lineman's pliers. This electrically isolates the switch from the receptacle.
- Connect the black (hot) line wire from the wall to the brass screw on the receptacle half.
- Using a black jumper wire, connect the same receptacle brass screw to the top brass screw (Switch Line). Now both the outlet and the switch have constant hot power.
- Connect the red (or black) load wire that runs to your light fixture to the bottom brass screw (Switch Load).
The Most Common Botches (And How to Avoid Them)
When wiring a receptacle switch, DIYers frequently make three specific errors. Here is how to identify and prevent them.
- The 15A/20A Mismatch: Symptom: The device passes inspection initially but melts or fails under heavy load, or fails inspection outright. Fix: Check your breaker panel. If the breaker says '20', you must use 12 AWG wire and a 20A-rated combo device. A 15A device on a 20A breaker violates NFPA 70 (NEC) single-receptacle rules.
- The Hot-to-Neutral Short: Symptom: The breaker trips violently the moment you flip it on. Fix: You landed the black (hot) wire on the silver (neutral) screw. Double-check that all black/red wires are on brass, and all white wires are on silver.
- The Missing Neutral (Switch Loop): Symptom: The switch works, but the receptacle has no power, or you only see a black, white, and bare wire in the box with no ground. Fix: Older homes often use a 'switch loop' where the white wire is actually a re-purposed hot. If you do not have a true neutral (a white wire tied to other whites returning to the panel), you cannot install a receptacle here. You must pull new 3-wire cable from the source.
Verify and Test with a Multimeter
Do not simply plug in a lamp and hope for the best. Use your multimeter to verify the circuit behavior before mounting the device in the box.
- Turn the breaker back ON at the panel.
- For Config A (Switch controls outlet): Set your multimeter to AC Voltage (V~). Insert the probes into the receptacle slots. With the switch OFF, the meter must read 0.0V. Flip the switch ON; the meter must read between 114V and 126V (nominal 120V).
- For Config B (Receptacle always hot): Insert the probes into the receptacle slots. The meter must read 114V to 126V regardless of the switch position.
- Ground Verification: Measure from the hot slot (smaller slot) to the green ground screw. It should read 120V. Measure from the neutral slot (larger slot) to the ground screw; it should read 0V (or a negligible ghost voltage under 2V).