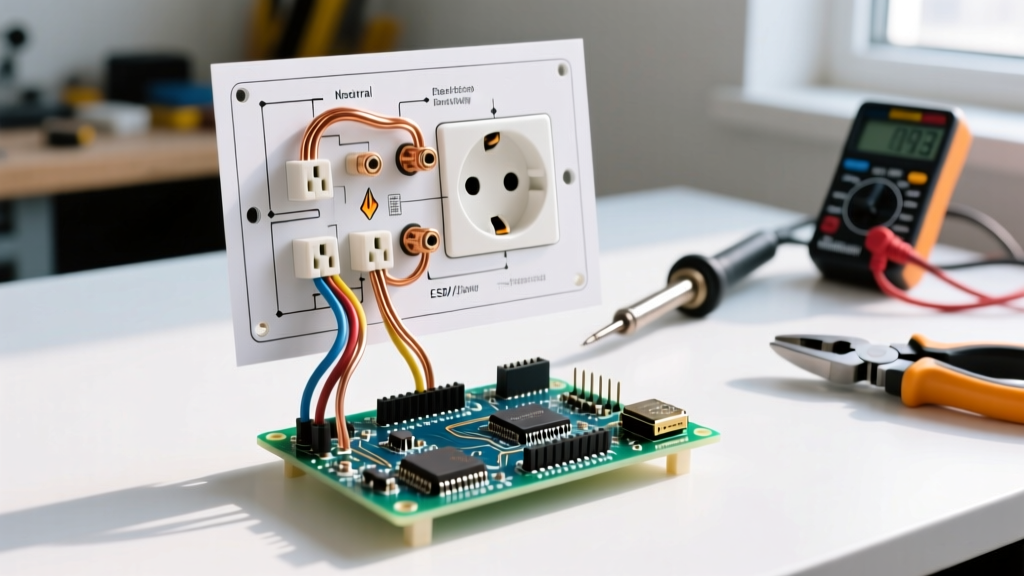
To test a grounding sheet (ESD mat) with a multimeter, set your meter to the 20MΩ resistance range, place one probe on the mat’s grounding snap, and the other on the ground pin of the connected wall receptacle. You should read approximately 1.0 MΩ (1,000,000 ohms). This specific reading confirms both the physical continuity of the path and the presence of the inline safety resistor. If you read infinite (OL), your mat is disconnected; if you read 0.0Ω, the safety resistor is bypassed, creating a severe shock hazard.
But testing the sheet itself is only half the job. A grounding sheet relies entirely on the home electrical ground it plugs into. If your workbench receptacle has a "bootleg" ground or high impedance, your sensitive components are still at risk, and you might be introducing a lethal fault path to your workbench. Here is the exact procedure to verify your entire grounding chain, from the vinyl mat to the panel bus bar.
The Hazard: Why Untested Grounding Sheets Fry Components (or Worse)
When you are handling bare ESP32-WROOM modules, naked MOSFETs, or unprotected CMOS logic, your body acts as a capacitor storing thousands of volts of static charge. A grounding sheet provides a controlled path to bleed this charge to earth. If that path is broken (infinite resistance), the static discharges directly through the silicon junction of your component the moment you touch it, causing immediate or latent dielectric failure.
Never connect an ESD grounding sheet to a neutral bus, a neutral wire, or a water pipe. Neutral is a current-carrying conductor meant for normal return current. Ground (the Equipment Grounding Conductor, or EGC) is a fault-current path that only carries current during an error. Bonding is the physical connection of metal enclosures to the ground system to ensure equipotential bonding—the practice of connecting all conductive parts to the same ground potential so no dangerous voltage difference exists between them. If you tie your mat to a neutral wire and a fault occurs upstream, your workbench mat will energize to 120V.
Furthermore, the ground cord on a commercial ESD sheet (like a Desco 19232 or 3M 3000 series) contains a 1 Megohm current-limiting resistor. This resistor limits the let-through current—the peak current that passes through a protective device or component during a fault event before the circuit clears. If you accidentally touch a live 120V trace on your bench while grounded, that 1MΩ resistor limits the shock current to roughly 0.12mA, which you won't even feel. If a cheap, unbranded mat lacks this resistor, touching a live trace while grounded will push a lethal 100mA+ through your chest.
ESD Mat and Receptacle Verification Specs
Before you touch the probes to the mat, you need to know the exact thresholds for a passing grade. The table below outlines the expected multimeter readings for both the ESD sheet material and the NEMA 5-15R receptacle powering your bench.
| Test Point | Multimeter Setting | Expected Reading (Pass) | Failure Mode & Hazard |
|---|---|---|---|
| Mat-to-Ground Path | Resistance (20MΩ) | 0.9MΩ to 1.1MΩ | OL = Broken cord; 0Ω = Missing safety resistor (shock risk) |
| Mat Surface (Point-to-Point) | Resistance (200MΩ) | 10^6 to 10^9 Ω | < 10^5 = Conductive (too fast); > 10^10 = Insulative (useless) |
| Receptacle Hot-to-Ground | AC Voltage (V~) | 114V to 126V | 0V = Open ground or hot; 240V = Cross-phase fault |
| Receptacle Neutral-to-Ground | Resistance (200Ω) | < 2.0 Ω | OL = Open ground; < 0.1Ω = Ground/Neutral bonded at receptacle (illegal) |
Step-by-Step: Testing the Grounding Sheet and Receptacle
You will need a true-RMS digital multimeter (like a Fluke 117 or Klein Tools MM400) and a standard 3-prong receptacle tester for the initial visual check. Ensure the ESD mat is clean; oils and flux residue can artificially lower surface resistance readings.
Phase 1: Verify the Wall Receptacle Ground
Do not plug your grounding sheet in until you have verified the branch circuit. A bootleg ground (where a previous owner jumpered the ground screw to the neutral wire) will make a standard 3-light tester show "Correct," but it is incredibly dangerous for bench work.
- De-energize the circuit at the breaker panel. Lock out or tag the breaker if possible.
- Verify dead with your multimeter on AC Voltage. Place probes in the Hot (small slot) and Neutral (large slot). Reading must be 0.0V.
- Test Ground Continuity: Switch your meter to the lowest Ohms range (usually 200Ω). Place one probe on the Ground pin (round hole) and the other on the Neutral slot. You should read less than 2.0 ohms, confirming the EGC is intact back to the panel's neutral-ground bond.
- Check for Bootleg Grounds: Move the neutral probe to the silver neutral screw terminal on the receptacle face (or pull the receptacle out slightly to touch the side terminal). If the resistance drops to exactly 0.00Ω between the ground screw and the neutral terminal, someone has illegally bonded them at the outlet. Stop and call an electrician.
- Re-energize the breaker and verify Hot-to-Ground reads ~120V AC.
Phase 2: Test the Grounding Sheet Path
Now plug the ESD mat's ground cord into the verified receptacle. Do not wrap the cord around your wrist yet.
- Set your multimeter to the 20MΩ resistance range.
- Press the red probe firmly against the brass snap/stud on the surface of the grounding sheet.
- Press the black probe against the exposed metal ground pin of a 3-prong adapter plugged into the same receptacle, or use a dedicated ground testing plug.
- Read the value: A reading between 0.9MΩ and 1.1MΩ confirms the 1 Megohm safety resistor is intact and the path to earth is solid.
Phase 3: Test the Mat Surface Resistance (Optional but Recommended)
If you are working with highly sensitive class II insulation devices or bare die, verify the mat isn't overly conductive.
- Set the meter to the 200MΩ range.
- Place two probes on the mat surface, exactly 10 inches apart.
- A dissipative mat should read between 10^6 and 10^9 ohms. If it reads infinite, the surface is contaminated with insulative dust or silicone spray. Clean it with a dedicated ESD mat cleaner (like Desco Reztore), never with standard household glass cleaner, which leaves an insulative film.
Troubleshooting Decision Tree & When to Call an Electrician
When your multimeter readings fall outside the expected parameters, use this decision tree to isolate the fault.
| Symptom / Reading | Probable Cause | Required Action |
|---|---|---|
| Mat-to-Ground reads OL (Infinite) | Broken internal wire in ESD cord, or blown 1MΩ resistor. | Replace the ESD ground cord. Do not attempt to splice it. |
| Mat-to-Ground reads 0.0Ω | Aftermarket cord lacks the 1MΩ current-limiting resistor. | Discard cord immediately. Purchase an OEM cord (e.g., Desco 09838). |
| Receptacle Neutral-to-Ground reads OL | Open Equipment Grounding Conductor (broken wire or disconnected panel bond). | Stop work. Call a licensed electrician to trace the open EGC. |
| Receptacle Hot-to-Ground reads 0V, but Hot-to-Neutral is 120V | Open ground, or ground pin is physically disconnected inside the outlet. | Replace the receptacle or repair the ground pigtail. Verify with AHJ if conduit is used as the EGC. |
Code Guidance and the AHJ Caveat
Under NEC Article 250, the Equipment Grounding Conductor must provide a permanent, low-impedance path back to the source. While the National Electrical Code provides the framework for these requirements, it is not a DIY instruction manual. Your local Authority Having Jurisdiction (AHJ) has the final say on what constitutes a legal ground in your specific municipality, especially in older homes where metallic conduit (EMT) or armored cable (AC/MC) might serve as the ground path.
If your multimeter reveals an open ground, a bootleg neutral bond, or high impedance (>2 ohms) on a branch circuit feeding your workbench, do not attempt to run new ground wires through finished walls unless you are familiar with local code requirements for ESD grounding standards and NEC wiring methods. Hire a licensed electrician to pull a dedicated 20A circuit with a verified, isolated EGC directly to your workbench. It is a minor expense compared to the cost of replacing a destroyed prototype board—or worse, surviving a 120V fault across your chest because you trusted an untested piece of blue vinyl.