
Why Your Electrical Outlet Isn't Working: The Diagnostic Approach
When an electrical outlet isn't working, the immediate assumption is often a dead breaker or a faulty appliance. However, modern residential wiring involves complex daisy-chains, GFCI protections, and multi-wire branch circuits that can easily mask the true root cause. According to the National Fire Protection Association (NFPA), electrical distribution and lighting equipment are consistently among the top causes of home structure fires, frequently stemming from high-resistance connections at failing receptacles.
This guide moves beyond basic guessing, providing a systematic, 7-step diagnostic protocol using professional-grade tools to isolate the exact point of failure in your 120V branch circuit.
Essential Diagnostic Toolkit (2026 Standards)
- Non-Contact Voltage Tester (NCVT): Klein Tools NCVT1 ($25-$30) for safe initial zero-energy verification.
- Digital Multimeter (DMM): Klein Tools MM400 ($50-$65) capable of True-RMS AC voltage and continuity testing.
- Receptacle Tester: Gardner Bender GRT-3500 ($12-$15) for quick ground-fault and wiring sequence checks.
- Insulated Screwdrivers: Wiha 1000V insulated Phillips and flathead sets to prevent accidental shorts.
Phase 1: Non-Invasive Circuit Tracing
Step 1: The Upstream GFCI Hunt
Under the latest NEC guidelines, all 15A and 20A, 125V receptacles in kitchens, bathrooms, garages, and outdoor areas must be GFCI protected. If your bedroom or hallway electrical outlet isn't working, it may be downstream of a tripped GFCI in an adjacent bathroom or garage. Press the 'TEST' and 'RESET' buttons on all upstream GFCIs. A tripped GFCI will cut power to all standard duplex outlets wired to its 'LOAD' terminals, which can span multiple rooms.
Step 2: Breaker Panel Tactile Verification
Visual inspection of the breaker panel is insufficient. A tripped thermal-magnetic breaker (like the Eaton BR120) often rests in a middle position that looks visually aligned with 'ON' breakers. You must physically push each breaker handle firmly to the 'OFF' position until it clicks, then back to 'ON'. If the breaker immediately snaps back to the middle or refuses to latch, you have a dead short downstream and must stop until the fault is cleared.
Step 3: Receptacle Tester Sequence Analysis
Plug the Gardner Bender GRT-3500 into the dead outlet. The LED matrix will indicate specific wiring faults:
- Open Hot: Right LED off. The black wire is disconnected upstream or at the terminal.
- Open Neutral: Left LED off. The white wire is disconnected. This is a severe fire hazard if multi-wire branch circuits are involved, as it can cause 240V to be pushed across 120V appliances.
- Hot/Neutral Reverse: The outlet works, but the polarization is swapped, creating a shock hazard on the outer screw shells of connected lamps.
Phase 2: Invasive Multimeter Diagnostics
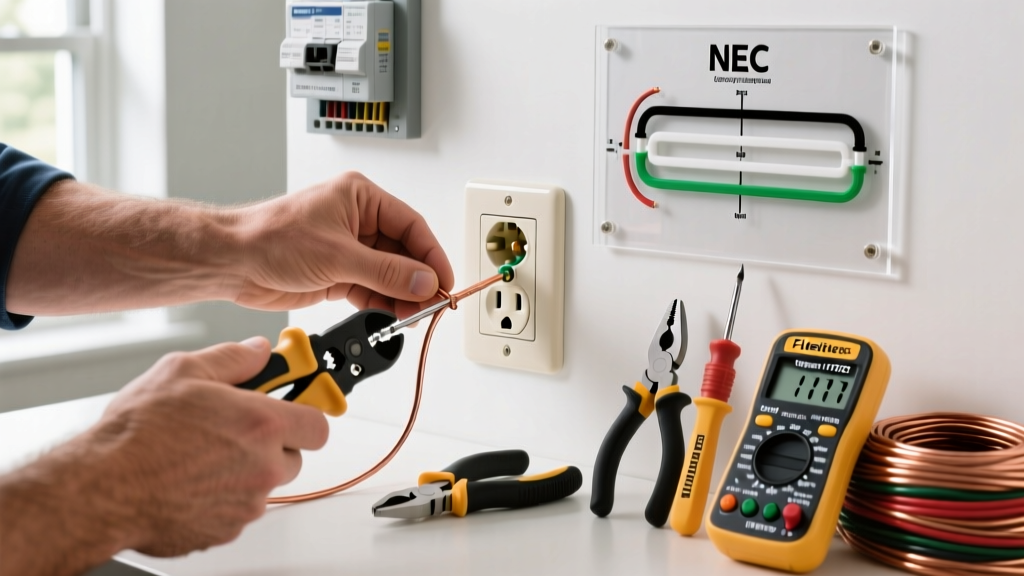
Safety Warning: The U.S. Consumer Product Safety Commission (CPSC) warns that working on live panels or exposed terminals carries a high risk of arc flash and electrocution. Always turn off the breaker and verify zero energy with an NCVT before removing the receptacle yoke from the junction box.
Step 4: Yoke Extraction and Backstab Inspection
Once de-energized, unscrew the receptacle (e.g., Leviton 5266-S) from the junction box and gently pull it forward. Inspect the back of the device. Backstabbed (push-in) connections are the leading cause of intermittent outlet failures. These spring-loaded internal clamps lose tension over time, especially under continuous 12A+ loads like space heaters or window AC units, leading to high-resistance arcing and melted plastic housings. If you see brown or black scorch marks around the push-in holes, the internal brass contacts have failed and the entire receptacle must be replaced.
Step 5: Hot-to-Neutral Voltage Drop Testing
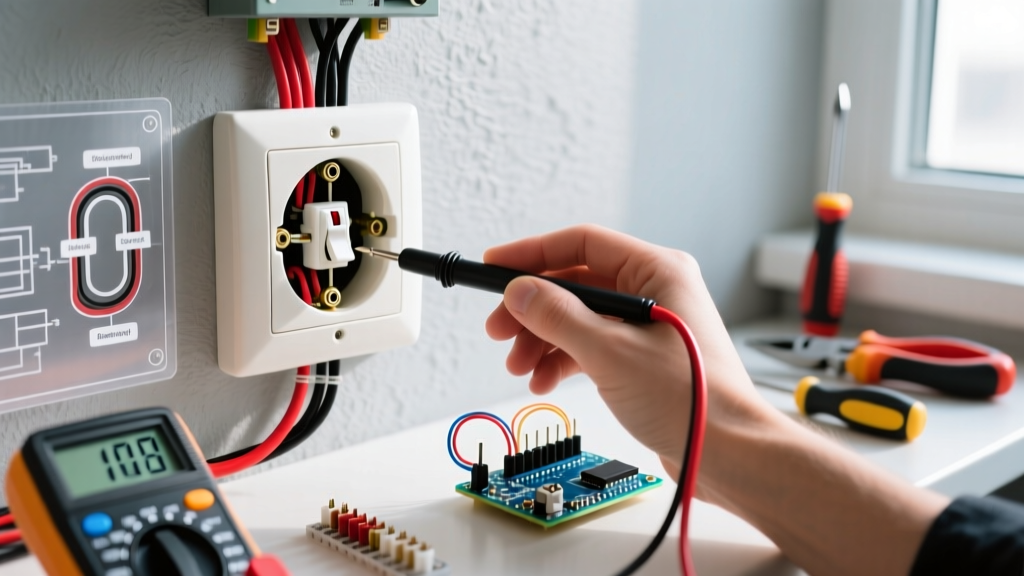
Turn the breaker back on. Set your Klein MM400 to AC Voltage. Insert the red probe into the shorter (hot) slot and the black probe into the longer (neutral) slot. A healthy circuit should read between 115V and 125V. If it reads 105V or lower under no load, you have a high-resistance connection (loose wire nut or corroded terminal) somewhere upstream in the daisy-chain.
Step 6: Neutral-to-Ground Potential Testing
Measure the voltage between the neutral slot and the grounding hole. In a properly functioning circuit, this should read less than 2V (ideally 0.1V to 0.5V). If you read 120V between neutral and ground, you have an 'open neutral' upstream. This means the return path to the panel is broken, but the ground wire is inadvertently acting as a neutral—a highly dangerous condition that can energize appliance chassis.
Step 7: Continuity and Pigtail Verification
Turn the breaker OFF again. Disconnect the hot, neutral, and ground wires from the receptacle. Set your multimeter to Continuity (the diode/audio symbol). Touch the probes to the incoming hot wire and the outgoing hot wire (the pigtail going to the next outlet). If there is no beep, the downstream circuit is broken at this exact junction box.
Diagnostic Matrix: Symptoms vs. Root Causes
| Symptom | Multimeter Reading | Probable Root Cause | Required Repair |
|---|---|---|---|
| Outlet completely dead, tester shows Open Hot | 0V Hot-Neutral | Tripped upstream GFCI or broken backstab connection | Reset GFCI or move wires to screw terminals |
| Outlet works, but voltage drops to 90V when plugging in a vacuum | 120V no-load, 90V under-load | High-resistance wire nut splice upstream | Locate upstream junction, strip wire, and use new wire nuts |
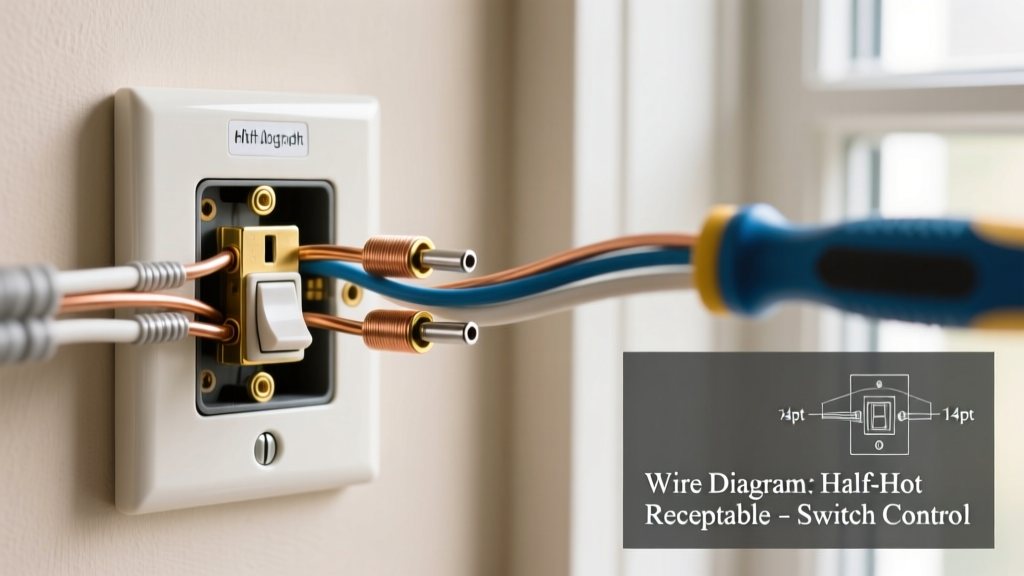
| Half of the duplex outlet works, the other half is dead | 120V on top, 0V on bottom | Wall switch controls bottom half (switched receptacle) | Locate wall switch or break the brass fin tab for constant hot |
| Receptacle tester shows Hot/Ground Reverse | 120V Neutral-Ground, 0V Hot-Ground | White wire on brass screw, black on silver | Swap hot and neutral wires to correct terminals |
Advanced Edge Cases in 2026 Residential Wiring
Thermal Imaging for High-Resistance Faults
In 2026, advanced DIYers and professionals increasingly use pocket-sized thermal cameras like the FLIR ONE Edge Pro ($250-$300) to diagnose failing outlets without cutting power. By plugging a 1500W resistive load (like a hair dryer or space heater) into the suspect circuit and scanning the receptacle faceplate, you can spot high-resistance connections. A healthy screw terminal will remain near ambient room temperature. A failing backstab connection or loose wire nut will glow bright yellow or red on the thermal display, indicating temperatures exceeding 140°F (60°C) due to I²R heating. This allows you to pinpoint exactly which outlet in a daisy-chain is failing before pulling a single screwdriver.
Multi-Wire Branch Circuits (MWBC)
If you pull the outlet and see two black wires, two white wires, and a shared neutral, you are likely on an MWBC. These circuits share a neutral wire between two 120V hot legs (240V across the hots). If the shared neutral wire is disconnected while the breakers are on, the 120V appliances on both legs will form a series circuit across 240V, instantly destroying electronics. Always use a 2-pole handle tie (e.g., Eaton THQLHT) to ensure both breakers trip simultaneously.
Aluminum Wiring (1960s-1970s Homes)
If the incoming wires are dull silver instead of copper, you have aluminum branch wiring. Aluminum expands and contracts at a different rate than copper, causing screw terminals to loosen over time. Standard copper-rated outlets (marked CU only) are a severe fire hazard here. You must use CO/ALR rated receptacles (like the Leviton 5266-CW, approx. $6.50) or pigtail the aluminum to copper using AlumiConn aluminum-to-copper lug connectors before terminating on a standard device.
2026 Repair Cost & Labor Breakdown
Understanding the financial scope of your repair helps decide between DIY and professional intervention.
- DIY Receptacle Replacement: $3.00 - $25.00 (Standard 15A duplex vs. 20A Tamper-Resistant GFCI).
- DIY Upstream Splice Repair: $5.00 for IDEAL WireNuts and electrical tape.
- Professional Electrician Diagnostic Fee: $150 - $250 (covers the first hour of troubleshooting with a thermal imaging camera and advanced circuit tracer).
- Professional Rewiring of a Daisy-Chain: $400 - $800 per run, depending on drywall repair and attic/crawlspace accessibility.
When to Call a Licensed Electrician
If your multimeter indicates 240V on a standard 120V receptacle, if you smell ozone or burning plastic near the junction box, or if the breaker immediately trips upon resetting (indicating a dead short or ground fault), stop troubleshooting immediately. According to the Occupational Safety and Health Administration (OSHA), arc flashes from dead shorts can reach temperatures up to 35,000°F, vaporizing copper and causing severe burns. These scenarios require a licensed professional with appropriate PPE and arc-flash rated diagnostic equipment.