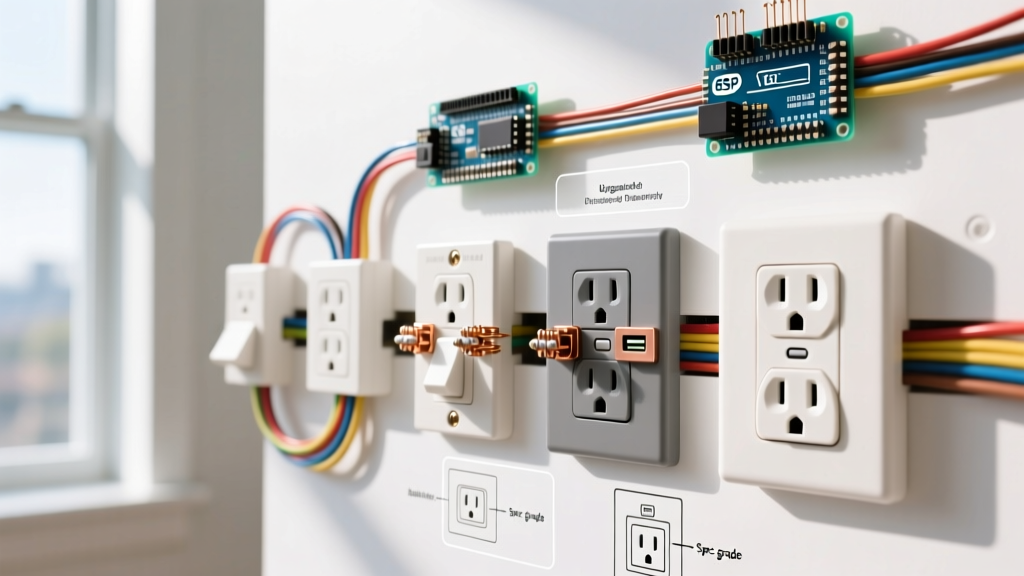

Understanding the Anatomy of an Outlet Shock
Experiencing an electrical shock from wall outlet fixtures is not a minor nuisance; it is a critical indicator of a compromised grounding path, degraded insulation, or improper termination. According to the U.S. Consumer Product Safety Commission (CPSC), faulty receptacles and missing equipment grounds contribute to thousands of residential electrical injuries annually. In 2026, with the increased prevalence of sensitive electronics and high-draw appliances, ensuring a zero-fault termination is non-negotiable.
Diagnostic Matrix: Identifying the Shock Source
Before ripping out the receptacle, you must identify the nature of the shock. Not all tingles are lethal ground faults. Use this diagnostic matrix to determine your installation strategy.
| Shock Type | Sensation | Root Cause | Installation Fix |
|---|---|---|---|
| Static Discharge | Sharp, instant snap | Low humidity, synthetic carpets | No electrical fix required |
| Stray Voltage (Capacitive) | Mild, continuous buzz | High-impedance phantom voltage on ungrounded chassis | Install verified equipment ground |
| True Ground Fault | Painful, muscle-contracting jolt | Hot wire touching yoke, reversed polarity, or bootleg ground | Complete receptacle replacement and circuit troubleshooting |
| Neutral-to-Ground Voltage | Tingle when touching appliance and sink | Shared neutral, loose neutral at panel | Tighten panel neutrals; install isolated ground receptacle |
Required Tools and Materials for 2026 Compliance
To execute a shock-proof installation, you need professional-grade tools. Avoid big-box generic receptacles; their internal yokes and terminal screws are prone to loosening under thermal cycling.
- Receptacle: Leviton T5252-W (15A, 125V, Tamper-Resistant, Duplex). Cost: ~$3.50. Features a high-impact polycarbonate thermoplastic yoke that resists cracking and prevents internal shorting.
- Voltage Tester: Klein Tools NCVT-2 (Non-Contact Voltage Tester with dual-range). Cost: ~$25. Essential for verifying de-energized state.
- Wire Strippers: Klein Tools 11055 (10-20 AWG). Cost: ~$22. Ensures precise copper stripping without nicking the conductor, which creates micro-fractures and heat points.
- Torque Screwdriver: Wiha 610P1 (VDE Insulated). Cost: ~$45. Required for achieving exact terminal torque specifications.
Step-by-Step Installation: Eliminating the Shock Hazard
Step 1: De-energize and Lock Out
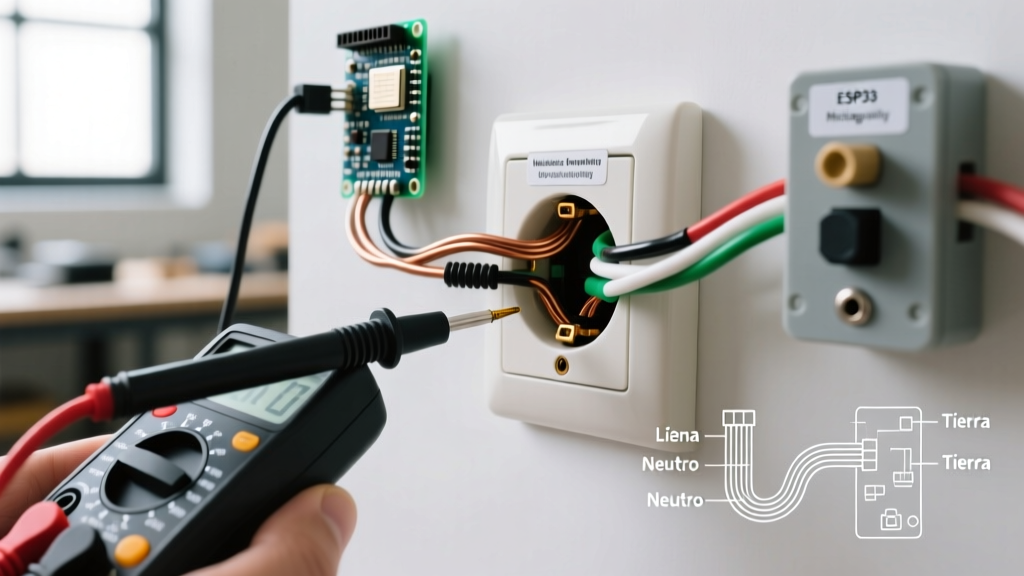
Turn off the branch circuit breaker at the main service panel. Do not rely on wall switches. Use your Klein NCVT-2 to test the top and bottom slots of the existing receptacle. Test a known live circuit first to verify the tester's battery and functionality, then test the target outlet. As emphasized by OSHA electrical safety guidelines, verifying the absence of voltage is the single most critical step in preventing arc flash and electrocution.
Step 2: Extraction and Forensic Inspection
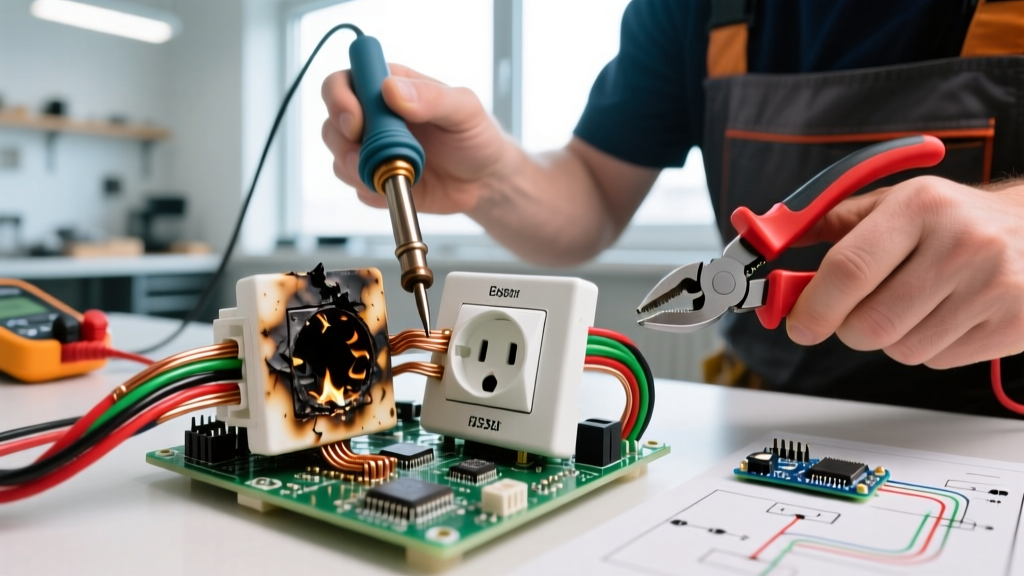
Remove the faceplate and the two yoke mounting screws. Gently pull the receptacle from the junction box. Inspect the wiring topology. If you see wires pushed into the backstab holes (quick-wire terminals), this is likely the culprit of your shock. Backstabbed connections rely on a single, weak internal spring clip. Over time, thermal expansion and contraction cause the clip to loosen, creating a high-resistance connection that arcs, melts the yoke, and can allow the hot conductor to contact the metal mounting strap or ground path.
Step 3: Conductor Preparation
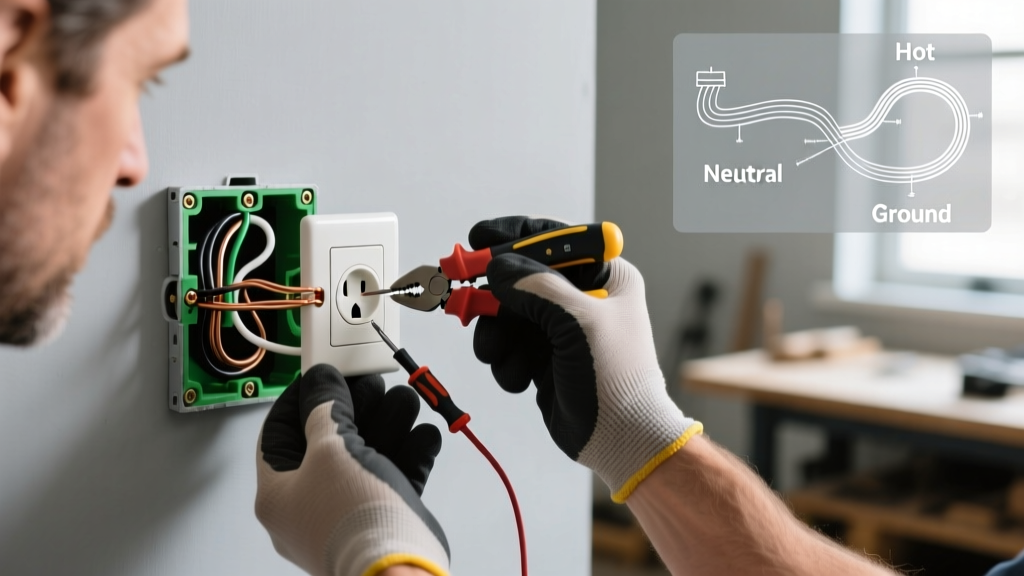
Cut off the old, oxidized, or arced wire ends. Strip exactly 3/4 inch of insulation using the Klein 11055 strippers. Form a precise shepherd's hook with needle-nose pliers. The hook must be perfectly round so it sits flush against the screw head and terminal plate, maximizing surface contact area.
Step 4: Precision Termination
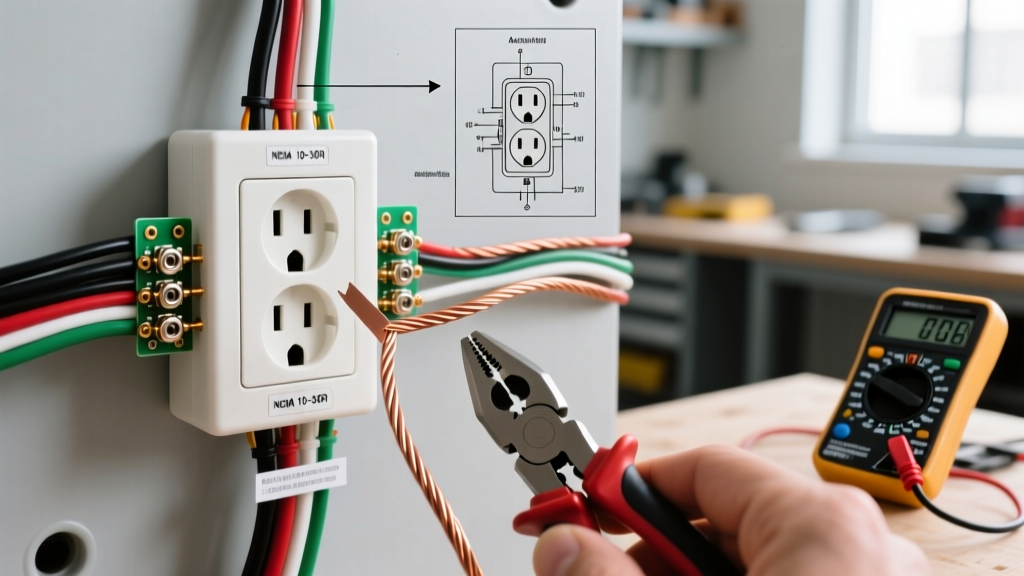
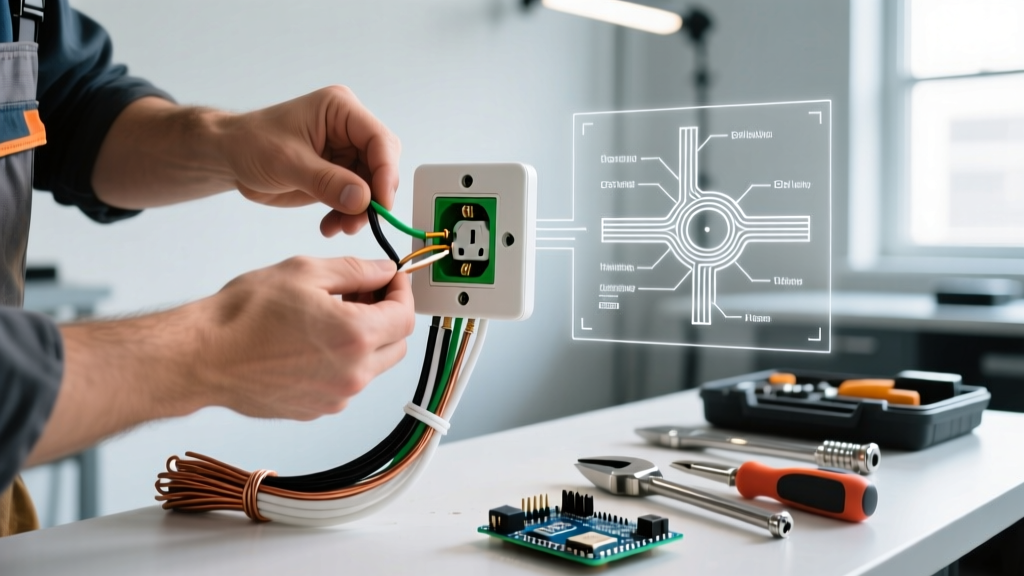
Route the bare copper ground wire to the green grounding screw. Next, connect the white (neutral) wire to the silver screw, and the black (hot) wire to the brass screw. Critical Rule: Always loop the wire clockwise around the screw. When you tighten the screw, the clockwise motion pulls the loop tighter; counter-clockwise loops will push the wire out, exposing bare copper and creating a shock hazard.
Expert Torque Spec: The 2026 National Electrical Code (NEC) 110.14(D) mandates that terminals be tightened to the manufacturer's specified torque. For the Leviton T5252, this is 12 to 14 in-lbs for 14 AWG and 12 AWG solid copper. Use your torque screwdriver to click at 14 in-lbs. Hand-tightening is no longer code-compliant and is a leading cause of thermal failure.
Step 5: Equipment Grounding and Pigtailing
If the junction box is metal, or if you are daisy-chaining multiple receptacles, you must use a grounding pigtail. According to the National Fire Protection Association (NFPA) and NEC Article 250.148, the equipment grounding conductor must be spliced with a wire nut (e.g., Ideal Wire-Nut 72B) and a 6-inch pigtail must run directly to the receptacle's green screw. Relying on the metal yoke or mounting screws to carry the ground path is a severe code violation and a primary cause of chassis electrification.
Edge Cases and Failure Modes to Avoid
- Bootleg Grounds: In older homes, a previous DIYer may have installed a jumper wire between the neutral (silver) screw and the ground (green) screw to trick a 3-prong tester. This is lethal. If the neutral wire disconnects upstream, the appliance chassis becomes fully energized at 120V. Always verify the ground path back to the panel using a specialized ground impedance tester if you suspect a bootleg.
- Reversed Polarity: Swapping the hot and neutral wires will not immediately trip a breaker, but it means the internal switch of any plugged-in appliance will only disconnect the neutral, leaving the appliance's internal components energized and capable of delivering a shock during maintenance.
- Over-stripping: Stripping more than 3/4 inch of insulation leaves bare copper exposed outside the terminal plate. If a user's finger slips into the slot gap, or if a metal faceplate shifts, contact with the exposed copper will result in a direct shock.
2026 NEC Updates: Tamper-Resistance and AFCI Integration
The 2026 edition of the NEC has further tightened requirements for residential receptacle safety. Under NEC 406.4(D), all 15A and 20A, 125V and 250V receptacles installed in dwelling units must be listed as Tamper-Resistant (TR). The Leviton T5252 features internal shutter mechanisms that require simultaneous, equal pressure on both blades to open, preventing children from inserting conductive objects and receiving a shock. Furthermore, if the outlet is located in a bedroom, living room, or hallway, the branch circuit must be protected by an Arc-Fault Circuit Interrupter (AFCI) breaker at the panel. If your new receptacle immediately trips the AFCI breaker upon installation, you likely have a shared neutral or a damaged wire insulation touching the grounded junction box, both of which create parallel arcing conditions that the AFCI detects as a fire hazard.
Testing and Commissioning
Once the receptacle is secured to the box with the yoke screws (ensure the plaster ears are removed if installing in a raised mud ring), restore power at the breaker. Use a 3-light receptacle tester (e.g., Gardner Bender GRT-300) to verify correct wiring. The tester should show two yellow lights, indicating correct polarity and a verified ground. Finally, plug in a high-draw device like a 1500W space heater for 15 minutes, then use an infrared thermometer to check the terminal area. A temperature rise of more than 15°F above ambient indicates a poor termination requiring immediate re-torquing.