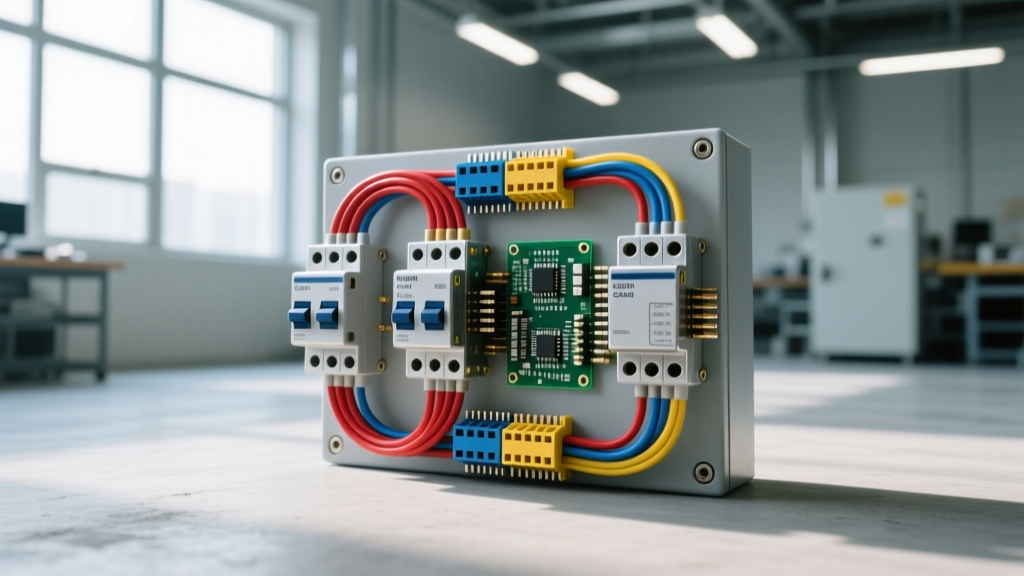

When automation engineers use the term scada switch, they are often referring to the managed industrial Ethernet routers that handle network traffic. But out on the physical marshalling panel, the true "SCADA switch" is the electromechanical hardware that bridges the digital world to the physical one: the Local/Off/Remote selector switches and the interposing relays that isolate PLC I/O from high-voltage field devices. Selecting the wrong physical switch for a SCADA panel doesn't just cause a network error; it causes welded contacts, fried PLC transistor outputs, and catastrophic motor stalls.
For standard 24VDC SCADA I/O panels, the baseline specification is a 10A-rated interposing relay (such as the Phoenix Contact PLC-RSC- 24DC/21) paired with a 22mm 3-position selector switch (like the Schneider Electric Harmony XB4) featuring 10A at 600VAC and 2.5A at 250VDC contact ratings. This guide breaks down the exact rating columns you need to read, how to wire the coil and contact sides safely, and how to troubleshoot these components when the HMI throws a fault.
Spec Sheet: Rating Tables for SCADA Panel Switches and Relays
The most common mistake in panel building is looking only at the "10A" printed on the side of the relay and assuming it can switch any 10A load. Electromechanical contacts are rated by utilization categories (IEC 60947-5-1). A switch that handles 10A of resistive heating will instantly weld its contacts shut if asked to break 10A of inductive solenoid current. Below is the data-dense specification table for the most common physical SCADA switches used in modern control panels.
| Component Type | Part Number Example | Coil / Input Voltage | Continuous Thermal (AC-1 / DC-1) | Inductive Breaking (AC-15 / DC-13) | Motor Rating (AC-3) |
|---|---|---|---|---|---|
| Interposing Relay (Slim) | Phoenix Contact PLC-RSC- 24DC/21 | 24VDC (19.2 - 30VDC) | 6A @ 250VAC | 2A @ 24VDC (L/R=50ms) | Not Rated |
| Heavy Duty Control Relay | Allen-Bradley 700-HA (4-Pole) | 120VAC (85-110% Nominal) | 10A @ 600VAC | 3A @ 120VAC (PF=0.4) | 1/2 HP @ 120VAC |
| 22mm Selector Switch | Schneider XB4BVB3 (3-Pos Maintained) | N/A (Mechanical Cam) | 10A @ 600VAC | 2.5A @ 250VDC | Not Rated |
| Solid State Relay (SSR) | Crydom D2425 (Panel Mount) | 3-32VDC Input | 25A @ 280VAC | N/A (Zero-Cross Switch) | Not Recommended |
Coil vs. Contact Wiring and Flyback Protection
Every electromechanical SCADA switch (specifically relays and contactors) has two distinct electrical circuits that must never cross: the coil side and the contact side.
The Coil Side (A1 and A2): This is the input circuit. In a SCADA panel, the PLC digital output card wires to A1 (positive) and A2 (negative/return). The coil is simply an inductor; when energized, it creates a magnetic field that pulls the mechanical armature. Because it is an inductor, it stores energy.
The Contact Side (11/12, 13/14, etc.): This is the output circuit. The common terminal (usually 11 or 13) receives power from your field power supply, and the Normally Open (NO) or Normally Closed (NC) terminals route that power to the field device (like a valve solenoid or a motor starter coil). The contacts provide galvanic isolation between the sensitive 24VDC PLC logic and the noisy 120VAC/240VAC field environment.
AC coils do not require flyback diodes because the AC sine wave naturally crosses zero, extinguishing the arc. However, if you are switching highly inductive AC loads on the contact side, you may need an RC snubber network wired in parallel with the load to suppress contact arcing.
Load Selection Decision Path: Which Rating Governs?
Choosing the right SCADA switch requires matching the physical load to the correct column on the manufacturer's datasheet. Never treat fuses and branch circuit breakers as interchangeable contact-protection devices. A standard thermal-magnetic breaker (Curve C or D) trips far too slowly to save a 6A relay contact from welding shut during a motor stall or a dead short; the breaker protects the wire from catching fire, but the switch contacts will be destroyed milliseconds before the breaker trips. For contact protection, you must size the switch correctly from the start.
| Field Load Type | Examples | Governing Rating Column (IEC) | Failure Mode if Undersized | Recommended SCADA Switch Component |
|---|---|---|---|---|
| Resistive | Space heaters, incandescent lamps, resistive sensors | AC-1 / DC-1 (Continuous Thermal Current) | Overheating, plastic housing melts, slow degradation | Standard Slim Interposing Relay (6A-10A) |
| Inductive | Solenoid valves, contactor coils, relay coils | AC-15 / DC-13 (Inductive Breaking Capacity) | Severe arcing, pitted contacts, eventual contact welding | Heavy Duty Relay (e.g., AB 700-HA) with arc suppression |
| Motor | Pumps, fans, conveyors, compressors | AC-3 (Locked Rotor Ampacity / Making & Breaking) | Contacts weld shut on startup (inrush is 6x-8x FLA) | Motor-Rated Contactor (Do NOT use standard relays) |
| Capacitive | Switching power supplies, capacitor banks, LED drivers | AC-6b / Inrush rating (often requires derating by 50%) | Instant micro-welding on closure due to massive inrush | Solid State Relay (SSR) or heavily derated mechanical relay |
If your SCADA system is controlling a 5HP pump, the PLC output should not wire directly to the pump, nor should it wire to a slim 6A interposing relay to drive the pump. The correct decision path is: PLC Output → 24VDC Slim Interposing Relay → 120VAC Motor-Rated Contactor → Motor. The slim relay handles the low-current coil of the contactor (an inductive load), and the contactor handles the massive AC-3 motor inrush.
Testing Dead and Live, and When to Replace
When a SCADA HMI shows a device in a "Fault" or "Transitioning" state, the physical switch on the marshalling panel is the first place to troubleshoot. Here is the exact bench and jobsite procedure for testing these components.
Testing Dead (De-energized)
Safety First: Lock out and tag out (LOTO) the panel main breaker. Verify dead with a tested CAT III multimeter before touching any terminals.
- Test the Coil: Set your digital multimeter (DMM) to the Ohms (Ω) range. Place probes across A1 and A2. A healthy 24VDC relay coil typically reads between 600Ω and 2,000Ω. If it reads 0.0Ω (shorted) or OL/infinite (open), the coil is dead.
- Test the Contacts: Move the DMM to the Continuity/Diode setting. Place probes on the Common (11) and Normally Open (14) terminals. It should read OL. Manually press the relay's mechanical test button (or turn the selector switch to the ON position). The meter should beep, reading less than 1.0Ω. If it reads higher than 2Ω, the contacts are heavily pitted or carbon-fouled.
Testing Live (Energized)
Warning: Only perform live testing if you are qualified to work on energized control panels. Use properly rated test leads and keep fingers clear of exposed busbars.
- Verify Coil Voltage: Set the DMM to DC or AC Voltage (matching the system). Measure across A1 and A2 while the PLC commands the output ON. The voltage must be at least 85% of the nominal coil voltage (e.g., >20.4VDC on a 24V system). If voltage is low, you have a voltage drop issue in the PLC wiring, not a bad relay.
- Measure Contact Voltage Drop: With the relay energized and the field load running, measure the voltage across the closed contacts (from terminal 11 to terminal 14). A healthy, clean contact will drop less than 50 millivolts (0.050V). If you read 2V, 5V, or more across a closed contact, the internal resistance is too high. The contacts are failing and generating heat.
Repair vs. Replace: The Economic Reality
In industrial SCADA panels, the rule is simple: replace, do not repair. A high-quality Phoenix Contact or Schneider interposing relay costs between $15 and $30. The labor cost to remove it, file the contacts, and reinstall it far exceeds the replacement cost, and filed contacts will never regain their original silver-alloy metallurgy or arc-quenching geometry.
For 22mm selector switches, you can sometimes replace just the front operator head or the rear snap-on contact blocks if a single pole fails. However, if the internal cam mechanism feels sloppy, or if the switch fails to maintain its detent in the "Remote" position, replace the entire switch assembly. A sloppy selector switch can cause a SCADA system to bounce between Local and Remote states, leading to unpredictable automated machinery behavior and severe safety hazards.