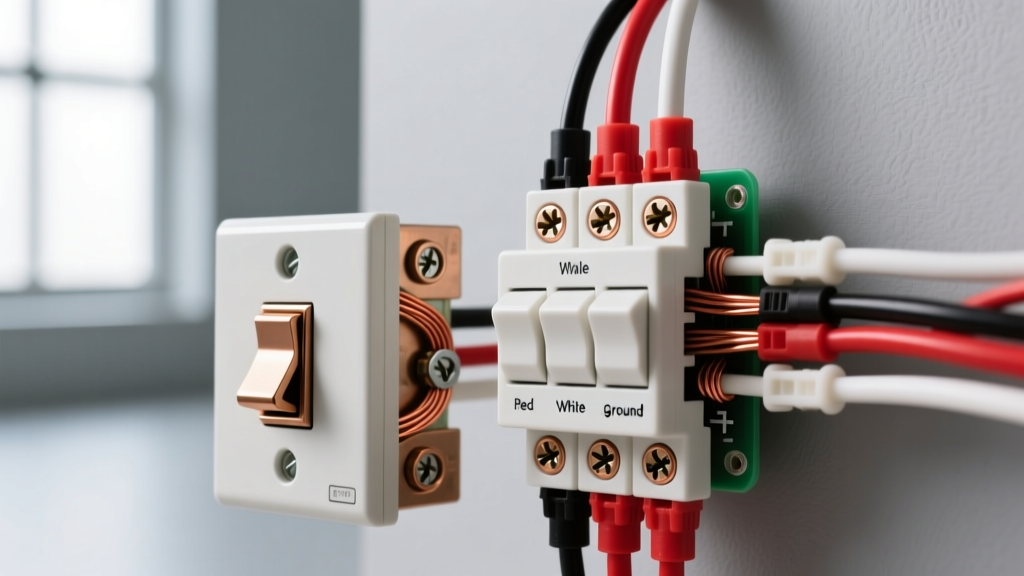
Running a subpanel from a main panel involves installing a dedicated feeder circuit—comprising hot, neutral, and ground conductors protected by a double-pole breaker—to supply a secondary distribution board that branches power to a specific zone or outbuilding.
In a real installation, adding a subpanel changes the physical distribution of your electrical system. It shifts the bulk of branch-circuit breaker clutter away from your main service disconnect, localizes overcurrent protection for additions like garages or workshops, and allows you to upsize feeder conductors to mitigate voltage drop over long distances without replacing your entire service entrance.
The most dangerous confusion DIYers have is treating a subpanel exactly like a main panel. In a main service panel, the neutral and ground buses are bonded together. In a subpanel, the neutral and ground buses must remain strictly isolated; tying them together at a subpanel creates a parallel path for return current, energizing your grounding system and creating a severe shock hazard.
The Core Theory: Feeder Sizing and Voltage Drop
Sizing the feeder for your subpanel requires balancing two distinct electrical limits: ampacity (the wire's ability to dissipate heat without melting the insulation) and voltage drop (the loss of electrical pressure over distance). The National Electrical Code (NEC) dictates ampacity, while physics dictates voltage drop. You must size the wire to satisfy both, which usually means the voltage drop calculation forces you to use a larger wire than the ampacity chart strictly requires.
Assume you are running a 240V feeder to a 100-amp subpanel in a detached workshop, 120 feet away. Your calculated continuous load is 80 amps.
- Ampacity Check: According to NEC Table 310.16, 4 AWG copper THHN is rated for 85A at 75°C. This technically protects a 100A breaker under specific non-continuous loads, but it is dangerously close to the thermal limit for an 80A continuous load.
- Voltage Drop Check: The NEC recommends a maximum 3% voltage drop for feeders. Using the formula VD = (2 × K × I × L) / CM (where K=12.9 for copper, I=80A, L=120ft, and CM=41,740 for 4 AWG):
VD = (2 × 12.9 × 80 × 120) / 41,740 = 5.93 volts (2.47%). - The Upsize: While 4 AWG passes the 3% rule, a 2% drop is the professional benchmark for sensitive electronics. Upgrading to 2 AWG copper (CM = 66,360) drops the loss to 3.73 volts (1.55%), and 2 AWG is rated for 115A at 75°C, providing excellent thermal headroom.
When pulling these conductors, you will typically use individual THHN wires inside a PVC or EMT conduit. If you are direct-burying the line without conduit, you must switch to UF-B or MHF (Mobile Home Feeder) cable, which requires checking the 60°C ampacity column for smaller gauges, often forcing an even larger wire size.
Where You Meet This in Practice
You will encounter the need to run a subpanel from a main panel in three primary residential scenarios:
- Detached Structures (Garages, Barns, ADUs): The NEC allows only one feeder per detached building (with rare exceptions). A 60A to 100A subpanel is standard here, allowing you to run lighting, receptacles, and a 240V EV charger or welder without pulling individual branch circuits all the way back to the house.
- Major Interior Additions (Basements, Kitchens): When finishing a basement, a 60A subpanel saves you from running six to eight individual 12 AWG and 10 AWG home runs back to a main panel that is likely already out of physical breaker slots.
- Solar and Battery Integration: Modern electrical safety standards and interconnection rules often require a dedicated 'critical loads' subpanel. This allows a solar inverter and battery backup system to isolate and power only essential circuits during a grid outage.
In all these scenarios, the physical installation requires a double-pole breaker in the main panel, a 4-wire feeder (two hots, one neutral, one ground), and a main lug subpanel. Never use a 'main breaker' subpanel as your primary disconnect unless it is a detached structure where the feeder disconnect is required at the building.
The Grounding vs. Bonding Rule
The most critical theoretical concept when installing a subpanel is understanding equipotential bonding—the practice of connecting all metallic, non-current-carrying parts of an electrical system together to ensure they remain at the same electrical potential, preventing shock.
In your main service panel, the utility's grounded conductor (neutral) is physically bonded to the grounding electrode system (ground rods, water pipe). This establishes the zero-voltage reference for the entire house. However, when you run a subpanel, you must keep the neutral bus and the ground bus completely separate.
Think of the neutral wire as the designated return highway for electrical traffic, and the ground wire as the emergency shoulder. If you bond them together at a subpanel by leaving the green bonding screw in place, you are opening the shoulder to daily commuter traffic. Under normal operation, return current will split between the neutral wire and the ground wire. If the neutral highway ever gets blocked (a loose neutral connection at the main panel), all that return traffic is forced onto the ground shoulder, energizing every metal appliance chassis, conduit, and box connected to the subpanel's grounding system.
Frequently Asked Questions
What size breaker do I need for a 100 amp subpanel?
You need a 100-amp double-pole breaker in the main panel to protect the feeder wires. The breaker size is determined by the ampacity of the wire, not the physical rating stamped on the subpanel box. If you use 2 AWG copper wire (rated 115A at 75°C), a 100A breaker is perfectly matched. You cannot put a 100A breaker on 4 AWG copper if the continuous load exceeds the wire's derated capacity, as the breaker will fail to protect the wire from thermal degradation.
Can I run a subpanel from another subpanel?
Yes, this is known as 'daisy-chaining' or feeding a sub-subpanel, and it is entirely legal under the NEC provided you follow the rules. The critical constraint is that the upstream subpanel must have the physical space and the thermal capacity to handle the additional load. You must recalculate the load on the first subpanel's feeder to ensure you aren't exceeding its breaker rating. Furthermore, the neutral and ground must remain isolated at every single subpanel in the chain; they are only bonded at the absolute first point of disconnect (the main service panel).
Does a detached garage subpanel need its own ground rod?
Yes. While the 4-wire feeder provides an equipment grounding conductor back to the main panel, the NEC requires a detached structure with a subpanel to have its own grounding electrode system (typically two 8-foot copper ground rods driven 6 feet apart). This rod does not replace the ground wire in your feeder; rather, it bonds the subpanel to the local earth to protect against lightning strikes and utility surges. The ground rod connects to the ground bus in the subpanel, never the neutral bus.
How much does it cost to run a subpanel in 2026?
For a standard 100-amp subpanel run to a detached garage 50 feet away, expect to spend between $600 and $900 on materials in 2026. A 100A main lug panel costs about $120 to $160, and a 100A double-pole breaker is roughly $45. The bulk of the cost is in the copper: 2 AWG copper THHN wire hovers around $4.50 to $5.50 per foot, meaning 200 feet of wire (four conductors at 50 feet each) will run $900 to $1,100 alone. Many DIYers opt for 2-2-2-4 aluminum MHF direct burial cable to cut the wire cost by 60%, though aluminum requires larger gauge sizing and anti-oxidant paste at the terminations.