
The Hidden Dangers of Failing Receptacles
Electrical receptacles are not passive pipes; they are mechanical switching devices with a finite operational lifespan. Every time you insert or remove a plug, the internal brass wiper contacts experience friction, heat, and microscopic arcing. According to the National Fire Protection Association (NFPA), electrical distribution and lighting equipment are consistently among the leading causes of residential fire deaths. Recognizing when to install a replacement electrical outlet is not just a matter of restoring power—it is a critical fire prevention protocol.
This diagnostic guide moves beyond basic 'plug in a lamp' troubleshooting. We will explore the material science, mechanical failure modes, and electrical anomalies that dictate when a receptacle must be retired.
Phase 1: Diagnostic Triage (Isolate the Fault)
Before tearing into the drywall box, you must isolate whether the failure lies with the circuit, the wiring, or the receptacle itself. Amateurs often replace a perfectly good outlet only to find the upstream wire nut has vibrated loose.
- Step 1: Non-Contact Voltage Detection (NCVD). Use a Fluke 2AC or Klein Tools NCVT-2 to check for ambient field voltage at the faceplate. If the NCVD stays dark, check the panel breaker and upstream GFCI nodes.
- Step 2: Solenoid or Digital Multimeter Testing. Plug-in receptacle testers (the $10 plastic cubes) are notoriously unreliable for diagnosing high-resistance faults or shared neutrals. Use a digital multimeter (DMM) to measure line-to-neutral (should be 120V ±5%) and line-to-ground.
- Step 3: Load Testing. A failing receptacle might show 120V with no load, but the voltage will plummet when a 1500W space heater is connected due to internal contact resistance.
Phase 2: The 5 Critical Signs You Need a Replacement Electrical Outlet
1. Loss of Wiper Contact Tension (The 'Drop Test')
The most common mechanical failure in older residential builds is wiper fatigue. Underwriters Laboratories (UL) Standard 498 dictates specific pull-out force requirements for receptacle slots. Over years of use, the brass wipers lose their spring temper. If a standard 3-prong plug slides in with zero resistance, or if a heavy wall-wart transformer pulls the plug downward due to gravity, the internal contact area is severely reduced. This micro-gap generates intense localized heat (I²R losses) when drawing high amperage, melting the internal thermoplastic housing.
2. Thermal Discoloration from 'Backstabbing'
Flip off the breaker, pull the outlet from the box, and inspect the rear. If the wires are inserted into the small push-in holes on the back (known as backstabbing), you are looking at a ticking time bomb. Push-in terminals rely on a tiny, spring-loaded steel wedge biting into a 14 AWG solid copper wire. Under heavy load, thermal expansion and contraction cause the wire to work loose, creating a high-resistance arcing fault. If you see brown or black scorch marks around the backstab holes, an immediate replacement electrical outlet wired via the side-binding screws is mandatory.
3. TR Shutter Jamming and Asymmetric Wear
Since the 2008 National Electrical Code (NEC) update, all 15A and 20A receptacles in living areas must be Tamper-Resistant (TR). TR outlets feature internal polycarbonate shutters that require simultaneous, equal pressure on both the hot and neutral slots to open (typically around 4 ounces of force). If a receptacle has been abused by forcing a 2-prong plug or a single object into one slot, the shutter mechanism can fracture or bind. If you find yourself having to 'wiggle' a plug aggressively to bypass the shutters, the mechanical interlock is compromised and the unit must be replaced.
4. Urea-Formaldehyde Cracking vs. Modern Nylon Degradation
Receptacles manufactured before the late 1990s were often made from urea-formaldehyde, a brittle thermoset plastic that yellows and micro-fractures when exposed to UV light and ozone. If the face of the outlet feels chalky, or if hairline cracks are visible around the mounting strap, the dielectric strength of the housing is compromised. Modern spec-grade outlets use high-impact nylon or polycarbonate, which resist shattering upon impact and maintain structural integrity even when subjected to minor thermal events.
5. Downstream GFCI Nuisance Tripping
If a standard downstream receptacle is causing an upstream GFCI or AFCI breaker to trip randomly, the fault often lies in the downstream outlet's wiring topology. A loose neutral wire on the line/load terminals of a standard receptacle can create neutral-to-ground leakage currents or harmonic noise that the upstream GFCI's toroidal transformer interprets as a ground fault. Replacing the downstream outlet and securing the connections with proper torque often cures the 'ghost tripping' upstream.
Expert Warning: Never bypass a tripping GFCI or AFCI by replacing it with a standard breaker or receptacle. The Consumer Product Safety Commission (CPSC) explicitly warns that nuisance tripping is often the first indicator of a hidden parallel arcing fault or insulation breakdown inside the wall cavity.
Receptacle Grade Comparison Matrix (2026 Market Data)
When sourcing a replacement electrical outlet, not all units are created equal. Upgrading to a higher grade dramatically increases mechanical lifespan and thermal tolerance.
| Receptacle Grade | Example Model (15A/125V) | Avg. Cost (2026) | Face Material | Wiper Lifespan (Insertions) | Best Application |
|---|---|---|---|---|---|
| Residential / Builder | Leviton T5320-W | $2.80 - $3.50 | Thermoplastic | ~2,000 | Low-use guest rooms, closets |
| Commercial / Spec-Grade | Hubbell 5262-IGA | $6.50 - $8.90 | High-Impact Nylon | ~10,000 | Kitchens, living rooms, home offices |
| Hospital Grade (HG) | Pass & Seymour 2640-HG | $13.00 - $16.50 | Polycarbonate/Nylon | ~25,000+ | Medical equipment, heavy shop tools |
The Professional Replacement Protocol
When your diagnosis confirms the need for a replacement, follow this exact sequence to ensure NEC compliance and long-term reliability:
- De-energize and Verify: Trip the breaker. Verify zero voltage using a CAT III rated multimeter at the receptacle slots.
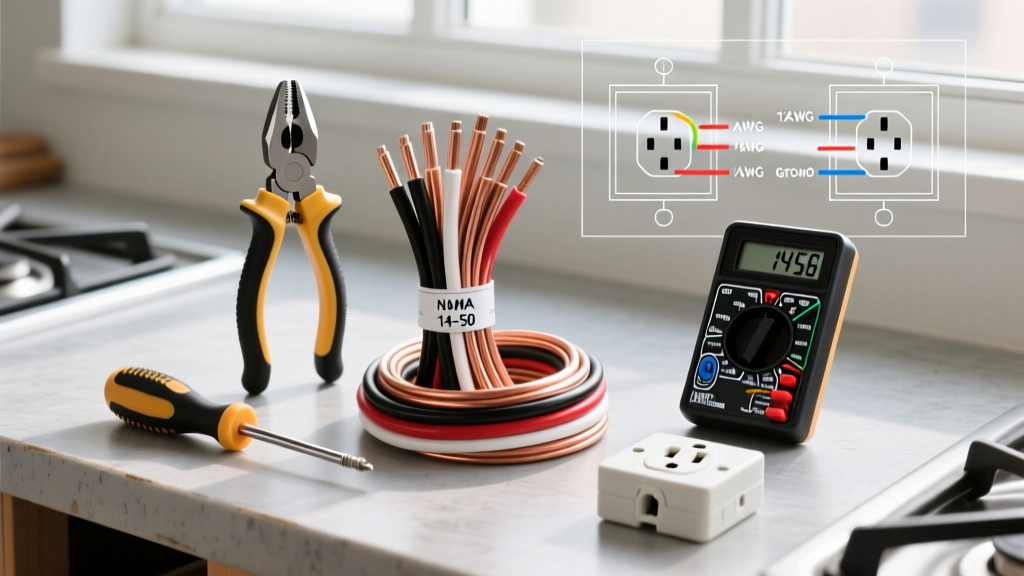
- Inspect Wire Gauge: Confirm the wire size matches the circuit breaker. 14 AWG copper requires a 15A breaker and a 15A receptacle. 12 AWG copper requires a 20A breaker and a 20A receptacle (identified by the T-slot neutral).
- Strip and Dress: Use a precision wire stripper (like the Klein 11057) to strip exactly 3/4 inch of insulation. Do not score the copper conductor, which creates a fracture point.
- Side-Wire and Torque: Loop the solid copper wire clockwise around the brass (hot) and silver (neutral) binding screws. Tighten using a calibrated torque screwdriver. The NFPA 70 (NEC) 110.14(D) mandates that terminations be torqued to the manufacturer's specifications—typically 14 lb-in for standard 15A/20A receptacles.
- Pigtail Grounds: Never daisy-chain the bare copper ground wire through the outlet's green screw. Use a wire nut or Wago 221 lever connector to pigtail the ground, ensuring the grounding path remains intact even if the receptacle is removed later.
Final Diagnostic Thoughts
Troubleshooting a dead or failing receptacle requires looking past the symptom to the root mechanical or thermal cause. By understanding the limitations of push-in terminals, the physics of wiper tension, and the material differences between builder-grade and spec-grade nylon, you can confidently determine when a replacement electrical outlet is required. Investing $8 in a commercial-grade, side-wired, properly torqued receptacle today prevents catastrophic thermal events and ensures decades of reliable power distribution in your home.