
The Anatomy of an I2C Bus Failure
The Inter-Integrated Circuit (I2C) protocol is the undisputed workhorse of modern electronics, connecting microcontrollers to thousands of sensors, EEPROMs, and displays. However, from a physical wiring perspective, I2C is surprisingly fragile. Unlike robust differential signaling standards such as RS-485 or CAN, I2C relies on single-ended, open-drain (or open-collector) architecture. This means the bus lines—Serial Data (SDA) and Serial Clock (SCL)—are actively pulled low by devices but rely entirely on external pull-up resistors to return to a high logic state.
When troubleshooting I2C wiring in DIY projects, commercial harnesses, or breadboard prototypes, engineers frequently encounter intermittent data drops, bus lockups, and complete communication failures. These issues rarely stem from the silicon itself; instead, they are almost always the result of parasitic capacitance, incorrect pull-up resistor sizing, logic level mismatches, or poor physical wire routing. This guide provides a deep-dive diagnostic framework for identifying and resolving the most common physical layer I2C wiring failures.
Symptom 1: Intermittent Data Drops and NACKs
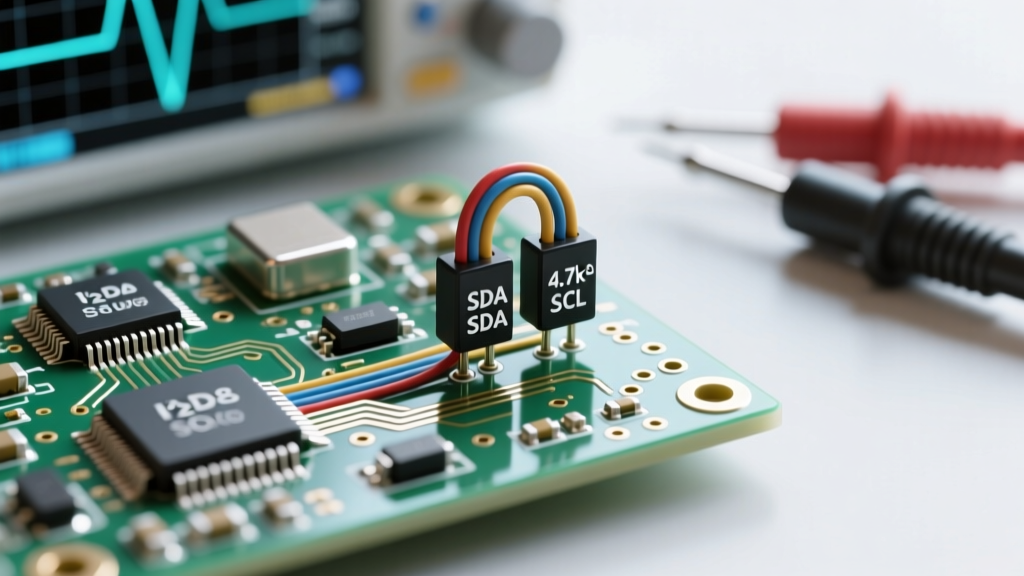
If your microcontroller is randomly receiving Not Acknowledged (NACK) signals or failing to read sensor data consistently, the first suspect is always the pull-up resistor network. Many hobbyists and even some commercial designs lazily default to 4.7kΩ pull-up resistors. While 4.7kΩ might work on a bare breadboard at 100kHz, it will almost certainly fail on a wired harness operating at 400kHz (Fast Mode) or higher.
Calculating the Correct Pull-Up Resistor
Because I2C uses an open-drain bus, the rising edge of the SDA and SCL signals is governed by an RC time constant, where 'R' is your pull-up resistor and 'C' is the total bus capacitance. If the resistor value is too high, the voltage rises too slowly, and the receiver samples the line before it crosses the high-level input voltage ($V_{IH}$) threshold, resulting in a bit error.
According to the Texas Instruments Application Note SLVA689, the minimum pull-up resistor is constrained by the maximum sink current ($I_{OL}$) of the devices, typically 3mA. The maximum pull-up value is constrained by the bus capacitance ($C_b$) and the required rise time ($t_r$). The formula for the maximum allowable resistance is:
$R_{p(max)} = t_r / (0.8473 \times C_b)$
Below is a practical reference table for selecting pull-up resistors based on bus capacitance and speed, assuming a standard 3.3V logic level and a 3mA sink current limit:
| Bus Speed Mode | Max Rise Time ($t_r$) | 50pF Capacitance | 100pF Capacitance | 200pF Capacitance | 400pF Capacitance (Limit) |
|---|---|---|---|---|---|
| Standard (100kHz) | 1000ns | 23.5kΩ | 11.7kΩ | 5.8kΩ | 2.9kΩ |
| Fast (400kHz) | 300ns | 7.0kΩ | 3.5kΩ | 1.7kΩ | 885Ω |
| Fast+ (1MHz) | 120ns | 2.8kΩ | 1.4kΩ | 708Ω | 354Ω |
Note: If your calculated $R_{p(max)}$ is lower than your $R_{p(min)}$ (which is $V_{DD} / 3mA$, or 1.1kΩ for 3.3V), you have exceeded the bus capacitance limit and must add an I2C bus buffer or repeater like the PCA9600.
Symptom 2: Physical Layer Diagnostics and the 400pF Limit
The official NXP I2C-bus specification (UM10204) strictly defines the maximum allowable bus capacitance at 400pF. This capacitance is cumulative. It includes the parasitic capacitance of the microcontroller pins, the sensor pins, the breadboard contacts, and the physical wires connecting them.
Wire Selection and Routing
When building custom wiring harnesses or running I2C cables inside a chassis, wire selection is critical. Standard ribbon cable is a notorious culprit for I2C failures because the parallel runs of SDA and SCL create high mutual capacitance and crosstalk.
- Use Twisted Pair: Always route SDA and SCL as a twisted pair. Using a length of CAT5e or CAT6 Ethernet cable is an excellent, low-cost solution for I2C wiring over distances up to 1 meter.
- Keep it Short: I2C is designed for on-board communication, typically under 30cm. If you must exceed 50cm, the 400pF limit will almost certainly be breached. Use an active I2C bus extender (like the P82B96) to convert the signal to a differential-like current-mode transmission.
- Avoid Noise Sources: Never route I2C wires parallel to high-current AC mains, switching power supply nodes, or high-frequency PWM motor control lines. The single-ended nature of I2C makes it highly susceptible to electromagnetic interference (EMI).
Symptom 3: Logic Level Mismatches (3.3V vs 5V)
A frequent wiring error occurs when interfacing a 3.3V microcontroller (like an ESP32 or STM32) with a 5V sensor module or legacy Arduino shield. Directly wiring a 5V pull-up to a 3.3V microcontroller pin can permanently damage the silicon, as the voltage exceeds the absolute maximum ratings of the GPIO.
Conversely, wiring a 3.3V pull-up to a 5V device often results in communication failure. A 5V CMOS device typically requires a $V_{IH}$ (high-level input voltage) of at least 0.7 × $V_{DD}$, which equates to 3.5V. A 3.3V pull-up will only ever reach 3.3V, leaving the 5V device in an undefined logic state.
Implementing Proper Level Translation
To safely wire mixed-voltage I2C buses, you must use a bidirectional logic level shifter. The most robust and common solution utilizes the BSS138 N-channel MOSFET topology. This circuit uses two MOSFETs per line (SDA and SCL) to isolate the low-voltage and high-voltage domains while preserving the open-drain nature of the I2C bus. Dedicated ICs like the PCA9306 or TXS0102 implement this topology internally and include integrated edge-rate accelerators to help overcome the capacitance added by the MOSFET gates.
Symptom 4: Complete Bus Lockup (SDA Stuck Low)
One of the most frustrating I2C wiring issues is the "stuck bus" condition, where the SDA line is held permanently low, and the master cannot initiate a new START condition. This usually happens if a master reset or power glitch occurs while a slave device is in the middle of transmitting a '0' bit. The slave continues to hold SDA low, waiting for clock pulses that the reset master is no longer providing.
The 9-Clock Recovery Sequence
To troubleshoot and recover a locked bus without physically disconnecting the wires, the master must perform a hardware recovery sequence. Configure the master's SCL pin as a standard GPIO output and manually toggle it high and low 9 times. Because I2C data is transferred in 8-bit bytes plus an ACK bit, 9 clock pulses guarantee that the slave will finish its current byte transmission, release the SDA line, and return to an idle state. After the 9 pulses, the master should issue a STOP condition (SDA transitions from low to high while SCL is high) to reset the bus state machine.
"If the bus is stuck in a state where SDA is LOW, the master can send 9 clock pulses on SCL to force the slave to release the SDA line. This is a standard recovery mechanism outlined in the I2C specification." — NXP UM10204 User Manual
Essential Diagnostic Toolkit for I2C Wiring
When visual inspection and code-level debugging fail, you must analyze the physical layer. Relying solely on software I2C scanner sketches is insufficient for diagnosing marginal wiring. Equip your bench with the following tools:
- Digital Storage Oscilloscope (DSO): Essential for measuring the actual rise and fall times of the SDA and SCL lines. Look for the characteristic exponential RC charging curve on the rising edges. If the curve is too flat, your pull-ups are too weak or your capacitance is too high.
- Logic Analyzer: Tools like the Saleae Logic Pro 16 allow you to decode I2C traffic at the hardware level, revealing exactly which byte or address is triggering a NACK or timing violation.
- Digital Multimeter: Use it to verify the exact pull-up voltage. A reading of 2.8V on a 3.3V bus indicates a severe voltage drop, likely caused by a short circuit, a damaged GPIO pin, or an incorrectly wired level shifter.
By methodically evaluating pull-up sizing, respecting the 400pF capacitance limit, ensuring proper logic level translation, and utilizing hardware recovery sequences, you can transform I2C from a finicky protocol into a rock-solid communication backbone for your electrical and electronic projects.