
The Anatomy of an Electrical Wiring Diagram
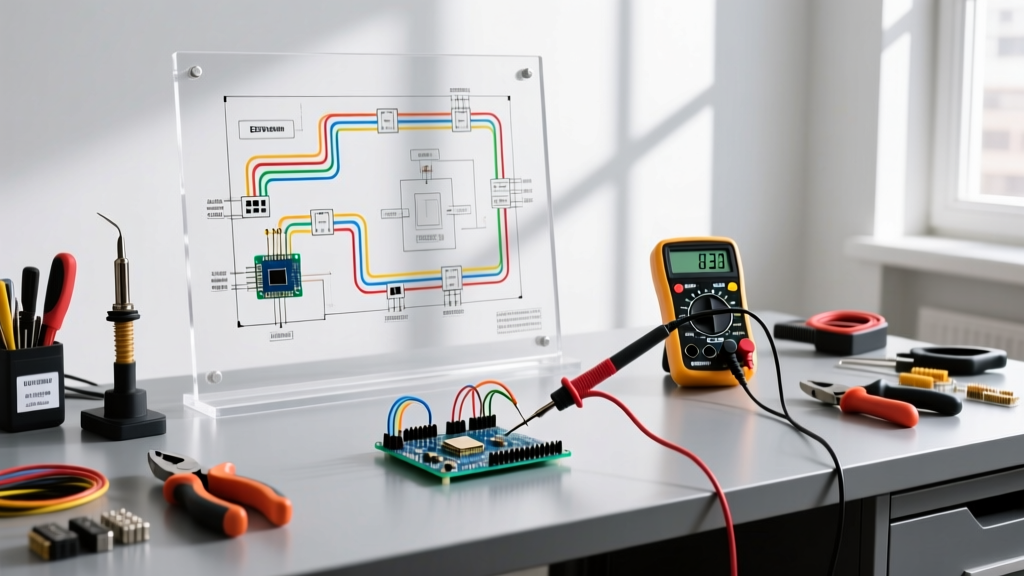
When a circuit fails or behaves unpredictably, guessing is not a strategy. Systematic isolation is the hallmark of a professional electrician. Before you even open a junction box, you must understand the map of the system. A standard diagram electrical wiring document serves as this map, translating physical copper paths into standardized symbols. However, not all diagrams are created equal. Troubleshooting requires you to distinguish between three primary formats:
- Schematic (Ladder) Diagrams: Focus on the logical flow of current. They show how components interact electrically but ignore physical routing. Ideal for control circuits and HVAC logic boards.
- Wiring Diagrams: Show the physical connections, terminal numbers, and wire color codes. This is your primary troubleshooting tool for residential and commercial branch circuits.
- Pictorial Diagrams: Provide a visual representation of the components. Useful for beginners but often lack the terminal-level detail required for advanced fault isolation.
Expert Insight: Never assume the as-built physical wiring matches the original schematic. Always verify the diagram electrical wiring layout against the actual panel directory and field conditions, as undocumented modifications by previous contractors are a leading cause of diagnostic dead-ends.
Essential Diagnostic Tools for 2026
Modern electrical troubleshooting relies on precision instrumentation. Basic neon testers and cheap digital multimeters (DMMs) can yield false positives due to phantom voltages. As of 2026, professional-grade tools with low-impedance (LoZ) capabilities and true-RMS sensing are mandatory for accurate diagnostics.
| Tool Category | Recommended Model | Est. Price Range | Primary Troubleshooting Use |
|---|---|---|---|
| True-RMS Multimeter (LoZ) | Fluke 117 Electrician's DMM | $210 - $240 | Eliminating ghost voltages; precise AC/DC voltage drop measurements. |
| Clamp Meter with NCV | Klein Tools CL800 | $90 - $115 | Measuring branch circuit amperage without breaking the circuit. |
| Advanced Wire Tracer | Amprobe AT-3500 | $310 - $350 | Tracing hidden cables through drywall and identifying specific breakers. |
| Receptacle Tester | Sperry ET64220 GFCI/AFCI | $35 - $45 | Quick verification of wiring topology and ground fault protection. |
The 5-Step Isolation Protocol
When utilizing a diagram electrical wiring plan to hunt down a fault, follow this strict sequential workflow to ensure safety and efficiency.
Step 1: Visual and Mechanical Inspection
Before applying power or meters, inspect the physical terminations. Look for back-stabbed connections (which are prone to thermal failure and high resistance), stripped insulation that is nicked, or loose wire nuts. According to OSHA Electrical Safety Guidelines, mechanical failures at termination points account for a significant percentage of electrical fires.
Step 2: Source Verification (Line vs. Load)
Using your Fluke 117, verify the voltage at the source (the breaker or panel). Measure Line-to-Neutral (should be 120V ± 5%) and Line-to-Ground (120V ± 5%). If Line-to-Neutral reads 120V but Line-to-Ground reads 0V, you have an open ground condition upstream. Never proceed down the circuit until the source is verified.
Step 3: Continuity and Impedance Checks (Dead Testing)
Warning: Ensure the circuit is de-energized and locked out before performing continuity tests. Use the diagram to identify the expected path. Measure the resistance of the neutral and ground paths back to the panel. A healthy copper branch circuit under 100 feet should show less than 0.5 ohms of resistance. High resistance indicates a loose splice or corroded terminal.
Step 4: Voltage Drop Analysis (Live Testing)
Re-energize the circuit and apply a known load (e.g., a 1500W space heater drawing ~12.5A). Measure the voltage at the receptacle. The NFPA 70: National Electrical Code (NEC) recommends a maximum voltage drop of 3% for branch circuits. If your source is 122V and the receptacle reads 114V under load (a 6.5% drop), you have a high-resistance fault or an undersized wire run.
Step 5: Thermal Imaging
For commercial panels or high-load circuits, use a thermal camera (like the FLIR C5) to scan terminations under load. A temperature differential of just 15°F (8°C) between phases or at a neutral bus bar indicates a failing connection that the diagram alone cannot predict.
Decoding Common Faults via the Diagram
Even with a perfect diagram electrical wiring schematic, field realities introduce specific failure modes. Here is how to diagnose the most complex code violations and faults:
Fault A: The Open Neutral on a Multi-Wire Branch Circuit (MWBC)
An MWBC uses two hot wires (on opposite phases) sharing a single neutral. If the shared neutral becomes disconnected (open) while both circuits are active, the 120V circuits effectively become a 240V series circuit. This will instantly destroy 120V appliances.
Diagnostic Fix: Measure the voltage at the receptacles on both legs. If one reads 140V+ and the other reads 90V-, you have an open neutral. NEC Article 210.4 requires simultaneous disconnection (handle ties or 2-pole breakers) for MWBCs to prevent maintenance shocks.
Fault B: Switched Neutrals vs. Switched Hots
A dangerous and illegal wiring method occurs when a switch interrupts the neutral wire instead of the hot wire. The fixture will turn off, but the socket remains energized at 120V, posing a lethal shock hazard during bulb changes.
Diagnostic Fix: Turn the switch to the 'OFF' position. Use a non-contact voltage tester (NCVT) or DMM at the fixture. If voltage is still present on the fixture's black wire relative to ground, the neutral is being switched. This violates NEC Article 404.2.
Fault C: Phantom (Ghost) Voltage
When troubleshooting long parallel cable runs (e.g., 14/3 Romex), a standard high-impedance DMM might read 40V to 90V on an unconnected traveler or neutral wire. This is capacitive coupling, not a real fault.
Diagnostic Fix: Switch your multimeter to 'LoZ' (Low Impedance) mode. LoZ introduces a small internal load that bleeds off phantom capacitive voltage. If the reading drops to 0V in LoZ mode, the wire is safely de-energized. For deeper analysis on this phenomenon, refer to the Electrical Contractor Magazine (ECMAG) Codes & Standards archives.
Real-World Case Study: 3-Way Switch Miswire
A frequent residential troubleshooting call involves a 3-way switch circuit where the light only works if Switch A is in the 'UP' position, while Switch B does nothing.
The Diagram Reality: A proper 3-way diagram shows the 'Common' terminal on Switch 1 receiving the Line voltage, while the two 'Traveler' terminals connect to the Travelers on Switch 2. The Common on Switch 2 feeds the Load (light).
The Field Error: The installer mistakenly wired the Line hot to a Traveler terminal on Switch 1, and the Load to the other Traveler.
Resolution: Identify the always-hot wire using a DMM. Mark it with black tape. Disconnect all wires from Switch 1. Connect the identified Line hot exclusively to the dark-colored 'Common' screw. Reattach the remaining two wires to the brass Traveler screws. Test the circuit. This methodical approach, guided by the theoretical diagram, resolves the issue in under 10 minutes.
Conclusion: Code Compliance and Safety
Troubleshooting is ultimately an exercise in verifying that the physical installation matches the theoretical diagram electrical wiring layout and the governing electrical codes. Whether you are dealing with AFCI nuisance tripping (NEC 210.12) or diagnosing harmonic distortions on a shared commercial neutral, your diagnostic accuracy is only as good as your understanding of the circuit's intended design. Always prioritize lockout/tagout procedures, utilize True-RMS instrumentation, and consult the latest NEC guidelines before energizing any repaired circuit.