
What Is Metal Clad Cable? Decoding the Anatomy
When upgrading a home electrical system, finishing a commercial space, or running power to a detached garage, you will inevitably encounter different wiring methods. While non-metallic (NM) sheathed cable, commonly known as Romex, dominates residential DIY projects, commercial and high-end residential builds frequently rely on a more robust alternative. This brings us to a critical question for both homeowners and apprentices: what is metal clad cable, and is it suitable for DIY installation?
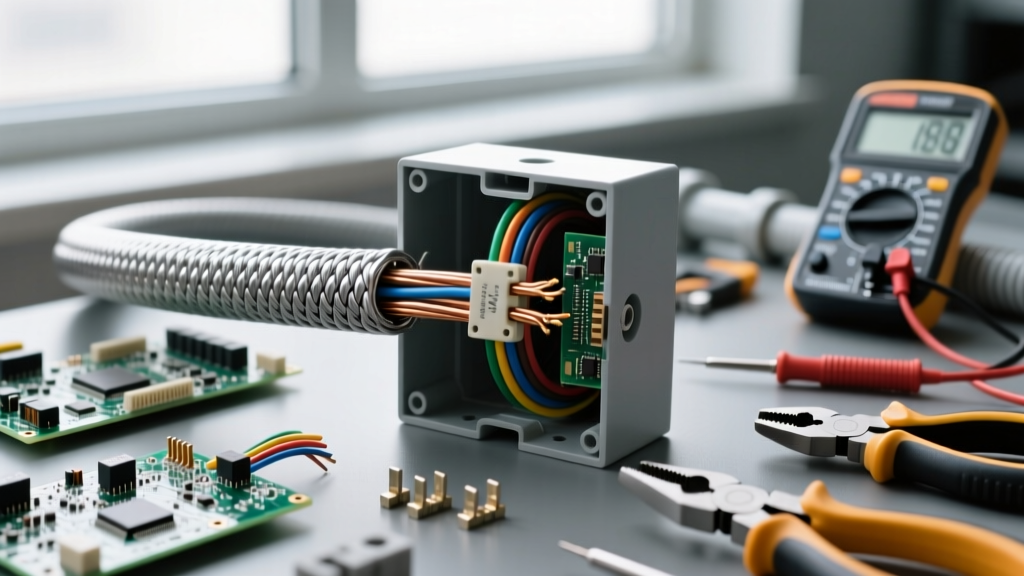
Metal Clad (MC) cable is a manufactured assembly of insulated conductors enclosed within a flexible, interlocking metal armor—typically made of galvanized steel or aluminum tape. Inside this armor, you will find individual THHN/THWN-2 conductors (usually black, white, and red) alongside a dedicated green insulated equipment grounding conductor. The metal sheath provides superior physical protection against nail punctures, rodent damage, and crushing forces compared to standard vinyl-sheathed NM cable.
The Great Confusion: MC Cable vs. AC (BX) Cable
Before picking up a cutter, it is vital to understand the difference between Metal Clad (MC) cable and Armored Cable (AC), historically referred to as BX. Many DIYers use the terms interchangeably, but the National Electrical Code (NEC) treats them very differently under Articles 330 and 320, respectively.
- Armored Cable (AC / BX): Contains a bare copper bonding strip running the length of the cable beneath the armor. In AC cable, the metal armor itself serves as the equipment grounding path.
- Metal Clad Cable (MC): Contains a dedicated, fully insulated green grounding wire. The metal armor of standard MC cable is not listed as a grounding path. If you fail to connect the internal green wire to your outlets and panels, your circuit will lack a proper ground, creating a severe shock hazard.
The DIY vs. Professional Dilemma: Should You Install MC?
Working with metal clad cable requires a distinct shift in mindset and tooling compared to pulling standard Romex. While a seasoned DIYer with experience in conduit bending and wire stripping can certainly tackle MC cable, the learning curve is steep, and the margin for error is unforgiving.
Common DIY Failure Modes with Metal Clad Cable
When evaluating whether to DIY or hire a licensed electrician, consider the specific failure modes that frequently plague amateur MC cable installations:
- Nicked Conductor Insulation: Cutting the interlocking metal armor with a standard hacksaw or utility knife often results in scoring the THHN insulation of the internal wires. A nicked wire might pass an initial continuity test but can lead to an arc fault or short circuit months later due to thermal expansion and vibration.
- Improquate Grounding: As mentioned, treating MC cable like AC cable and relying on the metal sheath for grounding is a massive code violation and safety hazard. DIYers frequently forget to terminate the internal green wire with a proper wire nut or crimp to the device's ground screw.
- Missing or Misused Anti-Short Bushings: NEC Article 320.40 mandates the use of red insulating "anti-short" bushings on AC cable to prevent the sharp cut edges of the armor from slicing into the wires. Interestingly, the NEC does not explicitly require them for MC cable (Article 330), provided the cutting tool leaves a smooth edge and listed fittings are used. However, many local inspectors still demand them, and DIYers often either omit them entirely or jam them in incorrectly, causing the wires to bind.
- Exceeding Bending Radius: Metal armor cannot be kinked. The NEC strictly limits the bending radius of MC cable to prevent internal damage. Kinking the cable destroys the interlocking armor's structural integrity and can crush the internal conductors.
"The speed at which a professional crew can rough-in a commercial space using MC cable is incredible, but it relies on specialized cable strippers and a deep understanding of listed fittings. A DIYer trying to save $500 on labor by hand-hacking MC cable with a Dremel tool is asking for a failed inspection and a potential fire hazard." — Master Electrician Field Notes
Cost Breakdown: DIY Savings vs. Professional Guarantees
Is the financial savings of a DIY MC cable installation worth the risk? Below is a comparative analysis of the costs associated with a standard 250-foot run of 12/2 MC cable with ground for a 20-ampere branch circuit.
| Cost Factor | DIY Installation | Professional Electrician |
|---|---|---|
| Material (250ft 12/2 MC) | $160 - $210 | $160 - $210 (Wholesale pricing may apply) |
| Specialized Tools (MC Cutter, Strippers) | $80 - $150 (One-time purchase) | Included in overhead |
| Fittings, Staples, & Bushings | $45 | $35 |
| Labor (Est. 6-8 Hours) | $0 (Your time) | $600 - $1,200 (at $100-$150/hr) |
| Permit & Inspection Fees | $75 - $150 | $75 - $150 |
| Total Estimated Cost | $360 - $555 | $870 - $1,600 |
While the DIY route saves significant labor costs, you must factor in the cost of proper tools. Attempting to cut MC cable without a dedicated tool is the primary reason DIY installations fail inspection.
Essential Tools for Working with Metal Clad Cable
Professionals do not use hacksaws to cut MC cable. To achieve a clean, square cut that will not damage the internal THHN insulation, specific rotary cutters are required. Tools like the Klein Tools MC Cable Cutter or the Milwaukee MC/AC Cable Cutter use a scoring wheel that spins around the armor, slicing through the metal tape without penetrating deep enough to touch the wire insulation.
Furthermore, stripping the individual THHN wires inside the tight metal sheath requires precision. Using standard bulky wire strippers inside a confined metal tube often leads to gouging the copper. Professionals use specialized internal cable strippers or carefully score the insulation with a precision knife, bending the wire to snap the insulation off cleanly.
NEC Code Compliance: Articles 330 and 250
Understanding manufacturer specifications from leaders like AFC Cable Systems and the NEC is non-negotiable. When installing MC cable, you must adhere to several strict code requirements:
- Securing and Supporting (NEC 330.30): MC cable must be secured at intervals not exceeding 6 feet. It must also be secured within 12 inches of every outlet box, junction box, cabinet, or fitting. Using standard NM cable staples on MC cable is a violation; you must use listed MC cable straps or stackers that accommodate the metal diameter without crushing it.
- Bending Radius (NEC 330.24): For interlocking armor MC cable, the inner radius of any bend must not be less than 7 times the diameter of the cable. For a standard 12/2 MC cable (roughly 0.5 inches in diameter), the bend radius must be at least 3.5 inches. Kinking the cable is an immediate fail during a rough-in inspection.
- Fittings (NEC 300.15 & 330.12): Where MC cable enters a metal or plastic junction box, a listed fitting must be used to protect the wires from abrasion. Squeezing connectors designed for flexible metal conduit (FMC) are often mistakenly used on MC cable, which can damage the armor and fail to provide a secure bond.
The Verdict: When to Call a Licensed Electrician
So, what is metal clad cable's place in the DIY ecosystem? If you are running an exposed circuit in a basement, wiring a detached workshop where physical damage is a concern, or upgrading a specific 240V appliance line, MC cable is an excellent, durable choice. A meticulous DIYer who invests in the proper rotary cutting tools, studies the bending radius requirements, and meticulously terminates the internal ground wire can achieve a safe, code-compliant installation.
However, if you are roughing-in an entire home addition, navigating tight stud bays, or working in a commercial environment where fire-stopping and continuous bonding are required, the physical toll and code complexities of MC cable heavily favor professional installation. Electricians possess the muscle memory to pull, bend, and terminate MC cable at a speed and safety level that simply cannot be replicated on a weekend DIY project. When in doubt, pull the permit, hire the pro, and let them handle the armor.