
The Anatomy and Purpose of the Main Bonding Jumper
The electrical panel bonding screw is the unsung hero of residential and commercial electrical safety. Often recognized by its distinct green color or accompanying green strap, this single piece of hardware serves as the mechanical and electrical bridge between the neutral bus bar and the metal panel enclosure. In the National Electrical Code (NEC), this connection is formally known as the main bonding jumper. Without it, your electrical system lacks a reliable, low-impedance fault current path back to the utility transformer, rendering your circuit breakers useless in the event of a ground fault.
The Physics of the Fault Current Path
To understand why the electrical panel bonding screw is so critical, you must understand how a circuit breaker trips during a ground fault. When a hot wire accidentally contacts a grounded metal surface (like a tool casing or metal stud), the fault current must travel back to the source to create the massive magnetic surge required to trip the breaker's internal mechanism.
According to NFPA 70 (National Electrical Code) Section 250.24(A)(5), the main bonding jumper must connect the equipment grounding conductor(s) and the equipment grounding terminal bar to the grounded conductor (neutral) within the enclosure for each service disconnect.
A standard 15A or 20A thermal-magnetic breaker requires a massive, instantaneous surge of current—often 10 to 20 times its rated amperage—to activate the electromagnetic trip mechanism. If the bonding screw is missing, loose, or improperly installed, the fault current attempts to return through the earth (ground rods), which has incredibly high resistance. The current remains too low to trip the breaker, leaving the metal enclosure energized at 120V or 240V—a lethal shock hazard.
Main Panel vs. Subpanel: The Golden Rule of Bonding
The most common and dangerous mistake made by DIYers and apprentice electricians is misplacing the electrical panel bonding screw. The rule is absolute: The neutral and ground must be bonded ONLY at the main service disconnect.
The Danger of Subpanel Bonding
In a subpanel, the neutral and ground bus bars must remain strictly isolated. If you install a bonding screw in a subpanel, you create a parallel path for normal neutral return current. Because electricity takes all available paths, a portion of the normal household current will flow back through the bare copper ground wires, metal conduits, and appliance chassis. This phenomenon, known as objectionable current (NEC 250.6), can cause tingling shocks when touching appliances, interfere with sensitive electronics, and create electromagnetic fields. For a deeper dive into this principle, refer to EC&M's comprehensive guide on bonding vs. grounding.
Manufacturer-Specific Bonding Screw Part Numbers & Specs
You cannot simply walk into a hardware store and buy a generic machine screw to bond your panel. The screw must be specifically listed for use with your panelboard model to satisfy UL listing requirements and NEC 110.3(B). Below is a reference chart for the most common load centers.
| Brand | Part Number | Thread Size | Torque Spec | Approx. Price |
|---|---|---|---|---|
| Square D (Schneider) | PK7GTA / PK4GTA | 1/4"-20 or 5/16"-18 | 40-50 in-lbs | $8.50 - $14.00 |
| Eaton (Cutler-Hammer) | BRPGBRK | 10-32 or 1/4"-20 | 40 in-lbs | $11.00 - $18.00 |
| Siemens | ECSBPK01 | 1/4"-20 | 45 in-lbs | $12.50 - $19.00 |
| GE (ABB) | THQLLGF1 | 10-32 | 40 in-lbs | $9.00 - $15.00 |
Note: Always verify the exact part number against your panel's wiring diagram, usually located on the inside of the dead front cover.
Step-by-Step Installation and Torque Specifications
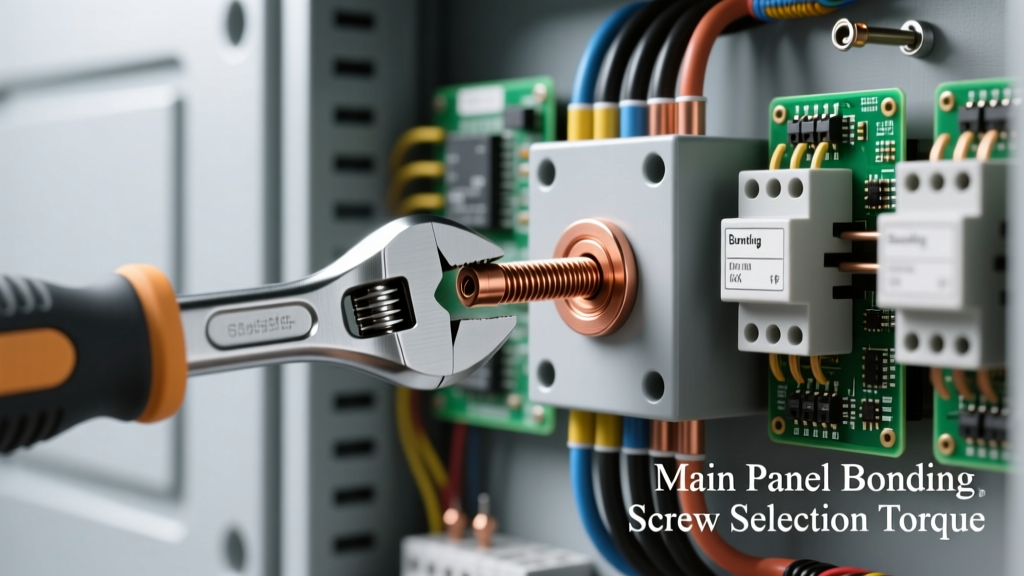
Installing the electrical panel bonding screw requires precision. Under-torquing leads to high-resistance connections that can overheat and fail during a fault. Over-torquing can strip the threads in the neutral bus bar, ruining a $200+ component.
Tools Required for a Code-Compliant Installation
- Torque Screwdriver: You must use an inch-pound torque screwdriver (e.g., CDI 401SMV or Wiha 64502). Do not use a standard foot-pound torque wrench, as the scale is too imprecise for the 40-50 in-lb range.
- Calibration: Ensure your torque screwdriver has been calibrated within the last 12 months. In professional settings, using an uncalibrated tool is a liability issue that can lead to failed inspections.
- Insulated Gloves: Class 0 rubber insulating gloves with leather protectors are mandatory if working near energized service entrance conductors.
- Non-Contact Voltage Tester & Multimeter: To verify the absence of voltage on the bus bars (though the service entrance lugs will remain live).
The Installation Sequence
- Locate the Bonding Hole: Identify the pre-tapped hole on the neutral bus bar specifically marked for the bonding screw. It is often accompanied by a green marking or label.
- Inspect the Threads: Ensure the threads are clean and free of debris or paint. The green nylon patch on the screw acts as a thread locker to prevent loosening from thermal expansion and contraction.
- Drive and Torque: Insert the screw and tighten it using your calibrated torque screwdriver until it clicks at the manufacturer's specified setting (typically 40 to 50 inch-pounds).
Troubleshooting Common Bonding Failures and Code Violations
During panel inspections and upgrades, electrical professionals frequently encounter severe violations related to the main bonding jumper.
The "Drywall Screw" Disaster
One of the most egregious violations is using a drywall screw or self-tapping sheet metal screw to bond a panel where the original manufacturer's screw was lost. Drywall screws are brittle, prone to snapping under torque, and lack the proper thread pitch to bite into the aluminum or copper-plated neutral bus bar. This creates a high-impedance connection that will fail under the thousands of amps of fault current during a short circuit. Furthermore, OSHA electrical safety standards strictly mandate that equipment be installed according to manufacturer listings; using improvised hardware voids the UL listing and violates NEC 110.3(B).
Missing Green Identification
NEC 250.97 requires that the main bonding jumper be identified. If you are using a bonding strap or a specific lug-to-lug bonding wire instead of a screw, the hardware must be painted green or tagged with a green label at the point of connection.
Corrosion and Dissimilar Metals
If a steel bonding screw is used in an aluminum bus bar without proper anti-oxidant compound (like Noalox), galvanic corrosion can occur over years of service. This corrosion increases resistance. Always inspect older panels for white, powdery aluminum oxide buildup around the bonding screw location. If present, the screw must be removed, the bus bar cleaned with a wire brush, treated with anti-oxidant paste, and re-torqued with a new manufacturer-listed screw.
By treating the electrical panel bonding screw as the precision, life-saving component it is, you ensure your electrical system operates safely, efficiently, and strictly within the bounds of the National Electrical Code.