
Understanding the Wiring Diagram for a Double Switch in 2026
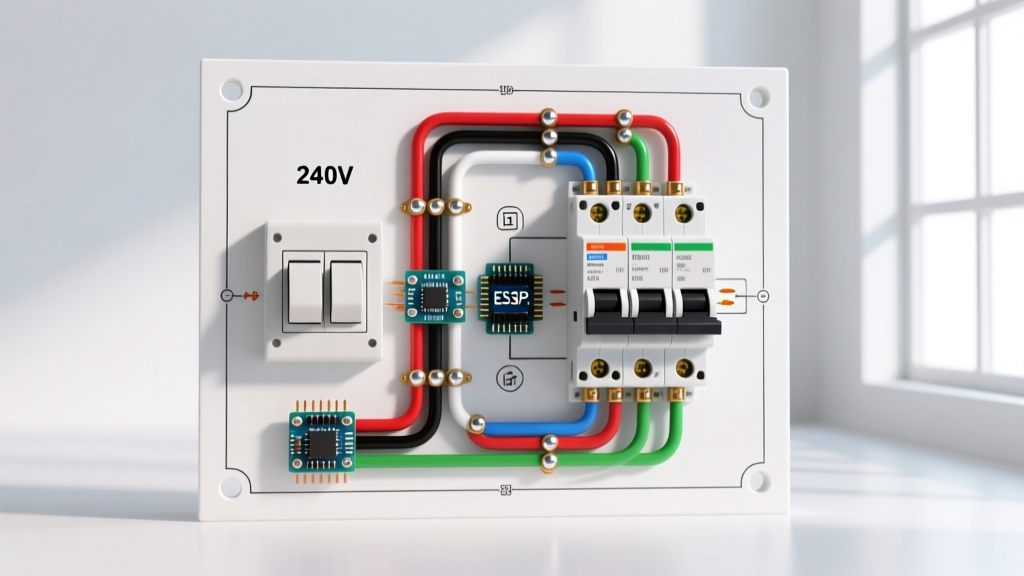
When homeowners and junior electricians search for a wiring diagram for a double switch, they are often met with confusing, contradictory schematics. The root of this confusion lies in terminology. In the electrical trade, a 'double switch' can refer to two entirely different devices: a dual-rocker switch (two single-pole 120V switches on a single yoke) or a Double-Pole Single-Throw (DPST) switch used for 240V heavy appliances. Given our focus on panel and breaker configurations, this guide exclusively covers the 240V DPST double switch wired to a double-pole circuit breaker—a critical setup for water heaters, well pumps, baseboard heaters, and workshop machinery.
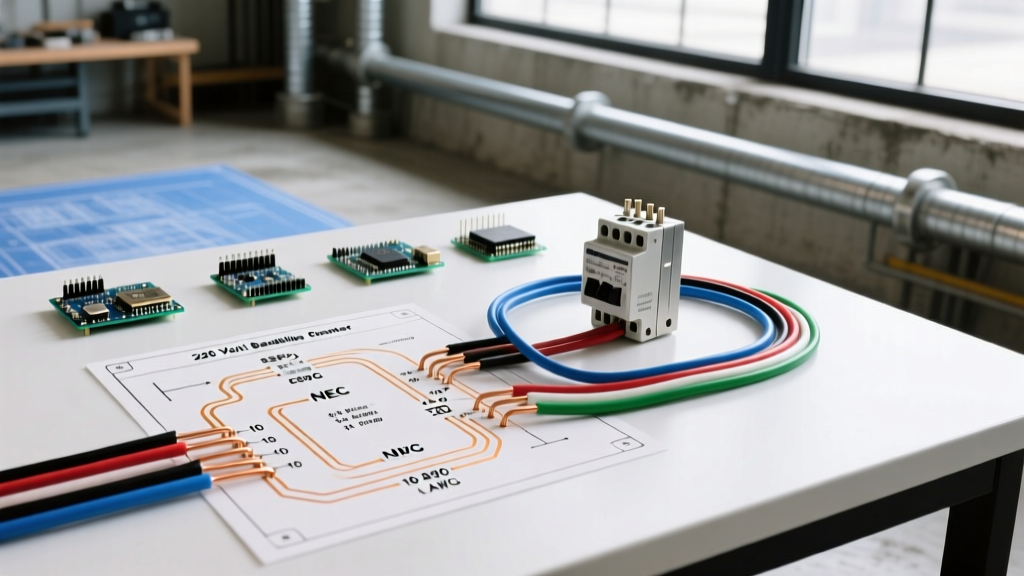
As of 2026, local jurisdictions enforcing the latest iterations of the National Electrical Code (NEC) are heavily scrutinizing 240V disconnecting means and terminal torque specifications. A proper wiring diagram for a double switch must account for both the overcurrent protection at the panel and the localized disconnect at the appliance. Below, we break down the exact components, code requirements, and step-by-step wiring procedures to ensure a safe, code-compliant installation.
Disambiguation: DPST vs. Dual-Rocker Switches
Before opening your panel, verify your hardware. Installing the wrong switch type on a 240V circuit will result in catastrophic failure and severe shock hazards.
- Double-Pole Single-Throw (DPST): This switch simultaneously breaks both ungrounded (hot) conductors of a 240V circuit. It features four terminal screws (two Line, two Load) and a ground screw. This is the correct switch for 240V appliances requiring a local disconnect.
- Dual-Rocker (Tandem) Switch: This device fits in a standard single-gang box but features two independent 120V single-pole switches. It is used for controlling two separate lighting circuits and has absolutely no place in a 240V appliance circuit.
Component Selection Matrix: 240V Double Switch Setups
Matching your double-pole breaker, wire gauge, and DPST switch amperage is non-negotiable. The following table outlines standard configurations for residential and light commercial applications in 2026.
| Circuit Amperage | Double-Pole Breaker Model | DPST Switch Model | Copper Wire Gauge (THHN/NM-B) | Typical Appliance Load |
|---|---|---|---|---|
| 20 Amp | Square D HOM220 / Eaton BR220 | Leviton 2022 (20A 120/277V) | 12 AWG | Small Baseboard Heaters, Window AC |
| 30 Amp | Square D HOM230 / Eaton BR230 | Leviton 3032 (30A 120/277V) | 10 AWG | Standard 40-50 Gal Water Heaters |
| 40 Amp | Square D HOM240 / Eaton BR240 | Hubbell HBL4032 (40A 120/277V) | 8 AWG | Large Water Heaters, Well Pumps |
| 50 Amp | Square D HOM250 / Eaton BR250 | Hubbell HBL5032 (50A 120/277V) | 6 AWG | Welders, EV Chargers, Spa Panels |
Note: Pricing for a standard 30A Leviton 3032 DPST switch ranges from $18 to $26 in 2026, while a Square D HOM230 breaker typically costs between $12 and $16. Always purchase UL-listed components from authorized distributors to avoid counterfeit hardware.
Step-by-Step Wiring Diagram Flow: Panel to Load
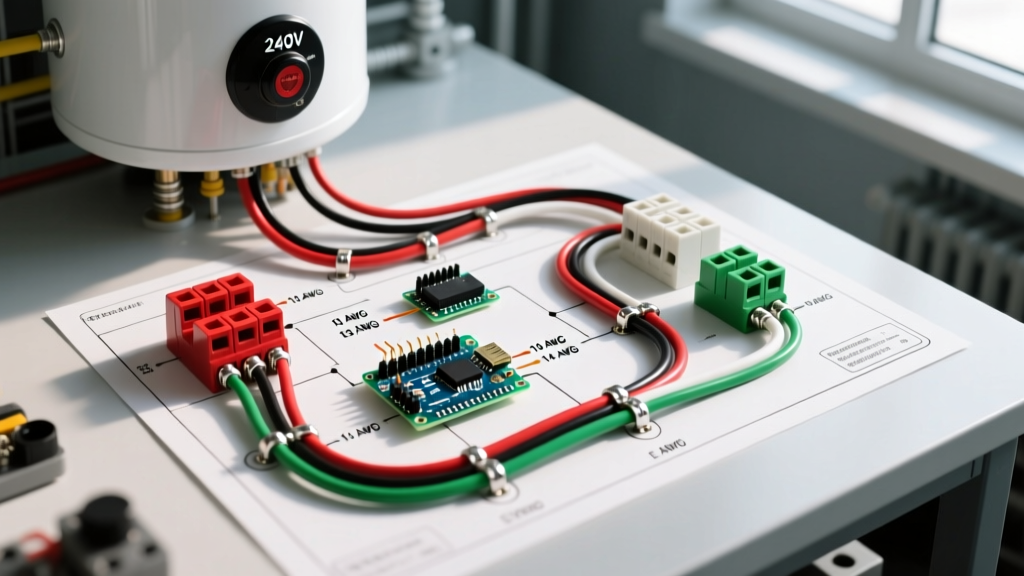
This procedure assumes you are installing a 30A DPST switch for a standard 4500W electric water heater using 10/2 NM-B (Romex) cable or 10 AWG THHN in conduit. Always consult the NFPA 70 National Electrical Code for your local jurisdiction's specific amendments.
Phase 1: Panel Preparation and Breaker Installation
- Lockout/Tagout (LOTO): Shut off the main breaker. Verify zero voltage at the bus bars using a CAT III or CAT IV non-contact voltage tester and a digital multimeter. Follow OSHA electrical safety guidelines for LOTO procedures.
- Seat the Breaker: Snap the 30A double-pole breaker (e.g., Square D HOM230) onto both bus bar stabs. Ensure it is fully seated and aligned.
- Terminate Panel Wires: Strip 3/4 inch of insulation from the black and white (re-identified with black tape) conductors. Insert them into the breaker terminals. Critical: Use a calibrated torque screwdriver set to the manufacturer's specification (typically 35-40 in-lbs for 30A breakers) per NEC 110.14(D).
- Land the Ground: Terminate the bare copper Equipment Grounding Conductor (EGC) to the panel's ground bus bar. Torque to spec.
Phase 2: The Double Switch (DPST) Termination
The DPST switch acts as the local disconnecting means, required by NEC Article 422 for appliances not within sight of the breaker panel.
- Identify Line vs. Load: On a Leviton 3032, the brass screws marked 'LINE' accept the incoming power from the panel. The brass screws marked 'LOAD' feed the appliance.
- Strip and Loop: Strip 3/4 inch of insulation from the incoming 10/2 cable. Form a tight J-hook on the black and re-identified white wires.
- Secure Line Conductors: Hook the incoming black wire to the top-left LINE screw (clockwise) and the incoming white (re-identified) wire to the bottom-left LINE screw. Torque to 35 in-lbs.
- Secure Load Conductors: Connect the outgoing black and white (re-identified) wires feeding the water heater to the right-side LOAD screws. Torque to 35 in-lbs.
- Grounding the Switch: Connect the incoming bare ground and the outgoing bare ground to the green grounding screw on the switch yoke, and pigtail them together if the metal box requires bonding.
Phase 3: Appliance Connection and Testing
Terminate the load side conductors at the water heater's junction block. Ensure the appliance's internal thermostat wiring is correctly mapped. Restore main power, turn on the double-pole breaker, and flip the DPST switch to the 'ON' position. Use a multimeter to verify 240V across the load terminals.
Expert Warning: The Neutral Bonding Trap
A common, fatal mistake DIYers make when wiring a 240V double switch is attempting to use the white wire as a neutral and bonding it to the ground bus. Pure 240V resistive loads (like standard water heaters) do not use a neutral. The white wire in a 10/2 cable is simply a second ungrounded (hot) conductor and must be re-identified with black or red phase tape at both the panel and the switch. Miswiring this will trip GFCI/AFCI breakers instantly or energize the grounding system, creating a severe shock hazard.
NEC 2026 Compliance and Torque Verification
Inspectors in 2026 are strictly enforcing NEC Article 110.14(D), which mandates the use of calibrated torque tools for all terminal connections. Hand-tightening a 30A double switch terminal with a standard screwdriver often results in under-torqued connections. Over time, thermal cycling causes the copper to expand and contract, loosening the connection. This increases electrical resistance, leading to voltage drop, arcing, and ultimately, a melted switch yoke or electrical fire.
Furthermore, NEC Article 404.2(B) dictates that switches must disconnect all ungrounded conductors simultaneously. This is why a DPST switch is legally required for 240V loads; a single-pole switch placed on only one hot leg leaves the appliance energized at 120V to ground, violating the disconnecting means requirement and posing a lethal hazard to maintenance personnel.
Troubleshooting Common Failure Modes
If your 240V appliance fails to operate after wiring the double switch, systematically diagnose the circuit using these professional troubleshooting steps:
1. Thermal Imaging Hotspots
Use a FLIR thermal camera to scan the switch and breaker under load. A temperature delta of more than 15°F (8°C) between the Line and Load terminals on the same pole indicates a high-resistance connection. Immediately shut down the circuit and re-torque the terminals to the manufacturer's specifications.
2. Voltage Drop Under Load
Measure the voltage at the panel breaker (should be ~240V-245V). Then, measure the voltage at the LOAD side of the double switch while the appliance is actively drawing current. If the voltage drops below 230V, your wire run may be too long for 10 AWG copper. According to the Department of Energy's water heater efficiency guidelines, low voltage causes heating elements to draw higher amperage to meet wattage demands, accelerating element burnout. Upgrade to 8 AWG copper for runs exceeding 75 feet.
3. Switch Mechanical Failure
DPST switches utilize heavy-duty internal contacts. If the switch feels 'mushy' or fails to snap firmly into the ON/OFF position, the internal arc chute may be compromised from a previous short-circuit event. Never attempt to repair a mechanical switch; replace the unit immediately with a new UL-listed component.
Frequently Asked Questions
Can I use a 30A double switch on a 20A breaker?
Yes. NEC rules allow using a switch with a higher amperage rating than the circuit breaker (e.g., a 30A switch on a 20A breaker). The breaker will still trip at 20A, protecting the 12 AWG wire. However, you cannot use a 20A switch on a 30A breaker, as the switch contacts could melt before the breaker trips.
Does a 240V double switch require a neutral wire?
No, unless you are wiring a 120/240V appliance (like a dryer or range) that requires 120V for control boards. In those cases, you must use a 3-pole or 4-pole disconnect, not a standard DPST double switch. Standard water heaters, baseboard heaters, and well pumps are pure 240V loads and do not use a neutral.
What size metal box do I need for a 30A DPST switch?
A standard single-gang metal device box is typically insufficient for the stiff 10 AWG wires and the physical depth of a 30A DPST switch. Use a deep single-gang masonry box or a standard 4x4 square metal box with a single-gang plaster ring to ensure adequate cubic inch capacity for wire bending radius per NEC Table 312.6(A).