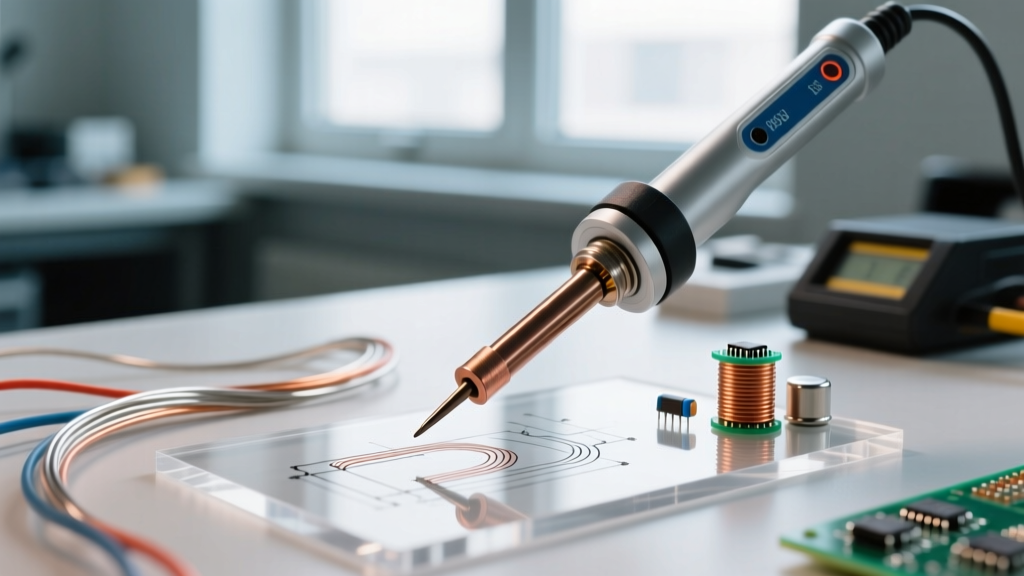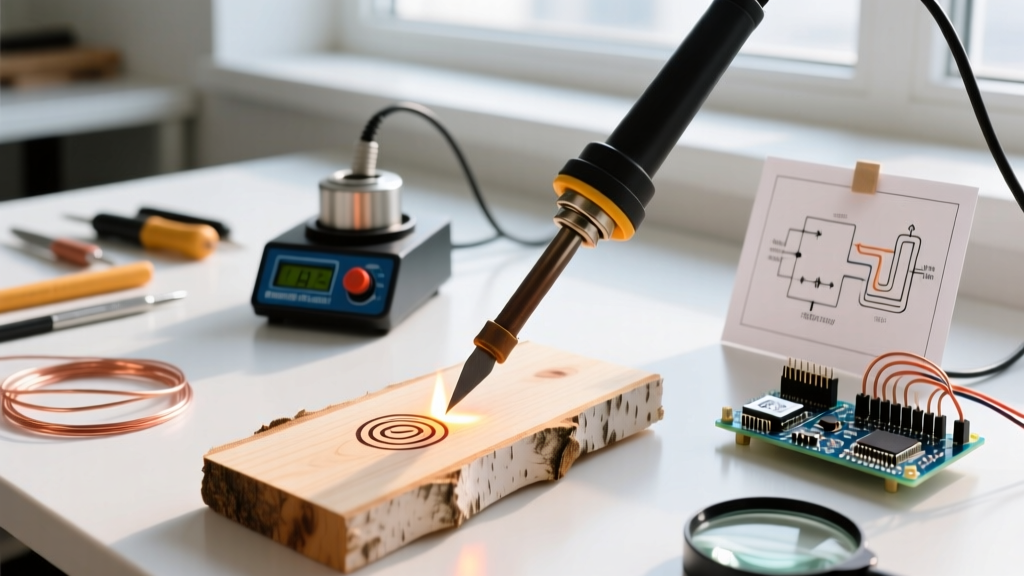

The Short Answer: Yes, But With Critical Caveats
If you are asking, "can you use a soldering iron for pyrography?" the short answer is yes, but only if you are using a temperature-controlled soldering station. A standard $15 plug-in hardware store iron will scorch the wood, create toxic smoke, and ruin your artwork. Pyrography (woodburning) requires precise thermal management because wood is an organic insulator, whereas electronic soldering targets highly conductive metals. When a hot tip touches basswood or maple, the wood acts as a massive heat sink, rapidly draining thermal energy from the nib.
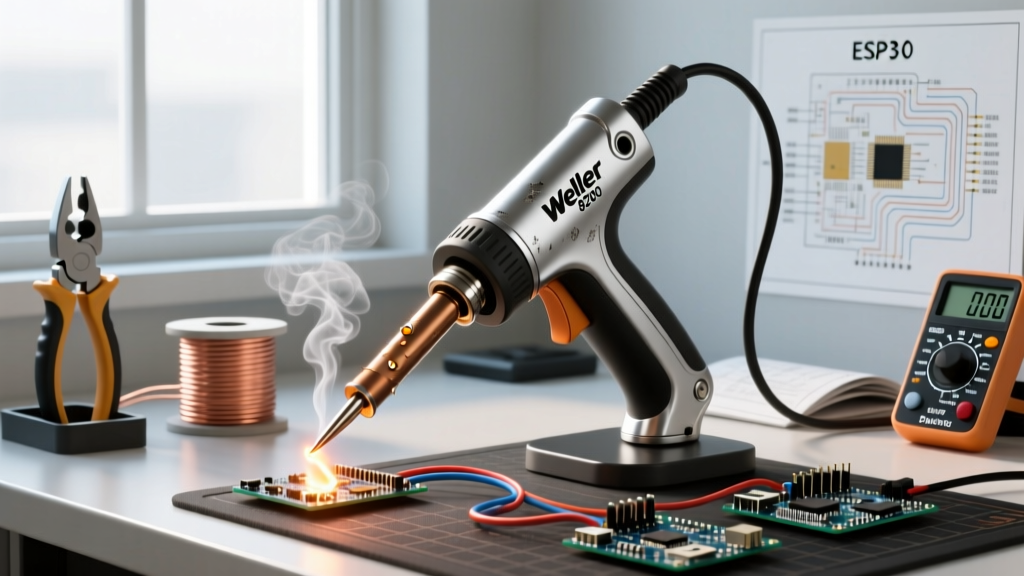
This guide provides a professional setup and calibration tutorial for converting high-quality soldering stations—like the Hakko FX-888D or Weller WES51—into precision pyrography tools. We will cover tip geometry, thermal recovery physics, and exact temperature matrices for various wood species.
Why Standard Soldering Irons Fail at Woodburning
To understand calibration, you must understand the physics of the burn. Wood ignites at roughly 300°C (572°F), but achieving a smooth, dark burn requires surface temperatures between 350°C and 450°C depending on the wood's density.
- Wattage vs. Thermal Recovery: A 40W iron might reach 400°C in the air, but the moment it touches wood, the tip temperature plummets. The heating element cannot recover fast enough, resulting in the user pressing harder to compensate. This crushes the wood fibers and creates a muddy, uneven burn.
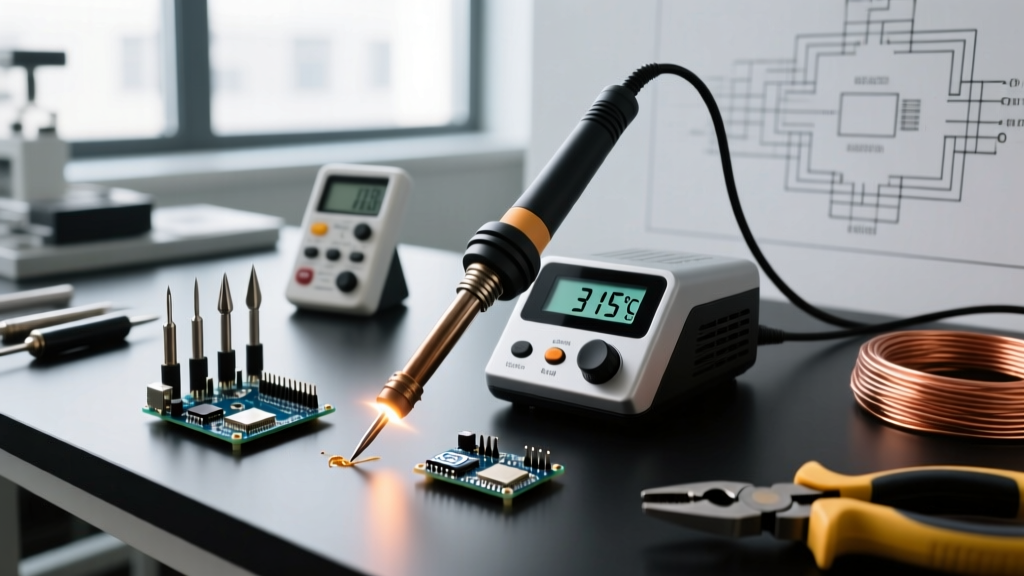
- The PID Controller Advantage: Modern digital stations use Proportional-Integral-Derivative (PID) controllers and high-wattage heaters (65W to 75W) to detect micro-drops in tip temperature and pulse power instantly. This maintains a stable burn depth without requiring heavy hand pressure.
Step-by-Step Setup: Converting Your Station
Step 1: Deep Cleaning and The Flux Hazard
CRITICAL SAFETY WARNING: Never use a soldering tip that has been previously used with electronic solder or rosin flux for pyrography. Heating rosin flux and metallic alloys to 400°C vaporizes them, releasing toxic, potentially carcinogenic fumes. According to the NIOSH guidelines on woodworking and particulate hazards, combining wood dust with chemical vaporizers creates a severe respiratory risk. You must dedicate a brand-new, unplated or iron-plated tip exclusively for woodburning.
Step 2: Tip Selection and Custom Modification
Soldering tips are designed to transfer heat into tight PCB vias, not to shade organic grain. Standard conical tips (like the Hakko B-series) are too pointy; they will gouge the wood and create deep, narrow holes rather than smooth lines.
- For Line Work: Use a narrow chisel tip (D-series) or a bevel tip (C-series). The flat surface area provides better thermal transfer and prevents gouging.
- For Shading: You can modify a standard chisel tip. Secure a piece of 400-grit wet/dry sandpaper on a flat glass plate. Gently rub the tip in a figure-eight motion to round off the sharp 90-degree edges. This creates a smooth, domed shading nib that won't catch on the wood grain.
Temperature Calibration Matrix for Common Woods
Wood density dictates thermal conductivity. Softwoods burn quickly and require lower temperatures to prevent the "halo effect" (where wood resins boil and spread outward, creating a blurry, dark stain around your lines). Hardwoods require higher temperatures and slower dwell times. The following matrix is calibrated for a 65W digital station with a standard chisel tip.
| Wood Species | Station Temp (°C) | Station Temp (°F) | Dwell Time | Burn Characteristics |
|---|---|---|---|---|
| Basswood (Soft) | 320°C - 340°C | 608°F - 644°F | Fast | High contrast, prone to halos if overheated. |
| Birch (Medium) | 360°C - 380°C | 680°F - 716°F | Medium | Excellent for detail, requires steady hand speed. |
| Hard Maple (Hard) | 420°C - 450°C | 788°F - 842°F | Slow | Requires high thermal recovery; yields deep, rich blacks. |
| Cherry (Medium-Hard) | 380°C - 400°C | 716°F - 752°F | Medium | Contains natural oils; burns very dark, very quickly. |
Calibrating Specific Soldering Stations
Hakko FX-888D (65W Digital)
The FX-888D (retailing around $110-$125 in 2026) is a favorite for dual-purpose hobbyists. Because it uses a digital interface, you can lock in exact temperatures. Set the station to 370°C for Birch. Allow the iron 45 seconds to reach thermal equilibrium before your first stroke. The FX-888D's T18 tips have excellent thermal mass, but you must use a light touch; let the weight of the handle do the work.
Weller WES51 (50W Analog)
The WES51 is an analog workhorse. The dial does not correspond to exact degrees, but rather to a relative scale. For medium-density woods, set the dial to roughly 7.5. The WES51 uses a heavy analog transformer which provides a slightly different thermal recovery curve than digital PID stations. You will need to move your hand approximately 15% slower on the WES51 compared to a 65W digital station to achieve the same burn depth on Hard Maple.
Expert Insight: The USDA Forest Products Laboratory Wood Handbook notes that wood's specific heat capacity increases with temperature. As your artwork progresses and the board warms up, you may find you need to drop your station temperature by 10°C to 15°C to maintain consistent line darkness across a large piece.
Troubleshooting Common Burn Failures
Even with a calibrated station, edge cases occur. Use this diagnostic guide to correct your technique:
- Issue: The tip is sticking or dragging on the wood.
Cause: Carbonized wood resin has built up on the tip, acting as an insulator, or your temperature is too low, causing the wood's natural sap to melt and adhere to the metal.
Fix: Wipe the tip on a dry brass wool sponge (never use a wet sponge, as thermal shock will crack the tip's iron plating). Increase the station temperature by 15°C. - Issue: Dark, blurry "halos" around crisp lines.
Cause: Temperature is too high. You are boiling the moisture and resins inside the wood, causing them to wick outward via capillary action before charring.
Fix: Drop the temperature by 20°C and increase your hand speed. - Issue: Lines are shallow, gray, and require heavy pressure.
Cause: Thermal recovery failure. The wood is absorbing heat faster than the 40W-50W element can replace it.
Fix: Stop pressing harder (this crushes the grain). Switch to a station with at least 65W of power, or switch to a tip with a larger thermal mass (like a wide bevel tip).
Safety Protocols: Fumes and Particulates
Pyrography with a soldering iron generates fine particulate matter and volatile organic compounds (VOCs). Always operate in a well-ventilated room. Position a desktop fume extractor, such as the Hakko FA-400, roughly 6 inches from your workpiece to pull smoke away from your breathing zone. Wear an N95 or P100 respirator if you are doing large-scale shading on resinous woods like pine or cherry, which emit heavy, acrid smoke when heated past 400°C.
Final Verdict
Can you use a soldering iron for pyrography? Absolutely, provided you treat the soldering station as a precision thermal tool rather than a branding iron. By dedicating a clean, modified chisel tip, calibrating your digital PID controller to the specific density of your wood, and respecting the thermal recovery limits of your equipment, you can achieve professional-grade woodburning results without investing in a $300 dedicated pyrography pen.