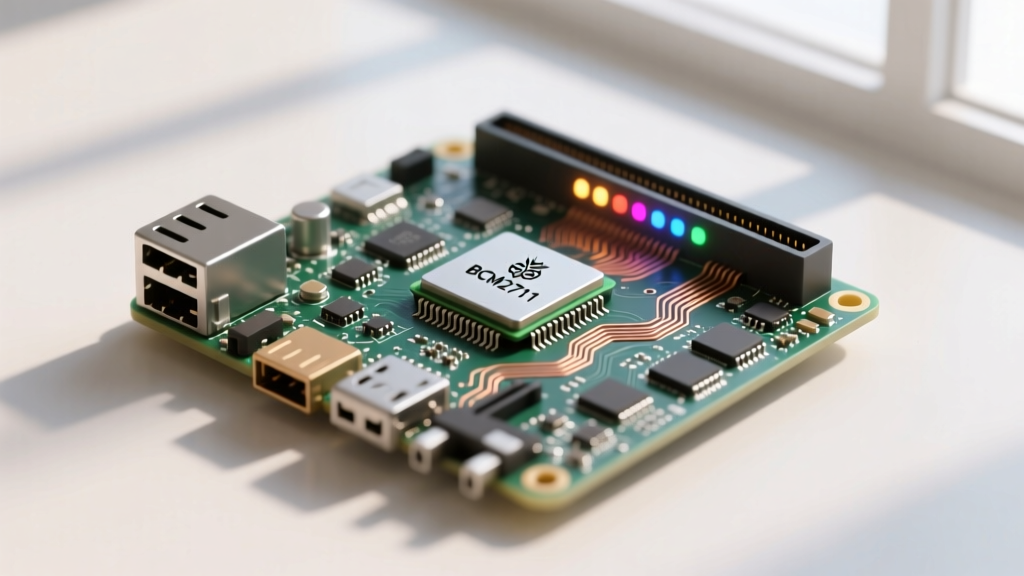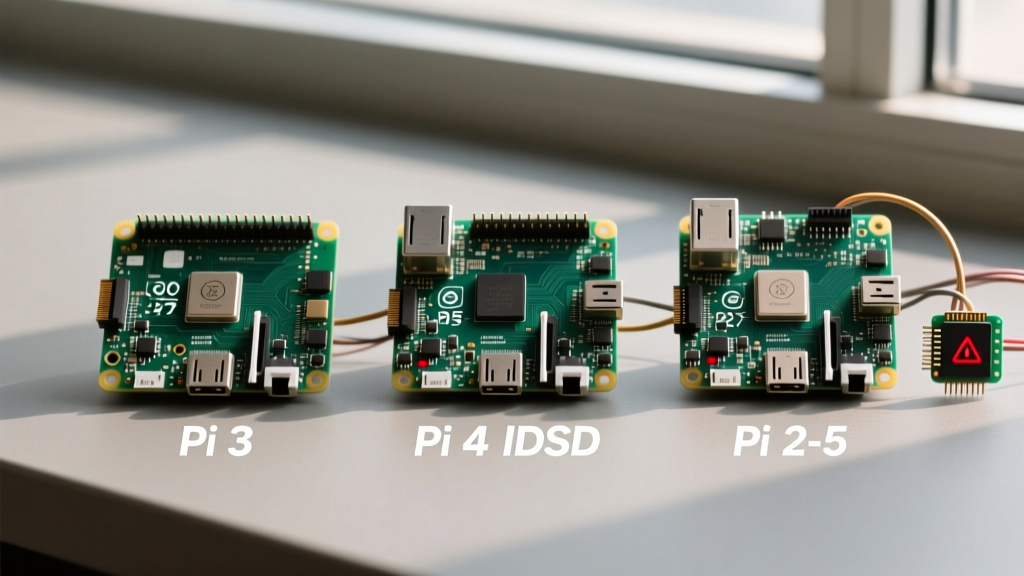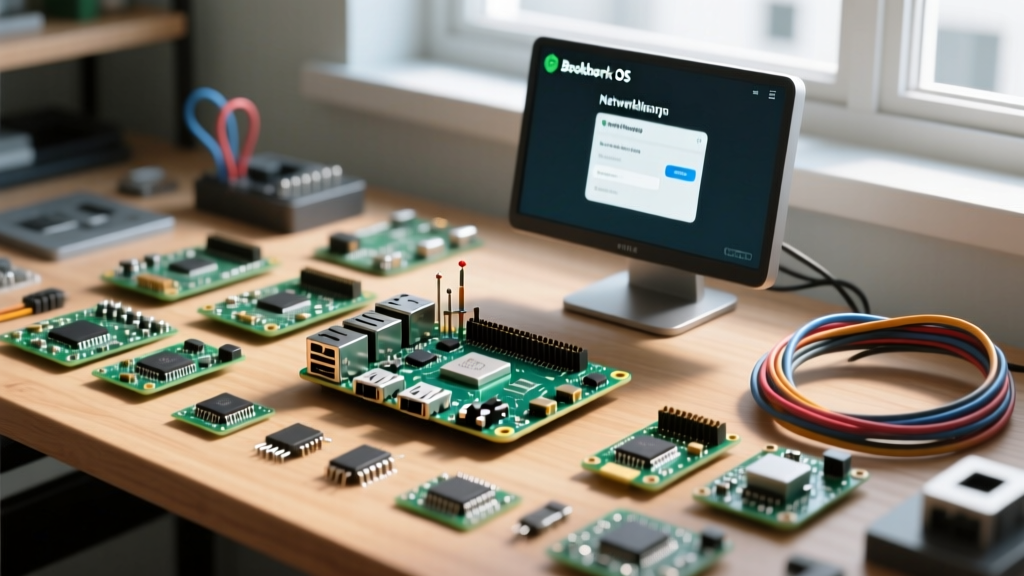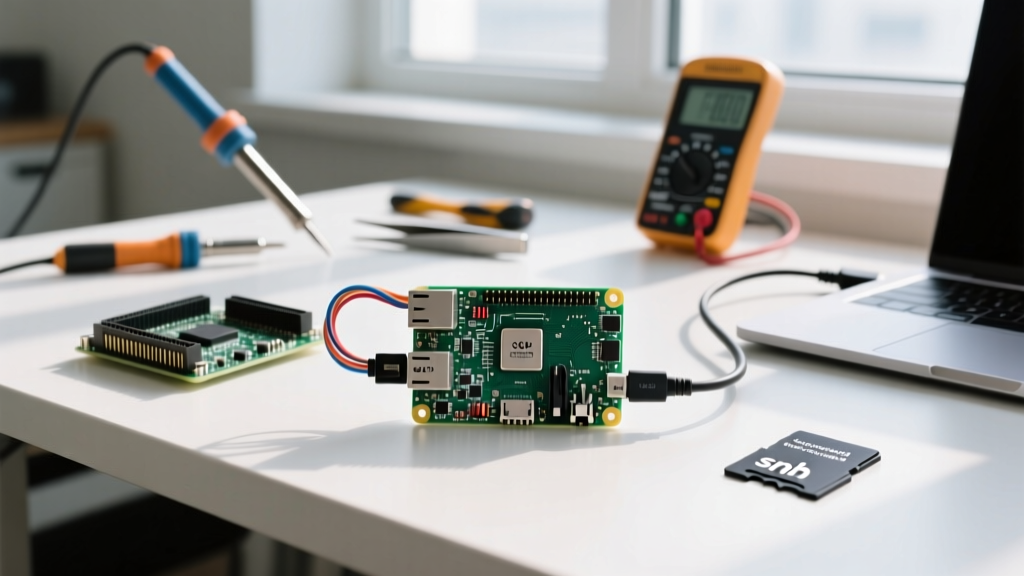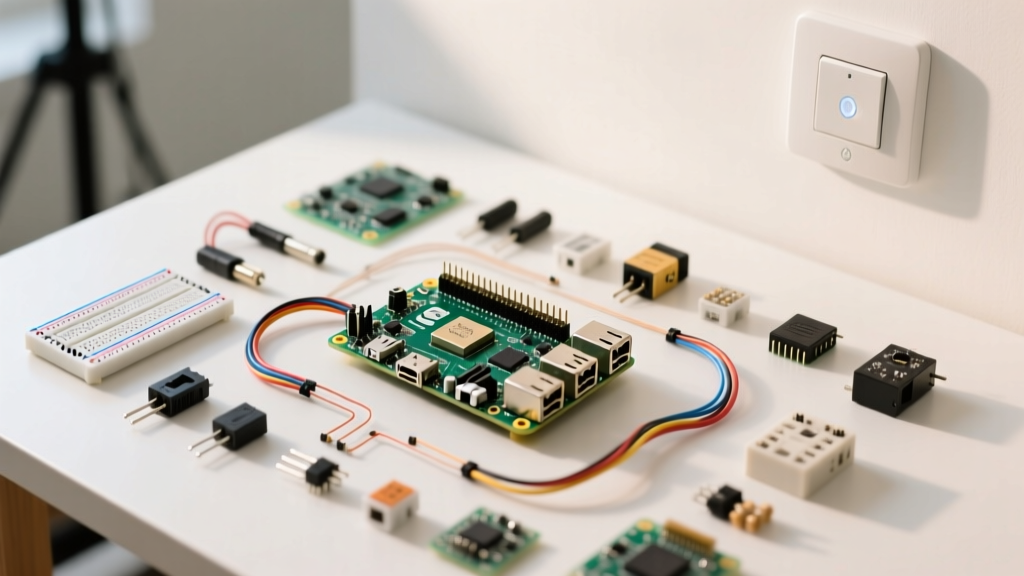

The maker community has fundamentally transformed the Raspberry Pi from a humble educational computer into the resilient backbone of modern, local-first smart homes. As cloud-dependent hubs continue to suffer from server outages and planned obsolescence, DIY enthusiasts are migrating to Single Board Computers (SBCs) for total data sovereignty. However, building a reliable smart home node requires more than just flashing an OS to a MicroSD card. It demands an understanding of thermal envelopes, USB bus interference, and storage endurance.
In this community showcase, we break down four highly optimized projects with a Raspberry Pi that dominate home automation forums. We will cover exact hardware Bill of Materials (BOMs), critical wiring caveats, and the specific failure modes that separate a weekend toy from a 24/7 production appliance.
Project Blueprint 1: The Resilient Home Assistant Server
Home Assistant has become the undisputed king of local smart home control. However, running a write-heavy database (SQLite or MariaDB) on a MicroSD card is a ticking time bomb. The Pi’s SD interface suffers from write amplification, leading to inevitable file system corruption. The community standard for a robust setup is the Raspberry Pi 4B (4GB or 8GB) paired with an NVMe or SATA SSD boot drive.
The Hardware Stack
- SBC: Raspberry Pi 4B (4GB minimum)
- Enclosure: Argon ONE M.2 NVMe Case (features an integrated PCIe-to-USB 3.0 bridge)
- Storage: 256GB M.2 NVMe SSD (Avoid DRAM-less drives for heavy database logging)
To enable USB boot, you must update the bootloader EEPROM. Connect via SSH and run sudo rpi-eeprom-config -e, then set BOOT_ORDER=0xf41. This tells the Pi to search USB mass storage before the SD slot. For deeper configuration, refer to the Raspberry Pi Configuration Docs.
Critical Failure Mode: USB Bridge Chipsets
Not all USB-to-SATA adapters are created equal. Using adapters with older JMicron chipsets often causes kernel panics and UAS (USB Attached SCSI) errors during heavy database writes. Always ensure your adapter uses the ASM1153E chipset, or better yet, use a direct NVMe HAT that connects via the Pi's PCIe lane (on the Pi 5) or a verified USB 3.0 bridge.
Project Blueprint 2: The Interference-Free Zigbee Gateway
Zigbee and the newer Matter-over-Thread protocols require a dedicated radio coordinator to build a local mesh network. The community favorite is the Sonoff Zigbee 3.0 USB Dongle Plus (CC2652P). However, a notorious hardware quirk plagues this setup when paired with the Pi 4.
The 2.4GHz EMI Problem
The Raspberry Pi 4’s USB 3.0 ports emit broad-spectrum electromagnetic interference (EMI) that completely jams the 2.4GHz Zigbee spectrum. If you plug the coordinator directly into the Pi, your mesh network will experience massive packet loss and device drop-offs.
Community Rule #1: Never plug a 2.4GHz USB radio directly into a Raspberry Pi 4 or 5. You must use a shielded 1-meter USB extension cable to move the dongle away from the SBC's USB controller and HDMI ports.
Once physically isolated, flash the dongle with the latest coordinator firmware using the Python cc2538-bsl tool, then deploy Zigbee2MQTT via Docker. You can verify supported adapters and firmware versions on the Zigbee2MQTT Adapters Guide.
Project Blueprint 3: Low-Power Network Sinkhole (Pi-Hole)
Network-wide ad blocking and DNS sinkholing via Pi-hole is a rite of passage. While a Pi 4 is overkill for DNS queries, the Raspberry Pi Zero 2 W is the perfect low-power candidate. Drawing less than 1.2W at idle, it can run 24/7 on a PoE (Power over Ethernet) HAT, eliminating the need for a dedicated USB power supply and reducing cable clutter in your server rack.
Throttling and Memory Leaks
The Zero 2 W lacks a dedicated heatsink out of the box. Running Unbound (recursive DNS) alongside Pi-hole causes CPU spikes that trigger thermal throttling at 60°C. Furthermore, the default lighttpd web server can suffer from memory leaks over months of uptime, crashing the 512MB RAM limit. The community fix is to apply a 15x15x5mm copper heatsink with thermal tape and switch the web interface to Nginx or run Pi-hole in a headless Docker container.
Project Blueprint 4: Local Voice Control Satellite
Cloud-based voice assistants are a privacy nightmare. The community has rallied around the Wyoming protocol to build local voice satellites. Using a Raspberry Pi 3B+ and a ReSpeaker 2-Mic HAT, you can create a far-field voice capture node that sends audio to a central server running OpenAI’s Whisper model for offline transcription.
I2S Bus Wiring and Configuration
The ReSpeaker HAT uses the I2S interface for high-quality audio capture, bypassing the noisy internal USB audio controllers. You must ensure the I2S pins are correctly mapped:
- PCM_DOUT: GPIO 21
- PCM_DIN: GPIO 20
- BCLK: GPIO 18
- LRCLK: GPIO 19
Add dtparam=i2s=on and dtoverlay=i2s-mmap to your /boot/config.txt file to enable the hardware audio pipeline. For official integration steps, check the Home Assistant Installation Docs.
Hardware BOM & Power Budget Matrix
When deploying multiple SBCs, power budgeting becomes critical. Below is the community-tested power draw and cost matrix for these projects.
| Project Node | Core SBC | Critical Accessory | Idle Power Draw | Est. Cost (USD) |
|---|---|---|---|---|
| Home Assistant | Pi 4B (4GB) | Argon ONE M.2 + 256GB NVMe | 3.8W | $115 |
| Zigbee Gateway | Pi 4B (2GB) | Sonoff CC2652P + 1m Shielded Cable | 2.9W | $75 |
| Pi-Hole DNS | Pi Zero 2 W | PoE HAT + Copper Heatsink | 1.1W | $45 |
| Voice Satellite | Pi 3B+ | ReSpeaker 2-Mic HAT | 2.4W | $60 |
Community Troubleshooting: The Silent Killers
Even with perfect hardware, environmental factors can bring down a Pi-based smart home. Here are the diagnostic commands every DIYer must memorize.
1. Undervoltage Detection
Undervoltage is the silent killer of Pi projects, causing random SD card corruption and USB peripheral disconnects. Do not rely on the red LED. Run the following command in your terminal:
vcgencmd get_throttled
If the output returns throttled=0x50000, it means undervoltage is currently happening. If it returns 0x50005, undervoltage has occurred since the last reboot. The fix is almost always upgrading to a high-quality 5.1V 3.5A USB-C power supply and using a 12AWG wire for custom DC barrel jack integrations.
2. SD Card Endurance Ratings
If you must use an SD card for boot (such as in a Pi Zero), never buy standard Class 10 cards. You need cards rated for high write endurance. Look for the A2 (Application Performance Class 2) badge and the V30 video speed class, or invest in specialized 'High Endurance' cards designed for dashcams and security cameras, which utilize superior NAND flash to survive millions of write cycles.