
Introduction: Untethering Your Single-Board Computer
When you first unbox a Raspberry Pi, the temptation is to plug it directly into your router via an Ethernet cable. While reliable, Ethernet tethers your projects to a single physical location. Learning how to set up WiFi on Raspberry Pi hardware is a fundamental rite of passage for any maker, home automation enthusiast, or robotics engineer. Whether you are deploying a Home Assistant server in your hallway or building a remote weather station, wireless connectivity is essential.
However, the landscape of Raspberry Pi networking has changed dramatically with the release of Raspberry Pi OS Bookworm. The legacy methods you might find in outdated 2021 tutorials no longer apply to modern systems. This comprehensive beginner guide will walk you through the hardware realities, the modern NetworkManager approach, headless deployment via the Raspberry Pi Imager, and legacy fallbacks.
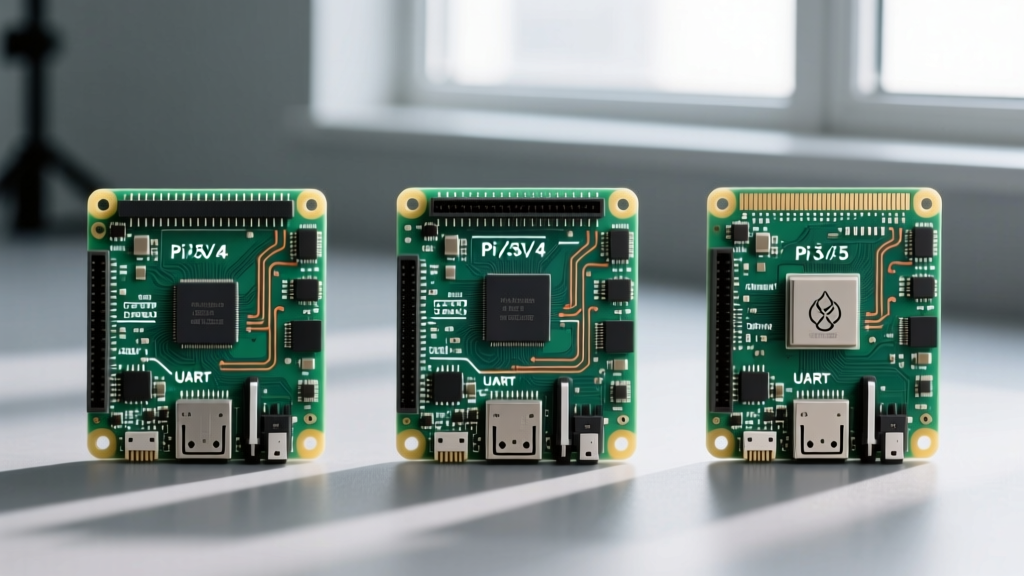
Hardware Check: Which Raspberry Pi WiFi Chip Do You Have?
Before configuring software, it is critical to understand the physical limitations of your board. Not all Raspberry Pi models support 5GHz networks, and attempting to force a 5GHz connection on a 2.4GHz-only chip will result in silent failures.
| Raspberry Pi Model | WiFi Chipset | Frequency Bands | Max Theoretical Speed |
|---|---|---|---|
| Pi 3B / 3A+ | Broadcom BCM43143 / BCM43455 | 2.4GHz (3B) / Dual-Band (3B+) | 150 Mbps / 433 Mbps |
| Pi Zero W / Zero 2 W | Broadcom BCM43143 / BCM43435 | 2.4GHz Only | 150 Mbps |
| Pi 4 Model B | Cypress CYW43455 | Dual-Band (2.4GHz & 5GHz) | 433 Mbps (802.11ac) |
| Pi 5 | Infineon CYW43455 (via RP1) | Dual-Band (2.4GHz & 5GHz) | 433 Mbps (802.11ac) |
Expert Insight: The Raspberry Pi 5 routes its WiFi and Bluetooth through the new RP1 southbridge chip via PCIe, rather than directly through the main BCM2712 SoC. This architectural shift improves thermal management but requires updated firmware blobs to function correctly.
The Modern Standard: Headless Setup via Raspberry Pi Imager
If you are flashing a new microSD card, the absolute easiest and most reliable way to configure wireless networking is before the Pi even boots. The official Raspberry Pi Imager features a built-in customization engine that injects your WiFi credentials securely into the OS during the flashing process.
- Open Raspberry Pi Imager and select your target device (e.g., Raspberry Pi 4) and OS (Raspberry Pi OS 64-bit).
- Select your microSD card as the storage medium.
- Click NEXT. A prompt will appear asking if you want to apply OS customization settings. Click EDIT SETTINGS.
- Navigate to the Wireless LAN section.
- Enter your exact SSID and Password.
- CRITICAL STEP: Set the correct Wireless LAN Country code. WiFi regulations vary by region; selecting the wrong country code can legally and technically block your Pi from seeing 5GHz channels or connecting to specific router frequencies.
- Save and click YES to apply the customizations during the flash.
Upon first boot, the Pi will automatically connect to your network, and if you enabled SSH in the Services tab, you can immediately log in via your network IP address.
Navigating the Bookworm Shift: NetworkManager vs. wpa_supplicant
If you are reading older forum posts, you will see endless references to editing a file called wpa_supplicant.conf. Stop. With the release of Raspberry Pi OS Bookworm (based on Debian 12), the Raspberry Pi Foundation officially deprecated wpa_supplicant and dhcpcd in favor of NetworkManager.
If you attempt to create a wpa_supplicant.conf file in the /boot partition on a modern Bookworm installation, the system will simply ignore it. You must now use NetworkManager's command-line interface (nmcli) or its text-based UI (nmtui) to manage connections.
Command Line WiFi Setup Using nmcli (Bookworm and Newer)
If your Pi is already running and connected via Ethernet, or if you are using a serial console, you can set up WiFi using nmcli. This is the standard for all modern Linux distributions.
Scanning for Available Networks
First, ensure your wireless interface (usually wlan0) is powered on:
sudo nmcli radio wifi on
sudo nmcli device wifi list
This will output a table of nearby SSIDs, their signal strength (BARS), channels, and security protocols (WPA2/WPA3).
Connecting to a Standard Network
To connect to a visible WPA2 network, use the following syntax:
sudo nmcli device wifi connect "YourNetworkSSID" password "YourSecurePassword"If successful, NetworkManager will return a message confirming the connection was activated. The Pi will automatically remember this network and reconnect on subsequent reboots.
Connecting to Hidden Networks
Hidden SSIDs do not broadcast their presence, requiring the Pi to send out probe requests. To connect to a hidden network via nmcli, append the hidden yes flag:
sudo nmcli device wifi connect "HiddenSSID" password "YourPassword" hidden yesDesktop GUI Setup (For Monitor Users)
If you are running the full desktop environment of Raspberry Pi OS with a monitor and mouse attached, the process mirrors standard desktop operating systems. Look at the top-right corner of the taskbar. You will see a network icon (which may look like two arrows or a disconnected plug if Ethernet is absent).
- Click the network icon.
- A dropdown menu will appear, listing all detected WiFi networks.
- Select your target SSID.
- A dialog box will prompt you for the pre-shared key (password).
- Enter the password and click OK.
The icon will change to a standard WiFi symbol with signal bars once the DHCP handshake is complete and an IP address is assigned.
Legacy Setup: wpa_supplicant.conf (Bullseye and Older)
If you are maintaining an older fleet of Raspberry Pis running Raspberry Pi OS Bullseye (Debian 11) or Buster (Debian 10), you must use the legacy wpa_supplicant method. This is also required if you are building custom embedded Linux images using Yocto or Buildroot.
Create or edit the configuration file located at /etc/wpa_supplicant/wpa_supplicant.conf:
ctrl_interface=DIR=/var/run/wpa_supplicant GROUP=netdev
update_config=1
country=US

network={
    ssid="YourLegacyNetwork"
    psk="YourPassword"
    key_mgmt=WPA-PSK
}
After saving the file, you must restart the networking service or reboot the Pi. You can also force a reconfiguration without rebooting by running:
sudo wpa_cli -i wlan0 reconfigureReal-World Troubleshooting: Why Your Pi Won't Connect
Even with the correct commands, wireless setups on single-board computers can fail due to hardware quirks and environmental factors. Here is a decision framework for diagnosing connection drops.
1. Power Supply Brownouts (The Silent Killer)
The WiFi chip is highly sensitive to voltage fluctuations. If you are using a third-party USB-C phone charger instead of the official Raspberry Pi power supply, the voltage may sag below 4.8V when the WiFi chip ramps up to transmit data. The Pi's firmware will throttle the CPU and drop the WiFi connection to prevent a hard crash. Solution: Always use the official 15W (Pi 4) or 27W PD (Pi 5) power supply.
2. MAC Address Randomization Breaking Router Filters
Modern NetworkManager configurations enable WiFi MAC address randomization by default to protect user privacy. If your home router uses MAC filtering for security, or if you are trying to assign a static IP via DHCP reservation on your router, the Pi's randomized MAC will cause it to be blocked or assigned a random IP. Solution: Disable randomization by creating a new config file:
sudo nano /etc/NetworkManager/conf.d/100-disable-wifi-mac-randomization.confAdd the following lines:
[connection]
wifi.mac-address-randomization=0

[device]
wifi.scan-rand-mac-address=no
Restart NetworkManager with sudo systemctl restart NetworkManager.
3. Setting a Static IP via nmcli
For servers like Pi-hole or Home Assistant, relying on DHCP is risky. Instead of editing /etc/dhcpcd.conf (which is deprecated in Bookworm), assign a static IP directly through NetworkManager:
sudo nmcli connection modify "YourNetworkSSID" ipv4.addresses 192.168.1.50/24
sudo nmcli connection modify "YourNetworkSSID" ipv4.gateway 192.168.1.1
sudo nmcli connection modify "YourNetworkSSID" ipv4.dns "8.8.8.8,1.1.1.1"
sudo nmcli connection modify "YourNetworkSSID" ipv4.method manual
sudo nmcli connection up "YourNetworkSSID"
Conclusion
Mastering how to set up WiFi on Raspberry Pi hardware requires understanding the transition from legacy wpa_supplicant systems to modern NetworkManager environments. By leveraging the Raspberry Pi Imager for headless deployments and utilizing nmcli for live command-line configurations, you ensure your projects remain robust, secure, and compatible with the latest Raspberry Pi OS releases. Always verify your power delivery and regional country codes to eliminate the most common physical barriers to wireless connectivity.
For further reading on advanced networking configurations, consult the official Raspberry Pi Configuration Documentation and the NetworkManager Project Guidelines.