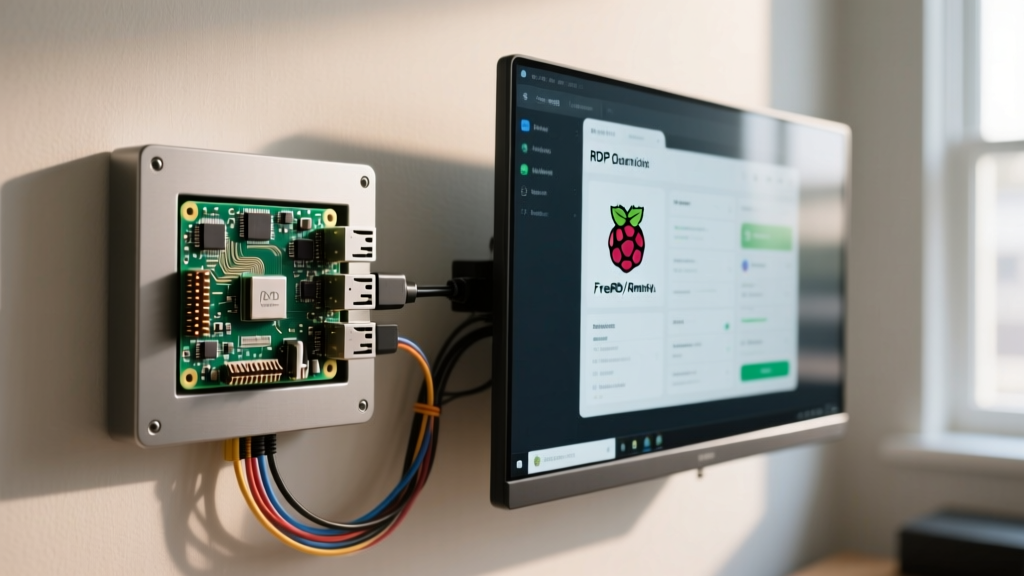

The Thin-Client Architecture for Smart Home Dashboards
When designing a whole-home automation interface, running a full local instance of Home Assistant or HomeSeer on every wall-mounted display is inefficient and difficult to maintain. Instead, smart home integrators are increasingly adopting a thin-client topology. By deploying a Raspberry Pi as a dedicated terminal, you can use an RDP client for Raspberry Pi to stream a centralized, high-performance domotics dashboard to any room in the house. This approach centralizes your compute, meaning your heavy database operations, Zigbee2MQTT brokers, and Node-RED flows run on a beefy NUC or NAS, while the Pi merely renders the graphical output.
However, selecting the right Remote Desktop Protocol (RDP) software for Single Board Computers (SBCs) is fraught with pitfalls. ARM-based Linux distributions handle graphical decoding differently than x86 machines, and a poorly configured client will result in screen tearing, input lag, and kiosk-mode crashes. In this guide, we evaluate the top RDP solutions for Raspberry Pi hardware and provide a definitive framework for deploying a bulletproof smart home kiosk.
Hardware Baseline: Pi 4 vs. Pi 5 for RDP Rendering
RDP is inherently CPU-intensive when software decoding is required. The protocol compresses graphical data on the host and decompresses it on the client. Before selecting your software, you must understand the hardware constraints of your SBC.
| SBC Model | Processor Architecture | RDP Decoding Viability | Recommended Use Case |
|---|---|---|---|
| Raspberry Pi 3B+ | Cortex-A53 (ARMv8) | Poor. Struggles with 1080p RemoteFX. | Low-res (720p) basic switch panels. |
| Raspberry Pi 4B (4GB) | Cortex-A72 (ARMv8) | Good. Handles 1080p with optimized flags. | Standard 1080p wall dashboards. |
| Raspberry Pi 5 (8GB) | Cortex-A76 (ARMv8) | Excellent. Hardware-level GFX pipeline support. | 4K dashboards, complex graphs, video feeds. |
| Pi Zero 2 W | Cortex-A53 (ARMv8) | Unusable for modern RDP. | N/A (Use MQTT/HTML kiosks instead). |
For any modern smart home dashboard featuring real-time graphs, security camera feeds, or 3D floor plans, the Raspberry Pi 5 is the undisputed champion. The Cortex-A76 cores provide roughly a 2.5x performance uplift over the Pi 4, drastically reducing the latency of RDP frame decompression. If you are constrained to a Pi 4, you must rely heavily on RemoteFX (RFX) and Graphics Pipeline Extensions (GFX) to offload rendering tasks.
Top RDP Client Software Evaluated for SBCs
The Linux ARM ecosystem offers several RDP clients, but they are not created equal. Here is how the major contenders stack up for always-on kiosk deployments.
1. FreeRDP (xfreerdp): The Command-Line Powerhouse
FreeRDP is the gold standard for Linux-based thin clients. According to the FreeRDP GitHub repository, it is a free implementation of the Remote Desktop Protocol released under the Apache license. For Raspberry Pi kiosks, the command-line tool xfreerdp is unmatched. It supports the latest RDP 10.8 protocols, Network Level Authentication (NLA), and advanced codec offloading. Because it lacks a bulky GUI wrapper, it consumes minimal RAM on boot, leaving more resources for browser-based dashboard rendering on the host machine.
2. Remmina: The Feature-Rich Standard
Remmina is the default RDP client bundled with many desktop Linux distributions. It uses FreeRDP as its backend but wraps it in a GTK-based graphical interface. While excellent for manual troubleshooting or a desktop-bound Pi, Remmina is not recommended for headless, auto-booting wall kiosks. The GTK overhead is unnecessary, and managing saved connection profiles via the GUI is cumbersome when deploying via Ansible or bash scripts across multiple smart home nodes.
3. rdesktop: The Legacy Fallback
rdesktop is an older, open-source client that implements RDP 5. While it is incredibly lightweight and will run on older hardware like the Pi 2, it lacks support for modern encryption, RemoteFX, and high-color-depth rendering. In a modern smart home environment where security and visual fidelity are paramount, rdesktop should be avoided.
Step-by-Step: Configuring FreeRDP in Kiosk Mode
To create a seamless smart home dashboard, the Pi must boot directly into a full-screen RDP session without showing the Raspberry Pi OS desktop. We will use xfreerdp on a Raspberry Pi running Raspberry Pi OS (Legacy X11 version). Note: Wayland introduces XWayland scaling artifacts with FreeRDP, so X11 is currently preferred for dedicated kiosks.
Installing Dependencies
First, ensure your system is updated and install the FreeRDP package from the official repositories:
sudo apt update
sudo apt install freerdp2-x11 x11-xserver-utils
The Optimized Kiosk Command
The following command is engineered specifically for a Pi 4 or Pi 5 connecting to a Windows-based HomeSeer server or a Windows VM running a web-based dashboard in kiosk mode:
xfreerdp /v:192.168.1.100 /u:smarthome_user /p:YourSecurePassword \
/f /gfx /rfx /cert:ignore /sec:nla /bpp:32 \
/dynamic-resolution /audio-mode:1
Flag Breakdown for Smart Home Integrators:
/f: Forces full-screen mode, hiding host OS elements./gfx&/rfx: Enables the H.264/AVC 444 graphics pipeline and RemoteFX, crucial for smooth scrolling on dashboards./cert:ignore: Bypasses SSL certificate warnings if your host uses a self-signed cert, preventing the kiosk from hanging on a hidden dialog box during auto-boot./dynamic-resolution: Allows the host to adapt to the Pi's display, preventing black bars on ultra-wide or non-standard touchscreens.
Auto-Starting on Boot
Instead of relying on fragile .xinitrc scripts, create a dedicated systemd service to ensure the RDP client restarts automatically if the network drops. Create a file at /etc/systemd/system/rdp-kiosk.service:
[Unit]
Description=RDP Kiosk Dashboard
After=network-online.target
Wants=network-online.target

[Service]
Type=simple
User=pi
Environment=DISPLAY=:0
ExecStart=/usr/bin/xfreerdp /v:192.168.1.100 /u:smarthome_user /p:YourSecurePassword /f /gfx /rfx /cert:ignore /sec:nla
Restart=always
RestartSec=10

[Install]
WantedBy=graphical.target
Enable the service via sudo systemctl enable rdp-kiosk.service. As discussed in the Raspberry Pi Forums General Discussion, binding the service to network-online.target prevents the client from failing out on boot before the Wi-Fi or Ethernet interface has fully acquired an IP address.
Troubleshooting Visual Artifacts and Latency
Deploying RDP in a residential environment introduces unique RF (Radio Frequency) and networking challenges. If your dashboard experiences stuttering, tearing, or delayed touch inputs, investigate these specific failure modes:
1. The Wi-Fi MTU Mismatch
RDP packets can be large. If your home Wi-Fi mesh network or VLAN setup enforces a lower Maximum Transmission Unit (MTU) than the standard 1500 bytes, RDP frames will fragment. This fragmentation causes massive latency spikes, making touch interfaces feel unresponsive. Test your MTU using ping -M do -s 1464 192.168.1.100. If packets drop, force your Pi's Ethernet or Wi-Fi interface to match your router's MTU, or enable Jumbo Frames on your local smart-home VLAN.
2. Screen Tearing on Touch Displays
Official Raspberry Pi 7-inch and 10-inch touch displays often suffer from V-Sync misalignment when running full-screen X11 applications. If you notice horizontal tearing when swiping through your Home Assistant or HomeSeer menus, disable hardware compositing in the X11 configuration. Edit /etc/X11/xorg.conf.d/99-fbturbo.conf and ensure the Option "UseBackingStore" is set to true. This forces the X server to buffer frames before pushing them to the DSI display interface.
3. Network Drops and the "Zombie" Kiosk
If the host server reboots (e.g., during Windows Updates or Home Assistant Core upgrades), the FreeRDP session will terminate. While our systemd script handles restarts, the Pi's display might temporarily show a black screen or a frozen last frame. To maintain a premium smart home aesthetic, integrate the Pi's power supply into a smart plug (like a TP-Link Kasa or Zigbee relay). If your central monitoring node detects the RDP dashboard is unresponsive via a simple ICMP ping, it can power-cycle the smart plug, forcing a hard reboot of the Pi.
Security Considerations for Local Network Domotics
Running an RDP client means storing credentials on the physical Raspberry Pi. If a malicious actor removes the Pi from your wall and reads the microSD card, they gain access to your domotics server. To mitigate this:
- Use Dedicated Service Accounts: Never use your primary administrator account. Create a user with permissions restricted strictly to the dashboard application window.
- Network Segmentation: Place your wall-mounted Pis on an IoT-specific VLAN. Use firewall rules to allow RDP traffic (TCP 3389) only to the specific IP address of your dashboard server, blocking access to the rest of your home network.
- Encrypt the Filesystem: For high-security installations, use LUKS encryption on the Raspberry Pi OS volume, requiring a USB key or network-bound decryption (via Clevis/Tang) on boot. This ensures that physical theft of the SBC yields zero actionable data.
By carefully selecting FreeRDP, optimizing the graphics pipeline flags, and wrapping the deployment in a resilient systemd service, you transform a simple Raspberry Pi into an enterprise-grade smart home terminal. This thin-client methodology ensures your dashboards remain snappy, visually stunning, and centrally managed for years to come.