
The Modern Raspberry Pi Coding Landscape
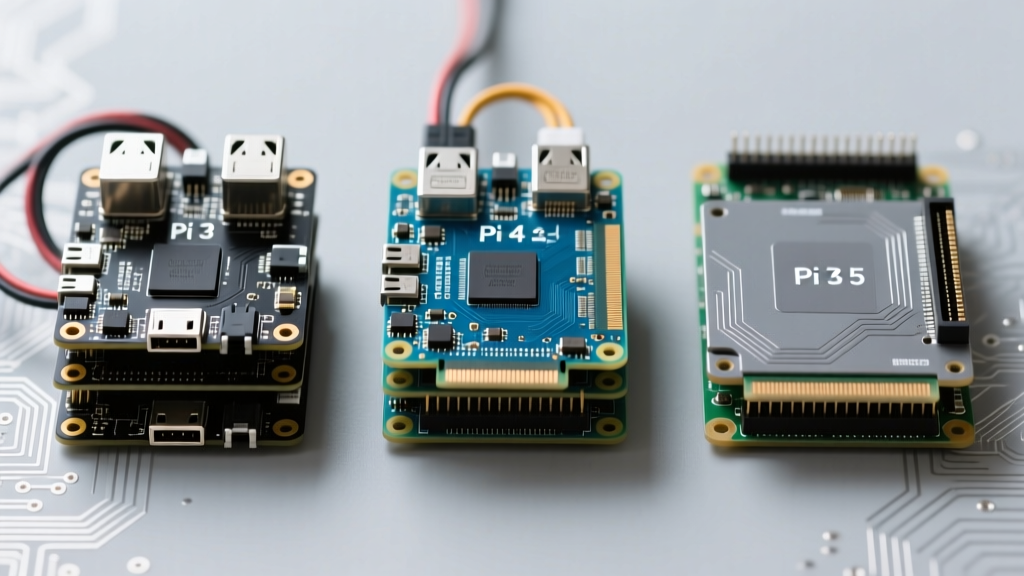
Learning how to code on Raspberry Pi has evolved significantly with the release of the Raspberry Pi 5 and the transition to Raspberry Pi OS Bookworm. Gone are the days when developers could rely on legacy libraries like RPi.GPIO or direct memory mapping via /dev/mem. Today, the Pi 5 utilizes the custom RP1 southbridge chip for peripheral management, fundamentally changing how hardware interfaces are addressed.
Whether you are automating a smart home, building a robotics platform, or simply learning software development, this tutorial provides a comprehensive, up-to-date framework for coding on Raspberry Pi hardware. We will cover environment setup, modern Python GPIO control, C/C++ hardware interfacing, and advanced headless workflows.
Choosing Your Programming Language
Before writing your first script, it is crucial to select the right tool for your specific project. The Raspberry Pi ecosystem supports dozens of languages, but three dominate the hardware-interfacing space.
| Language | Primary Use Case | GPIO Library | Performance | Learning Curve |
|---|---|---|---|---|
| Python 3 | Rapid prototyping, AI, IoT | gpiozero, lgpio | Moderate | Low |
| C / C++ | Real-time control, DSP, drivers | lgpio, pigpio | Excellent | High |
| Node-RED | Visual IoT flows, MQTT routing | node-red-node-pi-gpiopins | Variable | Very Low |
For 90% of beginners and intermediate makers, Python 3 is the undisputed starting point. However, if you are dealing with high-frequency PWM signals or microsecond-precision timing, you must drop down to C/C++.
Configuring the Bookworm Development Environment
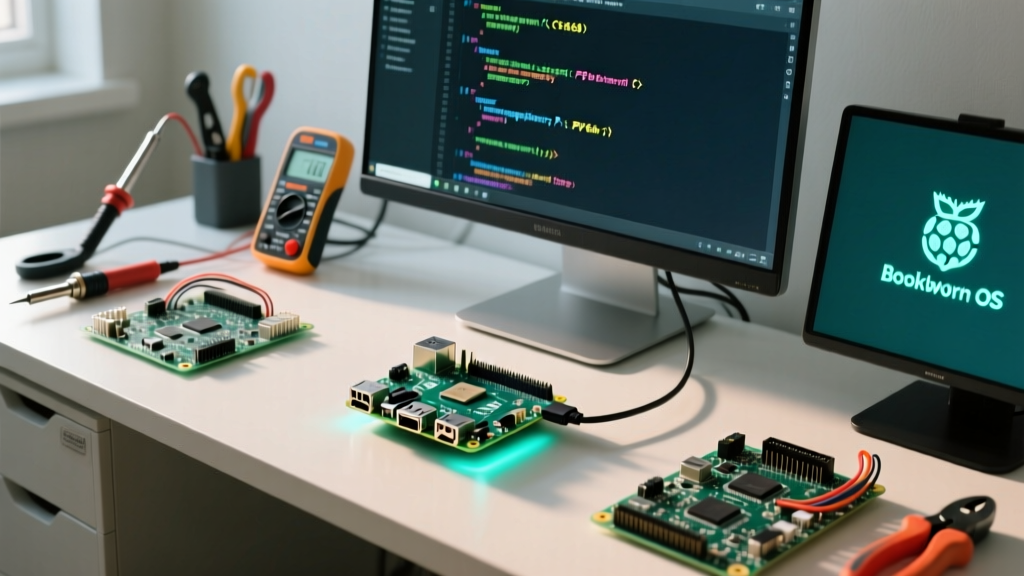
Raspberry Pi OS Bookworm introduced major structural changes to the underlying Linux environment, notably the shift to Wayland for the desktop and NetworkManager for networking. To prepare your system for coding, open your terminal and execute the following update sequence:
sudo apt update && sudo apt upgrade -y
sudo apt install python3-venv python3-pip build-essential cmake
If you are using the Desktop version of Raspberry Pi OS, the Thonny Python IDE comes pre-installed. Thonny is excellent for beginners due to its integrated variable explorer and step-through debugger. However, for professional development, we highly recommend configuring a headless workflow using VS Code, which we will cover later in this guide.
Python GPIO Control: The gpiozero Standard
The legacy RPi.GPIO library is no longer actively maintained and struggles with the RP1 chip architecture on the Pi 5. The official, modern standard for Python hardware control is gpiozero. It abstracts hardware complexity into intuitive object-oriented classes.
Hardware Wiring: The Blink Test
Before coding, wire a simple circuit on a breadboard:
- Connect a 330Ω current-limiting resistor to GPIO 17 (Pin 11).
- Connect the anode (long leg) of an LED to the other end of the resistor.
- Connect the cathode (short leg) of the LED to GND (Pin 9).
Writing the Python Script
Create a new file named blink.py and insert the following code:
from gpiozero import LED
from time import sleep

# Initialize the LED object on GPIO 17
red_led = LED(17)

try:
    while True:
        red_led.on()
        sleep(1)
        red_led.off()
        sleep(1)
except KeyboardInterrupt:
    print("\nExiting safely...")
    red_led.off()
Run the script via the terminal using python3 blink.py. The gpiozero library automatically handles the pinmux configuration via the underlying lgpio daemon, meaning you no longer need to run your Python scripts with sudo root privileges—a massive security improvement over older Pi OS versions.
Navigating the PEP 668 "Externally Managed" Error
If you attempt to install third-party Python packages (like requests or paho-mqtt) using pip install globally in Bookworm, you will encounter a fatal error: "This environment is externally managed". This is due to PEP 668, which prevents users from breaking system-level dependencies.
The Solution: Always use Python Virtual Environments for your Pi projects. Here is the exact workflow:
# Create a virtual environment in your project folder
python3 -m venv my_project_env

# Activate the environment
source my_project_env/bin/activate

# Now you can install packages safely
pip install gpiozero paho-mqtt
When you are finished coding, simply type deactivate to return to the system Python environment. This isolation ensures your custom scripts never crash the Raspberry Pi OS desktop utilities.
C and C++ Hardware Interfacing via lgpio
While Python is king for rapid development, C is required for latency-sensitive applications. Historically, makers used WiringPi, but it has been deprecated. The modern successor, championed by the Raspberry Pi Foundation, is lgpio.
To install the C development headers for lgpio:
sudo apt install liblgpio-devBelow is a minimal C program to toggle GPIO 17:
#include <stdio.h>
#include <unistd.h>
#include <lgpio.h>

#define CHIP 0
#define GPIO_PIN 17

int main() {
    int h = lgGpiochipOpen(CHIP);
    if (h < 0) {
        printf("Failed to open GPIO chip\n");
        return -1;
    }

    lgGpioClaimOutput(h, 0, GPIO_PIN, 0);

    for (int i = 0; i < 5; i++) {
        lgGpioWrite(h, GPIO_PIN, 1);
        sleep(1);
        lgGpioWrite(h, GPIO_PIN, 0);
        sleep(1);
    }

    lgGpiochipClose(h);
    return 0;
}
Compile this code using GCC, linking the lgpio library:
gcc -o blink_c blink.c -llgpio
./blink_c
This C approach yields sub-microsecond execution overhead, making it ideal for reading high-speed rotary encoders or bit-banging custom SPI protocols.
Advanced Workflow: VS Code Remote-SSH
Typing code directly on a Raspberry Pi via a micro-HDMI monitor and wireless keyboard is inefficient for complex projects. The industry-standard approach is to use your primary PC or Mac as the frontend, and the Pi as the backend compiler.
- Enable SSH on your Pi via
sudo raspi-config(Interface Options > SSH). - Install Visual Studio Code on your main computer.
- Install the "Remote - SSH" extension by Microsoft in VS Code.
- Press
F1, typeRemote-SSH: Connect to Host, and enterpi@192.168.x.x.
VS Code will install a lightweight server daemon on the Pi. You now have full IntelliSense, linting, and integrated terminal access to your Pi, running natively from your desktop's RAM and CPU. This workflow drastically extends the lifespan of older boards like the Pi 3B+ by offloading the heavy IDE rendering to your main machine.
Debugging Hardware Faults
When your code is perfect but the hardware fails to respond, the issue is usually electrical. Use the built-in pinout tool in the terminal to verify your physical wiring against the software mapping:
pinoutThis command outputs a beautiful ASCII schematic of the Pi's 40-pin header, highlighting power, ground, and standard GPIO pins. If you are using a Pi 5, ensure you are providing adequate power via a 27W USB-C PD supply; the Pi 5 will throttle peripheral power output on the 5V rail if it detects an under-voltage condition, causing relays and sensors to behave erratically.
Next Steps in Your Coding Journey
Mastering how to code on Raspberry Pi is an iterative process. Once you have conquered basic GPIO manipulation with gpiozero and lgpio, expand your horizons into I2C and SPI sensor integration. Explore the smbus2 library for reading BME280 environmental sensors, or dive into computer vision using the official Raspberry Pi Camera Module 3 and the libcamera Python bindings. The Pi ecosystem is vast, and with a robust, modern development environment configured, you are fully equipped to build production-grade embedded systems.