
The Bookworm Shift: NetworkManager vs. Legacy Daemons
If you are configuring Raspberry Pi WiFi settings today, you must understand a fundamental OS-level shift. With the release of Raspberry Pi OS 'Bookworm', the underlying networking stack was completely overhauled. The legacy dhcpcd and wpa_supplicant daemons were deprecated in favor of NetworkManager. Attempting to edit /etc/wpa_supplicant/wpa_supplicant.conf on a modern Bookworm installation will result in silent failures.
Always verify your OS version using cat /etc/os-release before choosing your configuration method below. If you see 'bullseye' or 'buster', skip to the legacy section.
Method 1: Pre-Configuring WiFi via Raspberry Pi Imager (Headless)
For headless deployments where you lack a monitor and keyboard, the Raspberry Pi Imager is the most reliable method to inject Raspberry Pi WiFi settings before the first boot.
- Open Raspberry Pi Imager and select your OS (e.g., Raspberry Pi OS 64-bit).
- Click the gear icon (OS Customisation) or press
CTRL+SHIFT+X. - Check Configure Wireless LAN.
- Enter your SSID and Password.
- Critical E-E-A-T Tip: You must set the WiFi Country code (e.g., US, GB, DE). The 5GHz spectrum is heavily regulated, and the Pi's WiFi chip will throttle or refuse connections if the country code is missing or mismatched with your router's DFS channels.
Method 2: Configuring via Terminal (Bookworm & NetworkManager)
Once booted into Bookworm, you manage Raspberry Pi WiFi settings using nmcli or the visual nmtui tool.
Using nmtui (Visual Terminal Interface)
Simply type sudo nmtui in your terminal. This opens a curses-based GUI. Navigate to Activate a connection, select your SSID, and enter the password. This is ideal for quick setups over SSH.
Using nmcli (Command Line Automation)
For scripting and headless automation, nmcli is the industry standard. Use the following command to add and connect to a WPA2 network:
sudo nmcli device wifi connect 'YourSSID' password 'YourPassword'To verify the connection and view detailed IP routing:
nmcli connection show --active
nmcli device show wlan0
Method 3: Legacy wpa_supplicant.conf (Bullseye and Older)
If you are maintaining an older fleet of Pis running Bullseye, you must use the legacy method. Create or edit the configuration file:
sudo nano /etc/wpa_supplicant/wpa_supplicant.confAdd the following block:
country=US
ctrl_interface=DIR=/var/run/wpa_supplicant GROUP=netdev
update_config=1

network={
    ssid='YourNetworkSSID'
    psk='YourNetworkPassword'
    key_mgmt=WPA-PSK
}
After saving, restart the service with sudo wpa_cli -i wlan0 reconfigure or simply reboot.
Hardware Deep Dive: WiFi Capabilities Across Pi Models
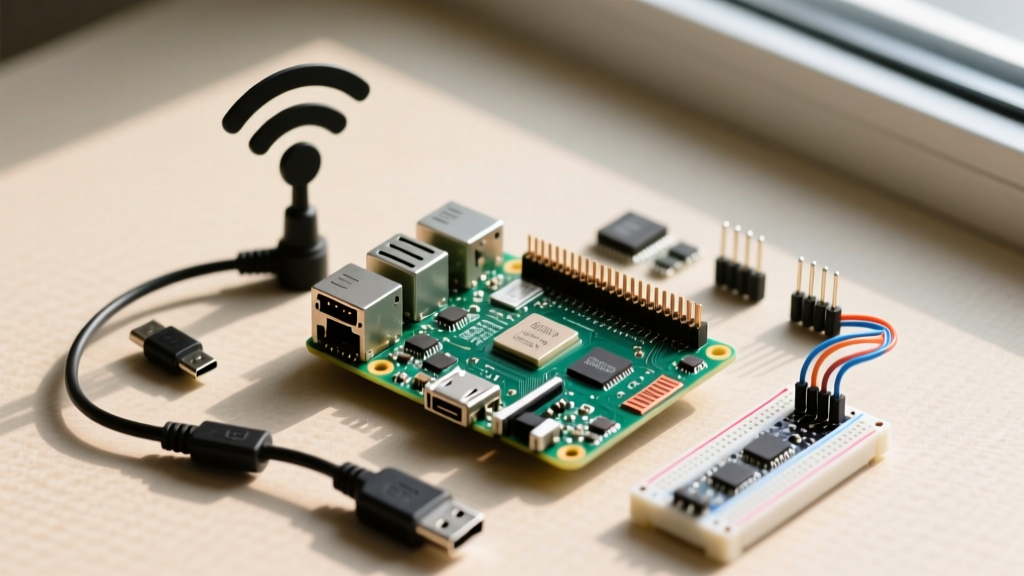
Not all Raspberry Pi boards are created equal. When planning a smart home node or an IoT sensor, understanding the physical layer limitations is crucial for stable Raspberry Pi WiFi settings.
| Model | Chipset | Standard | Bands | Southbridge Routing |
|---|---|---|---|---|
| Pi Zero 2 W | CYW43436 | 802.11n (Wi-Fi 4) | 2.4 GHz | Direct SDIO |
| Pi 3B+ | CYW43455 | 802.11ac (Wi-Fi 5) | 2.4 / 5 GHz | Direct SDIO |
| Pi 4 Model B | CYW43455 | 802.11ac (Wi-Fi 5) | 2.4 / 5 GHz | Direct SDIO |
| Pi 5 | CYW43455 | 802.11ac (Wi-Fi 5) | 2.4 / 5 GHz | RP1 Southbridge (PCIe) |
Notice the Pi 5 architecture. The WiFi chip is now routed through the custom RP1 southbridge chip via PCIe, rather than directly to the main BCM2712 SoC via SDIO. This drastically reduces CPU overhead during high-throughput WiFi transfers, making the Pi 5 vastly superior for Home Assistant setups pulling multiple IP camera streams.
Advanced Tweaks: Disabling Power Management & MAC Randomization
Out of the box, NetworkManager enables WiFi power saving and MAC address randomization. While great for laptops, these features are disastrous for headless IoT devices, causing SSH drops and Home Assistant offline states.
1. Disable WiFi Power Saving
Power saving puts the CYW43455 chip to sleep during idle periods, adding latency and dropping TCP keep-alives. Disable it for your specific connection:
sudo nmcli connection modify 'YourSSID' wifi.powersave 2Note: A value of 2 means 'disable' in NetworkManager's power save enum.
2. Disable MAC Randomization
If your router uses MAC filtering or assigns static DHCP leases based on hardware addresses, MAC randomization will break your network. Create a custom NetworkManager config:
sudo nano /etc/NetworkManager/conf.d/100-disable-wifi-mac-randomization.confPaste the following:
[device]
wifi.scan-rand-mac-address=no

[connection]
wifi.cloned-mac-address=preserve
Restart NetworkManager: sudo systemctl restart NetworkManager.
Troubleshooting Common Connection Failures
- 5GHz Networks Not Showing: This is almost always a missing or incorrect country code. Use
sudo raspi-config(Localisation Options > WLAN Country) to force the correct regulatory domain. - Intermittent Drops on Pi 4: The Pi 4 is notorious for USB 3.0 interference bleeding into the 2.4GHz spectrum. If you are using 2.4GHz WiFi alongside a USB 3.0 SSD, switch to 5GHz WiFi or use a shielded USB cable.
- DNS Resolution Failing: If you can ping
8.8.8.8but notgoogle.com, NetworkManager might be conflicting withsystemd-resolved. Check your/etc/resolv.confsymlink.
For deeper networking diagnostics, consult the official Raspberry Pi NetworkManager documentation. Mastering these Raspberry Pi WiFi settings ensures your SBC projects remain resilient, responsive, and ready for production environments.