
Why the IMX219 Sensor Still Dominates DIY Smart Home Vision
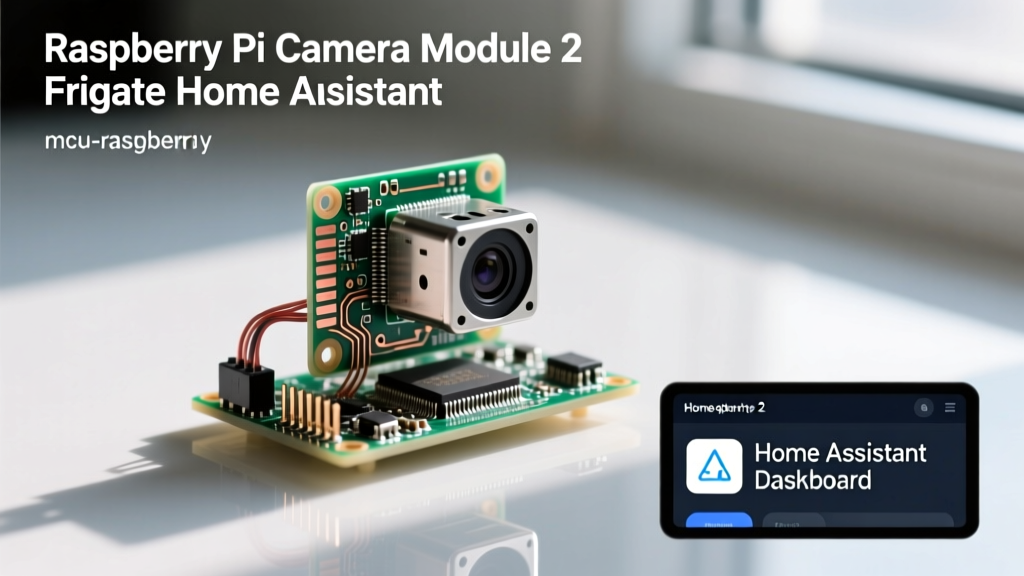
When building a localized smart home security node, hardware selection dictates the reliability of your automations. Despite the release of newer alternatives, the Raspberry Pi Camera Module 2 (featuring the Sony IMX219 8-megapixel sensor) remains a cornerstone for DIY smart home integrations. Its balance of low power consumption, native CSI-2 interface support, and extensive software compatibility makes it ideal for 24/7 Home Assistant deployments.
Unlike USB webcams that consume precious USB bandwidth and CPU cycles, the Camera Module 2 utilizes the dedicated Camera Serial Interface (CSI). This allows the Raspberry Pi's GPU to handle H.264 and H.265 video encoding natively, freeing up the ARM cores for running local AI inference or Home Assistant Docker containers. According to the official Raspberry Pi Camera Documentation, the IMX219 sensor supports up to 1080p30 video capture, which is the exact sweet spot for modern Network Video Recorder (NVR) software.
Hardware Prerequisites and Power Budgeting
Integrating the Raspberry Pi Camera Module 2 into a smart home requires careful power budgeting, especially if you are deploying the node in an outdoor enclosure with supplemental IR illumination. The camera itself draws approximately 250mA during peak initialization and steady-state capture. However, the host board's power requirements dictate your power supply choice.
| Host Board | Base Power Req. | Camera + Peripherals | Recommended PSU |
|---|---|---|---|
| Raspberry Pi 4 Model B | 3.0A (5V) | +250mA (Camera) + 500mA (USB) | 15W (5.1V / 3.0A) Official USB-C |
| Raspberry Pi 5 | 5.0A (5V) | +250mA (Camera) + 1.2A (PCIe/NVMe) | 27W (5V / 5A) USB-C PD |
Note: If you are using a Raspberry Pi 5, be aware that the CSI/DSI connectors have been reduced in size. You will need a specific 15-pin to 22-pin adapter ribbon cable to connect the standard Camera Module 2 to the Pi 5 board.
CSI-2 Ribbon Cable Routing and Failure Prevention
The most common point of hardware failure in DIY Pi camera nodes is the fragile 15-pin 1mm pitch flex cable. When routing this cable through 3D-printed enclosures or outdoor junction boxes, avoid sharp 90-degree folds. Instead, use a teardrop loop. Apply a small strip of Kapton tape or electrical tape over the connector latch on the Pi board to prevent the plastic retention clip from snapping off during environmental temperature fluctuations, which can cause the cable to unseat and drop the RTSP stream.
Streaming the Raspberry Pi Camera Module 2 to Home Assistant
To use the camera module as a smart home sensor, you must expose its video feed over your local network. Legacy methods using raspivid are deprecated. Modern deployments rely on the libcamera stack and tools like rpicam-vid or go2rtc.
For Home Assistant integration, the most robust method is to run go2rtc (often bundled with Frigate or available as a standalone Docker container). go2rtc can access the CSI camera via the v4l2 (Video4Linux2) interface and restream it as WebRTC for zero-latency viewing in the Home Assistant dashboard, while simultaneously providing an RTSP feed for NVR recording.
Configuring RTSP via go2rtc
In your go2rtc.yaml configuration, you can define the hardware-accelerated stream. By utilizing the Pi's hardware H.264 encoder, you keep CPU usage below 15%, ensuring your smart home automations remain snappy.
Pro Tip: Always assign a static IP address to your Pi camera node via your router's DHCP reservations. Home Assistant integrations and Frigate NVR rely on persistent IP addresses to maintain stable MQTT and RTSP connections.
Upgrading to AI Object Detection with Frigate NVR
A raw video feed is useless for smart home automation unless the system understands what it is seeing. This is where Frigate NVR transforms your Raspberry Pi Camera Module 2 into an intelligent sensor. Frigate analyzes the RTSP stream and uses machine learning to detect people, vehicles, and animals, publishing these events via MQTT to Home Assistant.
When configuring Frigate, you must define stream roles. The IMX219 sensor can output a high-resolution stream for recording and a lower-resolution sub-stream for real-time AI detection.
- Detect Role: Set to 640x480 or 720p at 5-10 FPS. This is the only stream Frigate uses for object detection, minimizing CPU/TPU load.
- Record Role: Set to 1080p at 15-30 FPS. This stream is written to disk only when an object is detected, saving massive amounts of SD card or NAS storage.
- Birdseye Role: A privacy-respecting overview map in the Frigate UI that only activates when motion is present.
For the best experience, pair your Pi camera node with a Google Coral USB Accelerator. While the Pi 4 and Pi 5 can perform CPU-based inference using OpenVINO or TensorFlow Lite, a Coral TPU processes frames in milliseconds, allowing you to run multiple high-framerate camera streams without dropping frames.
Once Frigate detects a 'Person' on your porch, it publishes an MQTT payload. You can then use the Home Assistant Frigate Integration to trigger automations, such as turning on your porch lights via Zigbee or sending a critical notification to your phone with a snapshot attached.
Real-World Troubleshooting: Flicker, Brownouts, and Focus
Deploying the Raspberry Pi Camera Module 2 in real-world smart home environments introduces several physical and optical challenges that software alone cannot fix.
1. LED Flicker and Anti-Banding
If your camera points toward streets with LED streetlights or rooms with dimmable LED bulbs, you may notice severe strobing or rolling black bars in the video feed. This occurs because the IMX219's rolling shutter interacts with the PWM frequency of the LEDs. To fix this, you must configure the camera's exposure time to be a multiple of your local AC mains frequency (10ms for 50Hz regions, 8.3ms for 60Hz regions). In libcamera, this is handled via the --exposure and --awbgains flags to lock the sensor timing.
2. The IR Focus Shift Problem
The standard Raspberry Pi Camera Module 2 (V2.1) does not have an IR-cut filter, meaning it sees near-infrared light. This is great for night vision when paired with an 850nm or 940nm IR illuminator. However, the stock lens elements are not apochromatic; they do not focus visible light and infrared light at the exact same focal plane. When the sun sets and the IR illuminator turns on, your daytime-sharp image will become blurry. The Solution: Manually adjust the focus ring using the included plastic tool while viewing the feed under IR illumination, or purchase the 'NoIR' version with a factory-adjusted fixed-focus lens optimized for 850nm wavelengths.
3. Brownout Reboots
If your Pi node reboots randomly at night, it is likely a brownout. When external IR illuminators draw power from the same circuit or if the Pi's voltage regulator dips below 4.63V, the board will throttle or reboot. Always power external 12V IR arrays with a dedicated buck converter, never directly from the Pi's 5V GPIO pins.
Final Verdict for 24/7 Smart Home Deployments
The Raspberry Pi Camera Module 2 remains an exceptional choice for localized, AI-driven smart home security. While the newer Raspberry Pi Camera Module 3 offers autofocus and a slightly larger HDR sensor, the Module 2's lower cost, proven reliability, and vast ecosystem of 3D-printed outdoor enclosures make it the pragmatic choice for multi-node deployments. By pairing it with go2rtc, Frigate NVR, and Home Assistant, you achieve a sub-second latency security network that rivals commercial PoE systems, entirely on your own terms.