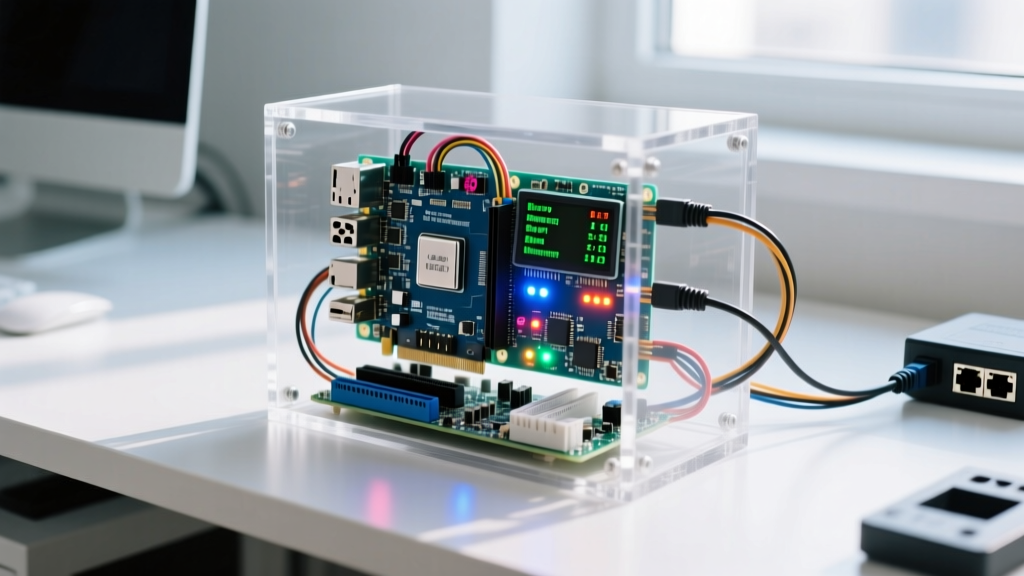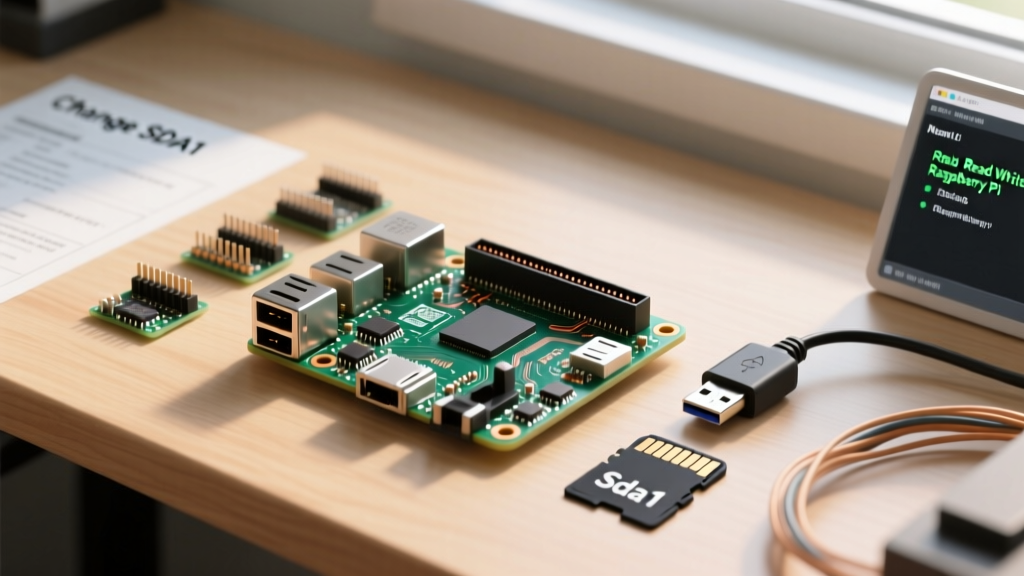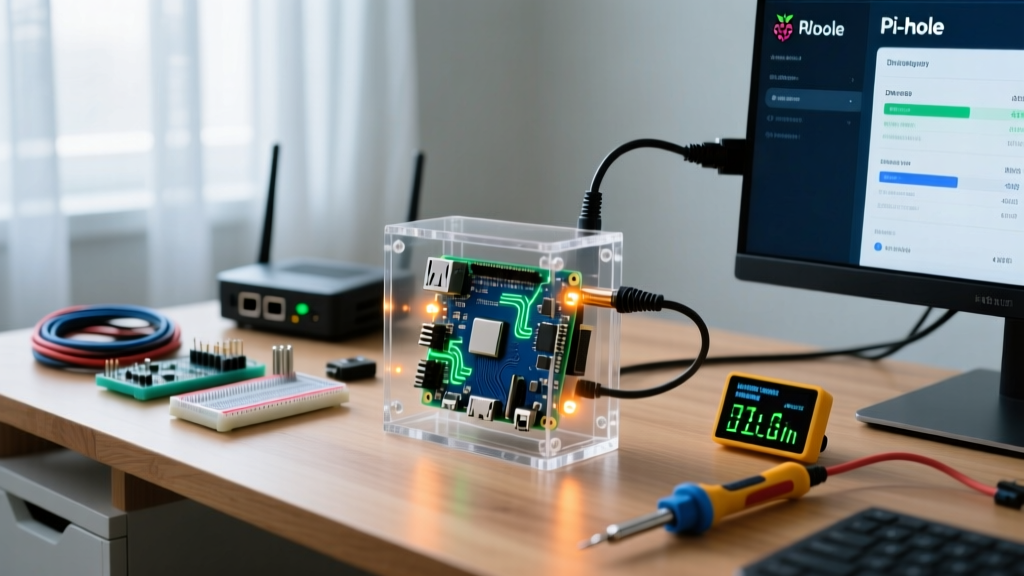

The most efficient and reliable raspberry pi ad blocker uses a Raspberry Pi Zero 2 W or Pi 4 (2GB) running Pi-hole via Docker on a headless 64-bit Raspberry Pi OS Lite. By intercepting DNS queries at the network level, this setup blocks telemetry, video ads on smart TVs, and mobile trackers before they consume bandwidth. This guide provides the exact hardware bill of materials, the physical debug pin mapping for headless recovery, a production-ready Docker Compose configuration, and the specific debugging steps for the most common port-binding failures.
Hardware Spec Sheet & Parts List
When building a dedicated DNS sinkhole, thermal throttling and SD card corruption are your primary hardware enemies. The code and configurations in this guide target the ARM64 architecture, specifically validated on the Raspberry Pi 4 Model B (2GB) and the Raspberry Pi Zero 2 W. Do not use the original single-core Pi Zero or Pi 1; their 512MB RAM and ARMv6 instruction sets will bottleneck under Docker overhead.
| Component | Exact Variant / Model | Estimated Cost (2026) | Why This Specific Part |
|---|---|---|---|
| Compute Board | Raspberry Pi 4 Model B (2GB RAM) | $45.00 | Gigabit Ethernet and 2GB RAM easily handles 100k+ DNS queries/day and Unbound recursive caching. |
| Low-Power Alt | Raspberry Pi Zero 2 W | $15.00 | Quad-core ARM64, but limited to Wi-Fi/USB-Ethernet. Best for small apartments or low query volumes. |
| Storage | SanDisk Extreme 32GB microSD (A2/V30) | $9.00 | High IOPS and endurance rating prevent filesystem corruption from constant DNS log writes. |
| Thermal Case | Argon ONE V3 Aluminum Case | $25.00 | Passive cooling keeps the Pi 4 under 50°C under load; relocates ports to the back for clean cable management. |
| Power Supply | Official Raspberry Pi 27W USB-C PD | $12.00 | Prevents brownout warnings (the lightning bolt icon) which cause random Docker container crashes. |
Network & Debug Pin Mapping
Because a network ad blocker relies entirely on Ethernet/Wi-Fi and DNS ports, you will not be wiring GPIOs to sensors. However, when deploying headless (without a monitor), Wi-Fi misconfigurations or IP conflicts will lock you out of SSH. To recover the board without pulling the SD card, we map the UART serial debug pins on the 40-pin header. This allows you to plug in a USB-to-TTL serial cable and access the Pi's console directly to fix network configs.
| Pi 40-Pin Header | BCM / Function | USB-TTL Cable Wire | Purpose in Ad Blocker Setup |
|---|---|---|---|
| Pin 6 | GND | Black (Ground) | Common ground reference for serial communication. |
| Pin 8 | GPIO 14 (TXD) | White (RX) | Pi transmits console output to your PC when SSH is unreachable. |
| Pin 10 | GPIO 15 (RXD) | Green (TX) | Pi receives keystrokes from your PC to edit /etc/dhcpcd.conf. |
| Ethernet Jack | eth0 (RJ45) | Cat6 to Router LAN | Primary DNS traffic path. Always prefer wired over Wi-Fi for DNS. |
enable_uart=1 is present in the config.txt file on the boot partition of your SD card before first boot.
Step-by-Step Docker Installation & Configuration
Running Pi-hole in a Docker container isolates its dependencies from the host OS, making upgrades and rollbacks trivial. This configuration targets the official Pi-hole Docker image maintained by the community.
1. Prepare the Host OS
Flash Raspberry Pi OS Lite (64-bit) using Raspberry Pi Imager. Enable SSH and set your Wi-Fi credentials in the Imager's advanced settings. Boot the Pi, SSH in, and install Docker Engine:
curl -fsSL https://get.docker.com -o get-docker.sh
sudo sh get-docker.sh
sudo usermod -aG docker $USER
2. Create the Docker Compose File
Create a directory for the project and define the container. This YAML includes explicit environment variables, a healthcheck to auto-restart the DNS service if it hangs, and static port bindings.
mkdir ~/pihole && cd ~/pihole
nano docker-compose.yml
Paste the following complete, production-ready configuration:
version: "3.8"
services:
  pihole:
    container_name: pihole
    image: pihole/pihole:latest
    ports:
      - "53:53/tcp"
      - "53:53/udp"
      - "8080:80/tcp" # Mapped to 8080 to avoid conflict with host web servers
    environment:
      TZ: 'America/New_York'
      WEBPASSWORD: 'ChangeThisToASecurePassword123!'
      DNS1: '1.1.1.1'
      DNS2: '8.8.8.8'
      ServerIP: '192.168.1.50' # Replace with your Pi's static IP
    volumes:
      - './etc-pihole:/etc/pihole'
      - './etc-dnsmasq.d:/etc/dnsmasq.d'
    cap_add:
      - NET_ADMIN
    restart: unless-stopped
    healthcheck:
      test: ["CMD", "dig", "+short", "+norecurse", "+retry=0", "@127.0.0.1", "pi.hole"]
      interval: 30s
      timeout: 10s
      retries: 3
      start_period: 20s
3. Deploy and Verify
Start the container in detached mode and tail the logs to verify the DNS service binds correctly:
docker compose up -d
docker logs -f pihole
Once the logs show pihole-FTL started, access the admin dashboard at http://[YOUR_PI_IP]:8080/admin.
Debugging: Port 53 Binding Failures
The most frequent failure when deploying a Raspberry Pi ad blocker via Docker is a port conflict on the host OS. If your container crashes immediately, check the logs with docker logs pihole.
The Exact Error String
Error response from daemon: driver failed programming external connectivity on endpoint pihole: Error starting userland proxy: listen tcp4 0.0.0.0:53: bind: address already in use
First Three Things to Check (Ranked by Likelihood)
- systemd-resolved is holding port 53: Modern Raspberry Pi OS uses
systemd-resolvedas a local DNS stub listener, which hogs port 53. This is the cause 90% of the time. - Avahi-daemon is interfering: The mDNS/Bonjour service can sometimes bind to UDP 53 on specific network interfaces.
- Orphaned Docker Container: A previous, crashed instance of Pi-hole or another DNS container (like AdGuard Home) is still holding the port in the Docker bridge network.
The Fix: Disabling the Stub Listener
To resolve the systemd-resolved conflict, you must disable its stub listener and point the host's DNS to Docker's bridge. Run this exact bash sequence:
# 1. Edit the resolved configuration
sudo nano /etc/systemd/resolved.conf

# 2. Uncomment and change these lines:
# DNSStubListener=no
# DNS=127.0.0.1

# 3. Restart the service and verify port 53 is free
sudo systemctl restart systemd-resolved
sudo lsof -i :53
If lsof returns nothing, the port is free. Restart your Docker container with docker compose up -d.
Extending and Simplifying the Build
Depending on your privacy requirements and hardware constraints, you can modify this baseline setup.
How to Extend: Add Unbound for Recursive DNS
By default, Pi-hole forwards blocked queries to upstream servers like Cloudflare (1.1.1.1) or Google (8.8.8.8). This means those upstream providers still see your domain requests, even if the ads are blocked. To achieve true privacy, extend the build by adding Unbound as a recursive DNS resolver. This requires adding a second container to your docker-compose.yml and configuring Pi-hole to use 127.0.0.1#5335 as its sole upstream. Note: Unbound requires an additional 100-200MB of RAM, making the Pi 4 (2GB) mandatory.
How to Simplify: Drop Docker for the Bare-Metal Installer
If Docker overhead is causing high CPU usage on a Pi Zero 2 W, simplify the build by using the bare-metal installation script. This installs Pi-hole directly onto the host OS via curl -sSL https://install.pi-hole.net | bash. While this reduces RAM usage by roughly 40MB, it tightly couples Pi-hole's dependencies (lighttpd, PHP, dnsmasq) with the host OS, making future OS upgrades riskier.
Frequently Asked Questions
Can I use a Raspberry Pi 1 or original Pi Zero W for this ad blocker?
Technically, you can run the bare-metal installer on a Pi 1 or Pi Zero W (ARMv6), but it is highly discouraged for modern networks. The single-core 1GHz CPU and 512MB RAM will struggle to parse the modern blocklists, which now routinely exceed 150,000 domains. You will experience DNS lookup latency (adding 200-500ms to every webpage load) and frequent dnsmasq out-of-memory crashes. Stick to the quad-core ARM64 boards (Pi Zero 2 W, Pi 3B+, or Pi 4).
Will a Raspberry Pi ad block slow down my internet speed?
No. A properly configured Pi-hole actually decreases perceived latency. Because it blocks the DNS resolution of ad and tracker domains, your browser never attempts to download those heavy assets. Furthermore, Pi-hole caches successful DNS queries locally. When you revisit a site, the Pi resolves the IP in less than 1 millisecond, compared to the 20-50ms it takes to query an external ISP DNS server. The only time it adds latency is if the Pi is thermally throttling or the SD card is failing.
How do I update the blocklists automatically?
Pi-hole automatically updates its gravity blocklist once a week via a built-in cron job (typically Sunday at 4:00 AM). If you are using the Docker setup, the container inherits the host's cron schedule or runs it internally via s6-overlay. To force a manual update of the blocklists via the command line, execute docker exec pihole pihole updateGravity. Always verify your upstream DNS servers are reachable before updating, as a failed gravity pull can sometimes result in an empty blocklist.