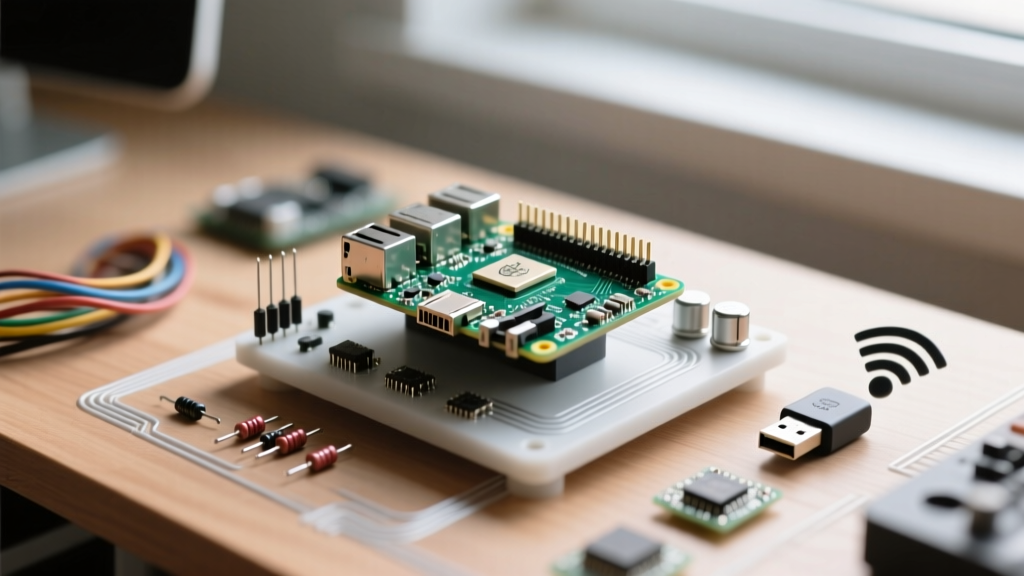

When building headless IoT deployments, figuring out how to reliably raspberry pi enable wifi without a monitor or keyboard is the first major hurdle. Whether you are deploying a fleet of environmental sensors in a remote greenhouse or setting up a headless Home Assistant satellite node, wireless connectivity is non-negotiable. In this community project showcase, we break down the evolution of WiFi configuration on Single Board Computers (SBCs), highlighting the exact methods our community uses in 2024 and beyond to get their Raspberry Pi devices online securely and efficiently.
The Evolution of Raspberry Pi WiFi Configuration
For years, the community relied on a single, universal method to enable WiFi on headless Raspberry Pi boards: dropping a wpa_supplicant.conf file into the /boot/ partition. However, the release of Raspberry Pi OS Bookworm fundamentally changed the networking stack. The community was caught off guard when the legacy dhcpcd and wpa_supplicant daemons were replaced by NetworkManager. This shift broke thousands of automated deployment scripts and forced makers to adapt their headless provisioning workflows. Understanding which OS version you are flashing is now the most critical step in your WiFi enablement strategy.
Method 1: The Raspberry Pi Imager (The Community Favorite)
For 90% of new community projects, the Raspberry Pi Imager is the undisputed champion of headless setup. It injects the WiFi credentials and SSH keys directly into the OS image before the first boot, bypassing the need for manual file injection.
Step-by-Step Imager Configuration
- Select OS: Choose Raspberry Pi OS (64-bit) or Raspberry Pi OS Lite for headless servers.
- Select Storage: Choose your microSD card or NVMe drive (for Pi 5).
- OS Customisation: Click the gear icon or press
Ctrl+Shift+Xto open the advanced settings. - WiFi Setup: Check 'Configure wireless LAN'. Enter your exact SSID and password. Pro-Tip: Ensure your country code matches your router's regulatory domain, or the 5GHz band will be disabled by the Pi's WiFi chip to comply with local RF laws.
- Services: Enable SSH and select 'Use password authentication' or inject your public RSA key.
This method works flawlessly across both Bullseye and Bookworm, making it the most robust way to enable WiFi on Raspberry Pi hardware prior to deployment.
Method 2: NetworkManager via nmcli (The Bookworm Standard)
If you are working with a pre-flashed Bookworm image or need to change WiFi networks on a live, headless system via an Ethernet fallback or serial console, you must use nmcli. The Debian NetworkManager wiki provides the foundational syntax, but here is the exact command sequence our community uses for Pi deployments.
First, verify the WiFi interface is recognized:
nmcli device statusYou should see wlan0 listed as 'disconnected'. To connect to your network and save the credentials for future boots, execute:
sudo nmcli device wifi connect 'Your_SSID' password 'Your_Password' name 'HomeNetwork'To ensure this connection survives reboots and prioritizes over Ethernet when available, modify the connection profile:
sudo nmcli connection modify 'HomeNetwork' connection.autoconnect yes
sudo nmcli connection modify 'HomeNetwork' ipv4.route-metric 50
Method 3: Legacy wpa_supplicant (Bullseye and Older)
While deprecated in modern releases, many community members still maintain legacy fleets running Raspberry Pi OS Bullseye or Buster. For these systems, the wpa_supplicant.conf method remains valid. Create a file named wpa_supplicant.conf in the root of the /boot/ partition (or /boot/firmware/ on newer kernel layouts) with the following contents:
ctrl_interface=DIR=/var/run/wpa_supplicant GROUP=netdev
update_config=1
country=US

network={
    ssid="Your_SSID"
    psk="Your_Password"
    key_mgmt=WPA-PSK
}
The shift to NetworkManager in Raspberry Pi OS Bookworm broke thousands of legacy headless deployment scripts. Always verify your OS base before copying legacy wpa_supplicant configs, as they will be silently ignored on modern images.
Community Project Showcase: Real-World WiFi Implementations
To understand how these configurations apply in the wild, let us look at two recent community projects that pushed the boundaries of Pi-based WiFi connectivity.
Project A: Solar-Powered Garden Soil Monitor (Pi Zero 2 W)
Community member AgriTechMaker deployed a fleet of Raspberry Pi Zero 2 W units in 3D-printed PETG enclosures to monitor soil moisture and ambient temperature. The challenge was power consumption. WiFi is notoriously power-hungry. By utilizing the Raspberry Pi Imager to connect to a dedicated 2.4GHz IoT VLAN, the maker implemented a cron job that disables the WiFi interface (sudo ip link set wlan0 down), takes sensor readings via an ADC HAT, enables WiFi (sudo ip link set wlan0 up), pushes the payload via MQTT, and immediately forces the Pi into a deep sleep state using a hardware watchdog timer. This extended the solar battery life from 3 days to 4 weeks.
Project B: Offline-First Home Assistant Satellite (Pi 4 Model B)
In a large concrete home, WiFi dead zones are a nightmare. A community contributor built a Home Assistant voice satellite using a Pi 4 and a ReSpeaker microphone array. Because the Pi was located in a basement Faraday cage (the HVAC room), standard WiFi failed. The maker utilized a USB WiFi adapter with an external RP-SMA antenna connector, bypassing the onboard Broadcom WiFi chip. By configuring NetworkManager to bridge the external USB adapter and tuning the router's transmit power, they achieved a stable -65dBm signal, ensuring zero latency for wake-word detection.
Troubleshooting WiFi Dropouts in Enclosed Projects
Enabling WiFi is only half the battle; maintaining it in DIY enclosures is where most projects fail. According to the official Raspberry Pi configuration documentation, environmental factors heavily impact the onboard 2.4GHz/5GHz antenna. Here is a troubleshooting framework used by our senior community members:
- The Faraday Effect: If your project uses a metallic enclosure or conductive filament (like Carbon Fiber PLA), the onboard antenna will be completely shielded. You must use a USB WiFi dongle with an external pigtail antenna.
- Power Supply Ripple: The WiFi chip draws sudden current spikes during transmission. If your power supply cannot maintain a steady 5.0V under load, the voltage will dip below 4.65V, triggering a brownout that drops the WiFi connection. Always use a high-quality 5V 3A+ power supply with low ripple.
- Band Steering Issues: Modern mesh routers use a single SSID for both 2.4GHz and 5GHz bands. The Pi's WiFi chip sometimes gets confused during the handshake and drops the connection. Create a dedicated 2.4GHz SSID specifically for your IoT headless devices to ensure rock-solid connections through walls.
Comparison of WiFi Enablement Methods
Choosing the right method depends on your OS version and deployment scale. Refer to the table below for a quick decision matrix:
| Method | OS Compatibility | Headless Viability | Community Rating |
|---|---|---|---|
| Pi Imager GUI | All Versions | Excellent (Pre-boot injection) | ★★★★★ |
| nmcli (CLI) | Bookworm & Newer | Excellent (Live configuration) | ★★★★☆ |
| wpa_supplicant | Bullseye & Older | Good (Legacy file drop) | ★★★☆☆ |
| Serial Console | All Versions | Fallback (Requires UART wiring) | ★★☆☆☆ |
Final Thoughts for Makers
Mastering how to raspberry pi enable wifi in headless scenarios is a rite of passage for any SBC enthusiast. By moving away from deprecated legacy scripts and embracing NetworkManager or the Raspberry Pi Imager's injection capabilities, you ensure your IoT deployments are resilient, secure, and ready for the field. Whether you are building a roving robot or a static environmental monitor, always account for physical enclosure attenuation and power delivery to keep your Pi connected to the cloud.