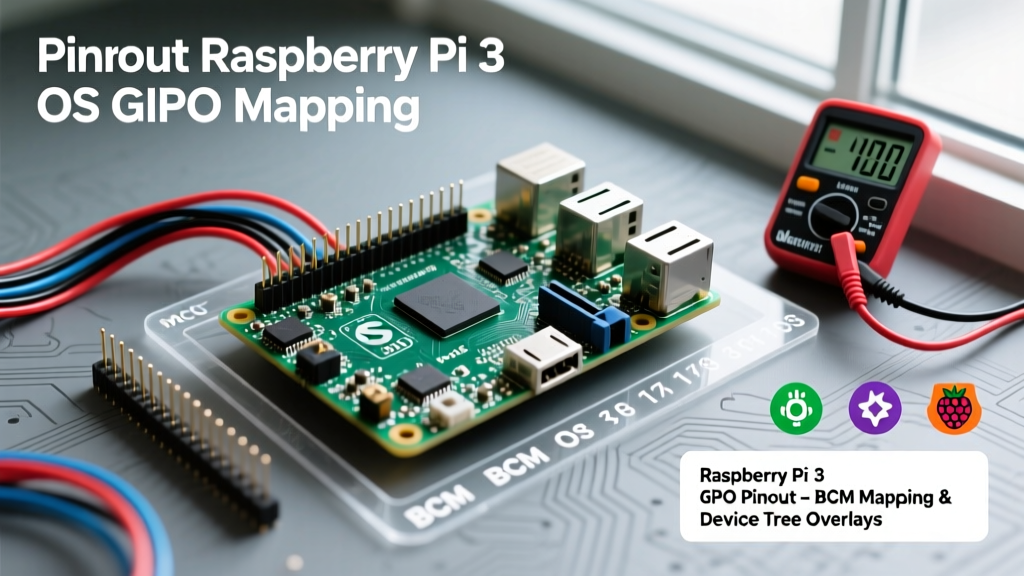

When engineers and makers first search for the pinout raspberry pi 3, they are typically met with a static, color-coded diagram of the 40-pin header. While knowing that Pin 1 provides 3.3V and Pin 6 is Ground is foundational, the physical layout is only half the battle. The true complexity lies in how your chosen Operating System interprets, maps, and secures those physical traces. A diagram cannot tell you how Ubuntu handles device tree overlays compared to Raspberry Pi OS, nor can it explain why your UART serial console fails on the Pi 3B+ due to Bluetooth multiplexing.
This guide bridges the gap between hardware schematics and OS-level configurations. We will explore how different Linux distributions manage the Broadcom BCM2837 SoC's GPIO matrix, how to properly enable hardware interfaces, and the modern software tools required to manipulate pins safely in 2026.
The Physical vs. Software Divide
The Raspberry Pi 3 Model B and B+ feature a 40-pin header containing 26 general-purpose I/O (GPIO) pins, 4 power pins, 2 ground pins, and 8 dedicated function pins (I2C, SPI, UART). However, the physical pin number stamped on the board rarely matches the software register address used by the Linux kernel. The Broadcom BCM2837 chip maps these physical traces to internal GPIO numbers (e.g., Physical Pin 3 is BCM GPIO 2). Understanding this translation layer is the first step in mastering OS-level hardware control.
BCM vs. BOARD Numbering: How Your OS Interprets the Header
Before writing a single line of code or editing a configuration file, you must define your addressing scheme. The OS and your chosen GPIO library will require you to declare one of two modes:
- BOARD Numbering: This refers to the physical pin numbers on the header (1 through 40). It is hardware-agnostic and remains consistent whether you are using a Pi 3, Pi 4, or Pi 5. However, the Linux kernel does not natively use BOARD numbering.
- BCM Numbering: This refers to the Broadcom SoC GPIO channel numbers (e.g., GPIO2, GPIO3, GPIO14). This is the native language of the Linux kernel, Device Tree Overlays, and modern C/C++ libraries. When configuring OS-level overlays, you must always think in BCM.
OS-Specific GPIO Configuration & Tooling
Different distributions package GPIO utilities and handle boot configurations in fundamentally different ways. Here is how the major players handle the Pi 3 header.
Raspberry Pi OS (Debian Bookworm/Bullseye)
Raspberry Pi OS provides the most frictionless experience via the raspi-config utility and the gpiozero Python library. In older Bullseye releases, the primary configuration file was located at /boot/config.txt. However, with the shift to Bookworm and newer kernel architectures, the boot partition is now mounted at /boot/firmware/config.txt. The OS also includes the handy pinout CLI tool (part of gpiozero), which prints an ASCII diagram of the pinout raspberry pi 3 directly to your terminal, complete with current pin states and functions.
Ubuntu Server & Desktop
Ubuntu does not include raspi-config. Instead, it relies on the standard Linux libgpiod ecosystem and Snap packages. To enable hardware interfaces like I2C or SPI on Ubuntu, you must manually edit /boot/firmware/config.txt or append your custom overlays to /boot/firmware/usercfg.txt to ensure they survive OS upgrades. Ubuntu's approach is closer to a standard embedded Linux workflow, requiring a deeper understanding of kernel modules.
DietPi & Minimalist Distributions
DietPi strips away the bloat, making it ideal for headless Pi 3 servers. GPIO management is handled via dietpi-config. Because DietPi heavily optimizes RAM and CPU usage, it often disables the sysfs GPIO interface by default to save kernel overhead, pushing users toward compiled C/C++ binaries or direct memory access via /dev/gpiomem.
Comparative Table: GPIO Management Across Distributions
| Distribution | Primary Config File Path | Default CLI Tooling | Hardware Interface Enabler |
|---|---|---|---|
| Raspberry Pi OS | /boot/firmware/config.txt |
raspi-config, pinout |
GUI Preferences / raspi-config |
| Ubuntu Server | /boot/firmware/usercfg.txt |
gpioinfo, gpioset |
Manual DTO editing |
| DietPi | /boot/config.txt |
dietpi-config |
dietpi-config (Hardware menu) |
| Home Assistant OS | Managed via Supervisor | Add-on specific | HA OS Hardware Menu |
Device Tree Overlays (DTOs): The Secret to Pin Multiplexing
The Linux kernel uses Device Trees to understand the hardware it is running on. Because the Pi 3's pins can be multiplexed to serve multiple functions (e.g., GPIO18 can be standard I/O or a PCM clock), the OS needs explicit instructions on how to route the SoC's internal buses to the physical header. This is done via Device Tree Overlays in your config.txt file.
For example, to enable the SPI0 bus (which utilizes physical pins 19, 21, 23, 24, and 26), you would add:
dtparam=spi=onTo enable the I2C1 bus (pins 3 and 5) and set a specific baud rate, you would use:
dtparam=i2c_arm=on,i2c_baudrate=400000For a deeper dive into how the kernel parses these parameters, refer to the official Raspberry Pi Device Tree Documentation.
The Pi 3 UART Bluetooth Conflict
This is the most common trap for Pi 3 users. The BCM2837 SoC has two UARTs: the high-performance PL011 and the lower-performance mini-UART. On the Pi 3, the PL011 is routed to the onboard Bluetooth module, leaving the mini-UART mapped to the GPIO header (Pins 8 and 10 / BCM GPIO14 and 15). The mini-UART lacks a stable baud rate clock, leading to corrupted serial data.
The OS-Level Fix: To route the stable PL011 UART to the physical GPIO pins, you must disable Bluetooth or move it to the mini-UART by adding this to your config.txt:
dtoverlay=disable-btAlternatively, if you need Bluetooth but can tolerate slight baud-rate deviations, use dtoverlay=pi3-miniuart-bt. You must also disable the serial console in cmdline.txt by removing console=serial0,115200 to free the pins for your custom microcontroller communication.
The Death of sysfs and the Rise of libgpiod
For years, makers toggled pins by writing '1' or '0' to text files in the /sys/class/gpio/ directory. As of Linux kernel 6.x (standard in Raspberry Pi OS Bookworm and Ubuntu 24.04), the sysfs GPIO interface is officially deprecated and disabled by default due to race conditions and poor security.
The modern standard is libgpiod. This library interacts with the character device /dev/gpiochip0. To view the pinout and current states via the command line on any modern distribution, use:
gpioinfo /dev/gpiochip0This will output a structured list of all BCM lines, their names, and whether they are currently claimed by the kernel or user-space. To toggle a pin safely from a bash script, you now use gpioset:
gpioset -c /dev/gpiochip0 17=1This shift requires updating legacy Python scripts to use the gpiod Python bindings rather than the outdated RPi.GPIO library. Learn more about this transition in the libgpiod Kernel Library repository.
Passing GPIO to Docker and Home Assistant Containers
When running headless smart home hubs or IoT edge nodes on the Pi 3, you will likely use Docker. Containers are isolated from the host's hardware by default. To allow a containerized Python script or Node-RED instance to access the physical pinout raspberry pi 3, you must pass the memory character device into the container.
Do not use the --privileged flag, as this grants the container full root access to the host kernel. Instead, map the specific GPIO memory device:
docker run -d --device /dev/gpiomem:/dev/gpiomem my-iot-appIf your application requires hardware I2C or SPI, you must also pass those specific bus devices:
docker run -d --device /dev/i2c-1 --device /dev/spidev0.0 my-sensor-appFor users running Ubuntu via standard Docker setups, ensuring the user inside the container belongs to the gpio and i2c groups is mandatory to avoid 'Permission Denied' errors without resorting to root execution.
Conclusion
Mastering the pinout raspberry pi 3 requires looking past the physical silk-screen numbers and understanding the OS-level translation layer. Whether you are editing Device Tree Overlays in Raspberry Pi OS, configuring usercfg.txt in Ubuntu, or passing /dev/gpiomem into Docker containers, the key to reliable hardware interaction lies in respecting the modern Linux GPIO subsystem. By adopting libgpiod and properly managing UART multiplexing, your Pi 3 will remain a robust, industrial-grade controller for years to come.