
The "Jetson Nano Super" Paradigm: Software Over Hardware
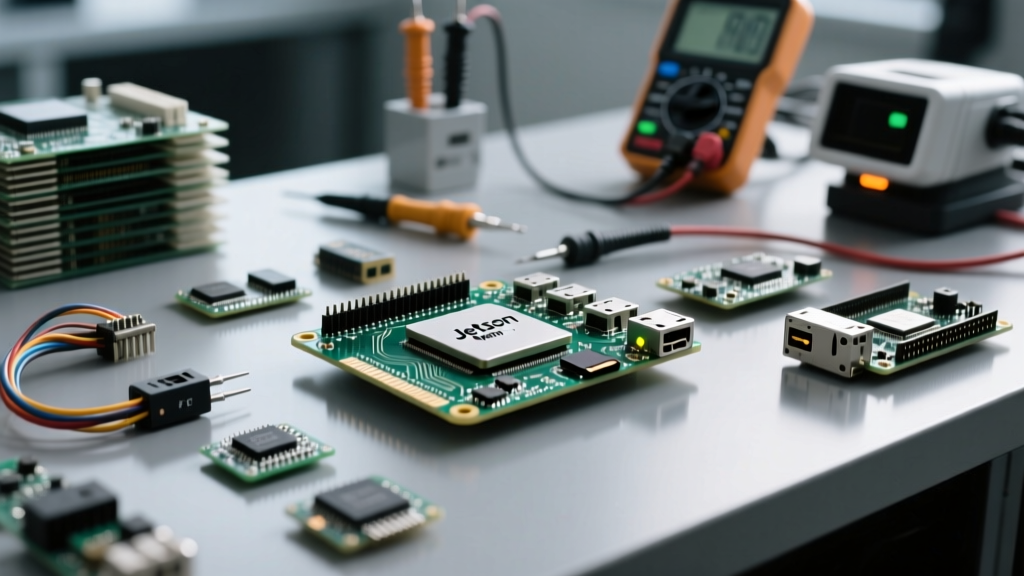
While Nvidia has expanded its edge AI lineup with the Orin series, the original Jetson Nano remains a cornerstone of DIY robotics and smart home vision systems. However, out of the box, the board is heavily constrained by conservative power limits, slow microSD I/O, and strict memory ceilings. In the edge AI community, achieving a jetson nano super performance tier doesn't mean buying new hardware; it refers to a rigorous software optimization stack that unlocks the silicon's true potential. This walkthrough will guide you through transforming a base Jetson Nano (4GB) into a high-throughput inference engine using custom power profiles, NVMe rootfs migration, virtual memory expansion, and containerized TensorRT workloads.
Phase 1: Bypassing SD Card Bottlenecks via NVMe Rootfs
The most severe bottleneck on the Jetson Nano is the microSD card interface. Loading large AI models (like YOLOv8 or ResNet-50) from an SD card results in massive I/O wait times, starving the GPU of data. To achieve super performance, we must move the root filesystem (rootfs) to an NVMe SSD connected via a USB 3.0 enclosure.
While the Nano lacks a native PCIe M.2 slot, the USB 3.0 bus offers up to 5 Gbps, which is a 50x improvement over the SD card's real-world throughput. Using the JetsonHacks rootOnUSB script, you can clone your existing L4T (Linux for Tegra) OS directly to the SSD.
- Connect your NVMe SSD via a USB 3.0 enclosure.
- Clone the repository:
git clone https://github.com/jetsonhacks/rootOnUSB.git - Run the installation script:
cd rootOnUSB && ./installShrink.sh - Edit the
/boot/extlinux/extlinux.conffile to point theroot=parameter to your new SSD partition (e.g.,/dev/sda1).
Once rebooted, verify your boot drive using lsblk. Your model loading times will drop from seconds to milliseconds.
Phase 2: Engineering the Custom "Super" Power Profile
By default, the Jetson Nano operates in a 5W or 10W power envelope to accommodate basic USB power supplies. To unleash the GPU and CPU clusters, we must configure the nvpmodel daemon and force maximum clock speeds. This is the core of the jetson nano super configuration.
First, set the system to the maximum 10W mode (Mode 0), which enables all four ARM Cortex-A57 cores:
sudo nvpmodel -m 0
sudo jetson_clocks
The jetson_clocks script disables dynamic voltage and frequency scaling (DVFS), locking the CPU to 1.43 GHz, the GPU to 921 MHz, and the EMC (memory controller) to 1600 MHz. Below is a comparison of the default thermal-power states versus our optimized "Super" state.
| Parameter | Default 5W Mode (Mode 1) | Optimized Super Mode (Mode 0 + Clocks) |
|---|---|---|
| Online CPU Cores | 2 | 4 |
| Max CPU Frequency | 918 MHz | 1428 MHz |
| Max GPU Frequency | 640 MHz | 921 MHz |
| EMC (RAM) Clock | 1331 MHz | 1600 MHz |
| Power Draw Limit | 5W | 10W (Peak 15W transient) |
Note: You must use a high-quality 5V 4A DC barrel jack power supply. Attempting this via micro-USB will result in brownouts and system crashes.
Phase 3: Virtual Memory Expansion for Heavy AI Models
The 4GB Jetson Nano features unified memory, meaning the CPU and GPU share the same 4GB LPDDR4 pool. When loading PyTorch models or running heavy computer vision pipelines, the system will quickly hit an Out-Of-Memory (OOM) exception and kill your inference script. We solve this by creating a high-speed swap file on our newly installed NVMe SSD.
Execute the following commands to allocate an 8GB swap file:
sudo fallocate -l 8G /swapfile
sudo chmod 600 /swapfile
sudo mkswap /swapfile
sudo swapon /swapfile
To make this persistent across reboots, add the following line to your /etc/fstab file:
/swapfile none swap sw 0 0Pro-Tip: Because we migrated to an NVMe SSD in Phase 1, swap thrashing will not destroy a cheap microSD card, and the read/write latency of the swap file is low enough to keep the GPU fed during model initialization phases.
Phase 4: Containerized TensorRT Inference
Running AI models natively on the host OS often leads to dependency conflicts between CUDA, cuDNN, and Python versions. The most robust way to maintain a jetson nano super software stack is by utilizing Docker containers pre-compiled with Nvidia TensorRT. TensorRT optimizes trained neural networks specifically for the Nano's Maxwell GPU architecture, utilizing FP16 (half-precision) and INT8 quantization to drastically increase frames-per-second (FPS) throughput.
We recommend using the dusty-nv jetson-containers repository. This repo provides automated Dockerfiles for PyTorch, TensorFlow, and ROS, tailored specifically for JetPack 4.6.x (L4T 32.7.x).
- Install the Nvidia Container Runtime:
sudo apt-get install nvidia-container-runtime - Pull the optimized PyTorch image:
docker pull dustynv/l4t-pytorch:r32.7.1 - Run the container with GPU access:
docker run --runtime nvidia -it --rm --network host dustynv/l4t-pytorch:r32.7.1
Inside the container, always export your ONNX models to TensorRT using the trtexec tool with the --fp16 flag. This single software tweak often doubles the inference speed on the Maxwell GPU compared to standard FP32 PyTorch execution.
Phase 5: Thermal Telemetry and Throttling Prevention
Software optimization generates heat. The Maxwell GPU will aggressively thermal-throttle if it crosses 85°C, instantly negating your "super" performance profile. Relying on passive cooling is insufficient for sustained edge AI workloads.
Install jetson-stats, a powerful system monitoring package, to track thermal and power telemetry in real-time:
sudo pip3 install -U jetson-stats
sudo jtop
The jtop interface provides a live overlay of CPU/GPU utilization, RAM/Swap usage, and crucially, the thermal zones (CPU, GPU, PLL, AO). If you observe the GPU clock speed dropping while the temperature hovers above 80°C, your active cooling solution is inadequate. You must attach a 5V PWM-controlled fan directly to the Nano's GPIO header (pins 2 and 4 for 5V power) and configure the pwm-fan service via the Nvidia Jetson Linux Developer Guide to ramp up fan speed dynamically based on the GPU thermal sensor.
Conclusion
Achieving the jetson nano super performance tier is entirely dependent on removing software and I/O bottlenecks. By migrating your rootfs to NVMe, locking the power profiles to maximum output, expanding virtual memory, and leveraging containerized TensorRT inference, you can squeeze every last drop of compute out of the board. This software walkthrough ensures your DIY smart home cameras, autonomous rovers, and edge AI nodes operate at the absolute pinnacle of the Nano's hardware capabilities.